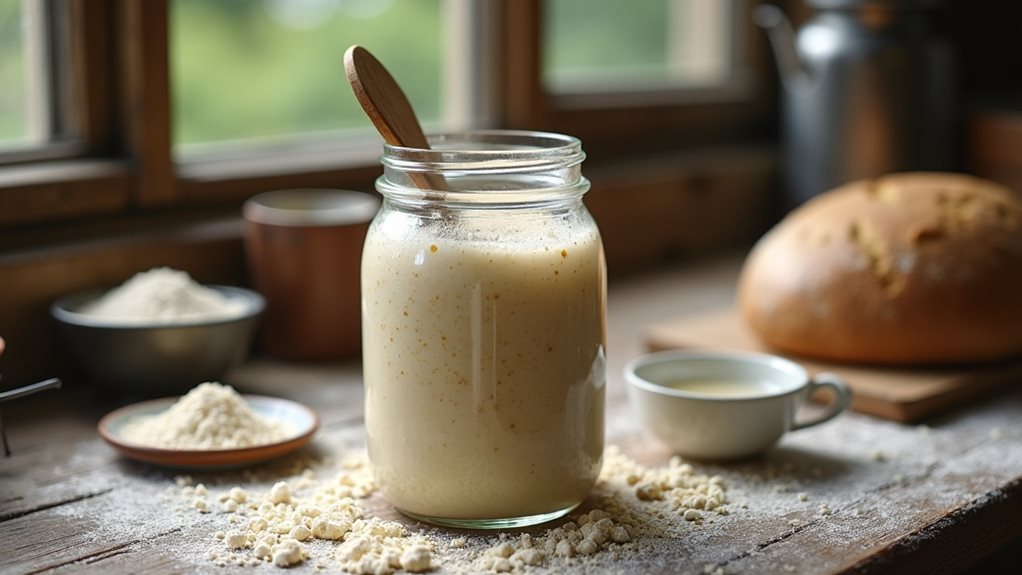
I’ve spent years perfecting my sourdough technique, and today I’ll share my best secrets with you. This isn’t just any bread—it’s an expedition through time, chemistry, and patience that results in that perfect crisp crust and tangy interior that store-bought loaves simply can’t match. Whether you’re a first-time baker or looking to refine your skills, my step-by-step approach will help you avoid common pitfalls and understand the beautiful science behind a successful sourdough.
Key Takeaways
- Sourdough bread relies on a homemade starter that contains natural yeasts and bacteria for flavor and leavening.
- Creating sourdough starter takes 2-3 days of fermentation and requires daily stirring to encourage proper development.
- Basic sourdough starter ingredients include flour, water, sugar, and a small amount of commercial yeast to jumpstart fermentation.
- The unique tangy flavor of sourdough comes from lactic acid produced during the fermentation process.
- Sourdough starters improve with age and can be maintained indefinitely with proper feeding and care.
Why You’ll Love this Homemade Sourdough Starter
Why spend money on store-bought yeast when you can create your own living culture at home?
I’ve found that making sourdough starter from scratch connects you to a centuries-old tradition while providing incomparable flavor. This simple mixture of flour, water, sugar, and a small amount of commercial yeast will transform over 2-3 days into a bubbling, aromatic culture that’s completely unique to your kitchen.
The beauty of this starter lies in its simplicity and sustainability.
Once established, you’ll have a perpetual leavening agent that improves with age, developing complex flavor notes impossible to achieve with commercial yeast alone.
I love how the daily stirring becomes a mindful ritual, and watching the mixture come alive with beneficial bacteria and wild yeasts is truly fascinating.
You’ll never want to return to store-bought options.
What Ingredients are in Homemade Sourdough Starter?
Making your own sourdough starter is simpler than you might think. The beauty of sourdough lies in its simplicity—just a few basic ingredients that transform, through time and patience, into a living culture that gives sourdough bread its distinctive tangy flavor and beautiful texture.
The starter is fundamentally a fermented mixture of flour and water that captures wild yeast and friendly bacteria from your kitchen environment.
- 1 package dry yeast
- 2 cups warm water
- 1 tablespoon sugar
- 2½ cups unbleached flour
When selecting ingredients for your sourdough starter, quality matters. The flour should be unbleached, as bleaching can inhibit the natural fermentation process. Some bakers prefer using organic flour to avoid any potential chemicals that might interfere with the wild yeasts.
The water should be warm (not hot) to activate the yeast, and preferably filtered or non-chlorinated since chlorine can kill the beneficial microorganisms we’re trying to cultivate.
While this recipe uses commercial yeast to jumpstart the process, many traditional sourdough purists create starters using just flour and water, capturing wild yeasts naturally—a process that takes a bit longer but connects us to bread-making traditions that stretch back thousands of years.
How to Make this Homemade Sourdough Starter
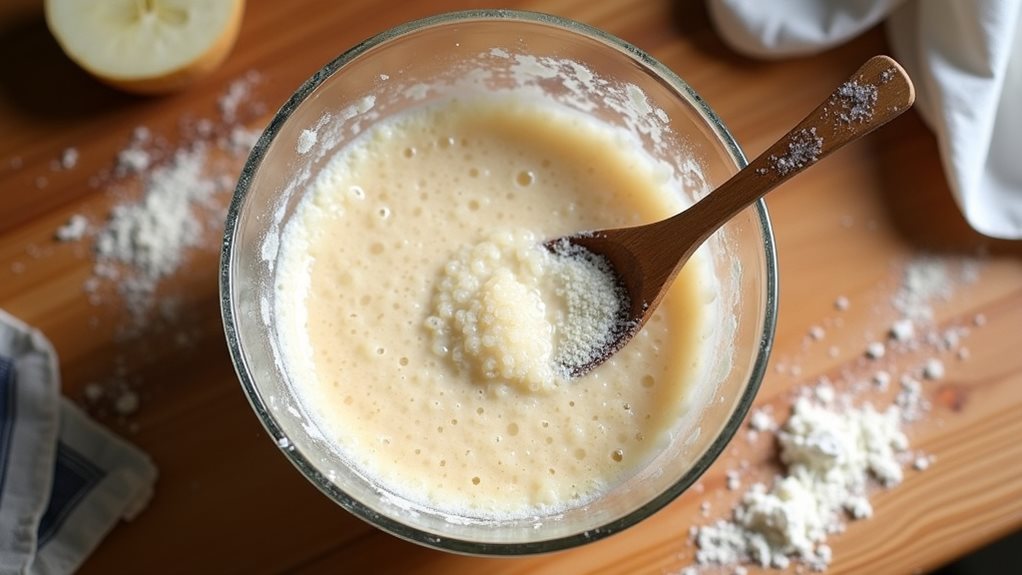
Making your own sourdough starter is like watching a little bit of kitchen magic unfold right before your eyes. To begin, you’ll need just a few simple ingredients: 1 package of dry yeast, 2 cups of warm water, 1 tablespoon of sugar, and 2½ cups of unbleached flour.
The process starts by sprinkling the yeast and sugar over the warm water in a large bowl, then giving it a good stir until everything dissolves. Let this mixture stand for about 5 minutes, during which time it should become wonderfully foamy—this is how you know the yeast is alive and ready to work its magic.
Next comes the flour. Add all 2½ cups to your foamy mixture and whisk until even. No lumps allowed in this batter, folks! Once it’s perfectly combined, cover the bowl and find a nice warm spot in your kitchen where it can rest undisturbed.
This is where patience comes into play. Over the next 2 to 3 days, your starter will begin to develop that characteristic sour aroma that gives sourdough its name. You’ll need to give it a gentle stir once daily—think of it as saying hello to your new fermenting friend. The mixture will bubble and change as the wild yeasts and bacteria develop, creating that complex flavor profile we all love.
When your starter has that pleasantly tangy smell (usually after 2-3 days), it’s ready for storage. Divide the mixture into 1-cup portions and place them in covered crocks or jars. Pop these in the refrigerator to slow down the fermentation process.
This recipe yields about 3 cups of starter, giving you enough for your first loaf plus some to keep the sourdough tradition going. Remember, this is just the beginning of your sourdough expedition—your starter is now ready to be used in the Sourdough Bread #2 recipe, where the real breadmaking adventure begins. For consistent results in your sourdough bread making, consider using a professional rice cooker to maintain the perfect warm environment for your starter.
Homemade Sourdough Starter Substitutions and Variations
While our basic starter recipe provides an excellent foundation, sourdough enthusiasts can explore numerous variations to create starters with different flavor profiles and characteristics.
I’ve found that substituting whole wheat, rye, or spelt flour for a portion of the unbleached flour yields more complex flavors and often accelerates fermentation.
You can also experiment with different sweeteners—honey or maple syrup instead of sugar will impart subtle flavor nuances.
For those seeking more distinctive character, try adding a tablespoon of yogurt, buttermilk, or even a splash of pineapple juice to your initial mixture, which helps lower the pH and discourages unwanted bacteria.
Remember to maintain the same hydration ratio when substituting ingredients.
I’ve discovered that environmental factors greatly influence your starter’s development, so you’ll need to adjust feeding schedules accordingly.
What to Serve with Homemade Sourdough Starter
Once your homemade sourdough starter has matured to perfection, you’ll find yourself with a culinary treasure that extends far beyond bread-making.
I recommend serving your tangy sourdough bread with rich, creamy European butter and locally-sourced honey for a simple yet divine combination.
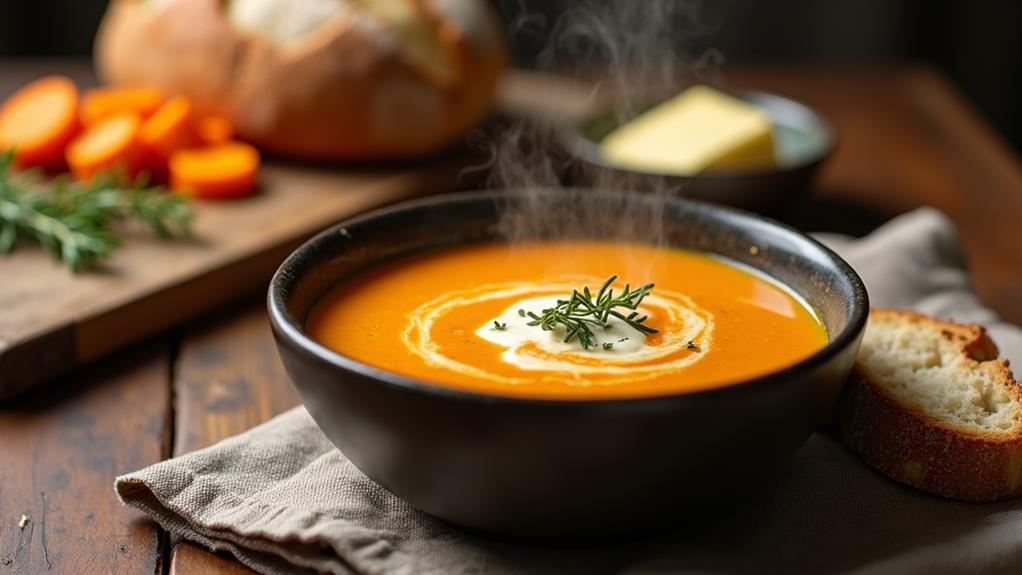
For heartier meals, pair your sourdough with robust soups like tomato bisque or beef stew, where the bread’s tangy notes balance the savory flavors beautifully.
Don’t overlook charcuterie boards either—the fermented notes in sourdough complement aged cheeses and cured meats exceptionally well.
I’ve found that sourdough also makes an outstanding foundation for bruschetta, crostini, or as the base for an enhanced grilled cheese sandwich.
The distinct flavor profile enhances everyday dishes to memorable culinary experiences without requiring complex preparations.
Final Thoughts
The adventure with sourdough bread transforms both your kitchen and your approach to baking.
I’ve found that maintaining a consistent feeding schedule for your starter guarantees it remains vibrant and ready when inspiration strikes. Don’t be discouraged by initial failures—sourdough is as much about patience as technique.
Remember, your starter is a living culture that improves with age. I recommend keeping notes on each bake, tracking how different flours, temperatures, and proofing times affect your results. This documentation becomes invaluable as you refine your process.
The expedition doesn’t end with mastering basic sourdough. I encourage you to experiment with mix-ins, various flour combinations, and shaping techniques that make each loaf uniquely yours.
The sourdough community is wonderfully supportive—connect with fellow bakers to share your successes and challenges.
Consider that sourdough is a form of fermentation that works best in a controlled environment with optimal temperature range of 65F to 75F for the most flavorful results.