Like a blank canvas awaiting an artist's touch, Easter chocolate pots with pick 'n' mix toppings invite you to express your culinary creativity. You'll find that these rich, velvety desserts aren't just another chocolate treat; they're an opportunity to craft personalized masterpieces that reflect your style and taste preferences. Whether you're drawn to the crunch of crushed Mini Eggs, the chew of marshmallow bunnies, or the tartness of dried fruit, you'll discover endless possibilities for making these pots uniquely yours. But before you start mixing and matching your favorite toppings, there's an art to creating the perfect chocolate base.
Key Takeaways
- Easter Chocolate Pots combine rich dark chocolate and cream, chilled for 8-12 hours until set with a silky-smooth texture.
- Toppings should be added after slight softening, allowing for creative arrangements of Easter candies and seasonal decorations.
- Create custom combinations using candies, sprinkles, crushed cookies, or fresh fruit for personalized Pick 'N' Mix variations.
- Remove desserts from refrigerator 20 minutes before serving and add toppings just before presentation for optimal texture.
- The make-ahead nature allows preparation up to 48 hours in advance, perfect for stress-free Easter entertaining.
History
Chocolate pots have delighted dessert lovers since the 18th century, though their Easter-themed variations didn't emerge until the Victorian era. You'll find that these elegant desserts originated in France, where aristocrats would serve hot chocolate in ornate ceramic vessels called "chocolatières," often accompanied by delicate pastries.
During the Victorian period, you'll notice that the tradition evolved when British confectioners began creating special chocolate-based desserts for Easter celebrations. They'd prepare these treats in small, decorative pottery containers that you could either keep as keepsakes or dispose of after use. The practice gained popularity as chocolate became more accessible to middle-class families in the late 1800s.
You'll discover that modern Easter chocolate pots are quite different from their historical counterparts, as they're typically served cold rather than hot and feature layers of mousse, ganache, or pudding.
While traditional chocolate pots were primarily drinking vessels, today's versions are more closely related to French pots de crème, which you'll recognize as individual portions of rich, creamy chocolate desserts perfect for holiday celebrations.
Recipe
Easter Chocolate Pots are a decadent dessert that combines rich chocolate with subtle hints of spices traditionally associated with Easter treats. These individual servings provide the perfect balance of smooth, creamy texture and intense chocolate flavor, making them an elegant finale to any Easter celebration.
The beauty of these chocolate pots lies in their simplicity, despite their sophisticated appearance. The dessert can be prepared ahead of time, allowing hosts to focus on other aspects of their Easter gathering while still presenting a memorable dessert that captures the essence of the holiday.
Ingredients:
- 8 oz dark chocolate (70% cocoa), chopped
- 2 cups (475ml) heavy cream
- 1/4 cup (60ml) whole milk
- 3 large egg yolks
- 2 tablespoons (30g) granulated sugar
- 1/4 teaspoon ground cinnamon
- 1/8 teaspoon ground nutmeg
- Pinch of sea salt
- Mini chocolate eggs for garnish
Place the chopped chocolate in a heatproof bowl. Heat the cream and milk in a saucepan until just simmering. In a separate bowl, whisk egg yolks with sugar until pale. Slowly pour the hot cream mixture into the egg mixture, whisking constantly. Return the mixture to the saucepan and cook over low heat until it thickens slightly. Pour over the chocolate, add spices and salt, and stir until smooth. Divide between six ramekins and refrigerate for at least 4 hours or overnight. Garnish with mini eggs before serving.
For best results, ensure all ingredients are at room temperature before beginning. The chocolate should be finely chopped to ensure even melting, and the cream mixture should never reach a full boil to prevent curdling.
The desserts can be made up to 48 hours in advance and kept covered in the refrigerator. Remove from the refrigerator 20 minutes before serving to allow the chocolate to soften slightly and develop its full flavor profile.
Cooking Steps
You'll start by carefully melting your chocolate over a pot of gently simmering water, stirring occasionally until smooth and glossy.
Next, you'll combine the melted chocolate with warmed heavy cream, whisking until perfectly blended, before pouring the mixture into individual serving bowls and generously sprinkling your favorite Easter candy toppings.
After adding the toppings, you'll need to refrigerate the chocolate pots overnight until they're completely firm and ready to serve.
Step 1. Melt Chocolate Over Steam
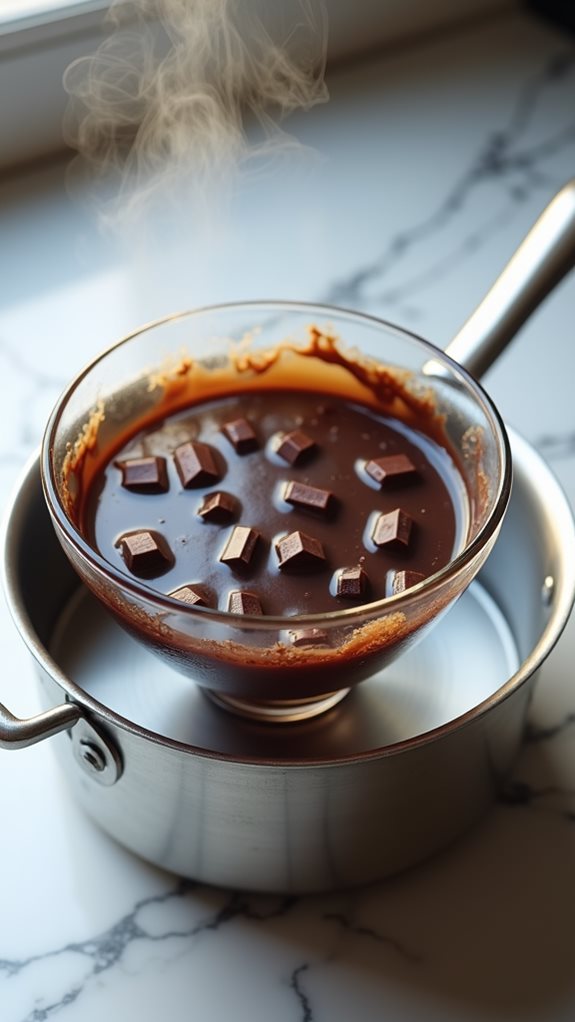
Begin by creating a double boiler setup: place a heatproof bowl over a pot filled with about 2 inches of simmering water, ensuring the bowl doesn't touch the water's surface.
Break your chocolate into small, uniform pieces and place them in the bowl, which will help them melt evenly and prevent scorching.
As the chocolate begins to melt, you'll want to stir it gently with a rubber spatula every 30 seconds, making sure to scrape the sides of the bowl where chocolate can stick.
Don't let any water splash into the bowl, as even a few drops can cause your chocolate to seize and become grainy. The steam's gentle heat will gradually transform your chocolate into a smooth, glossy mixture.
You'll know your chocolate is properly melted when it's completely smooth and maintains a temperature between 88-90°F (31-32°C) for dark chocolate, or 86-88°F (30-31°C) for milk chocolate.
Once it reaches this stage, remove the bowl from the heat, but continue stirring for another minute to ensure even temperature distribution throughout the mixture.
Step 2. Mix Cream With Chocolate
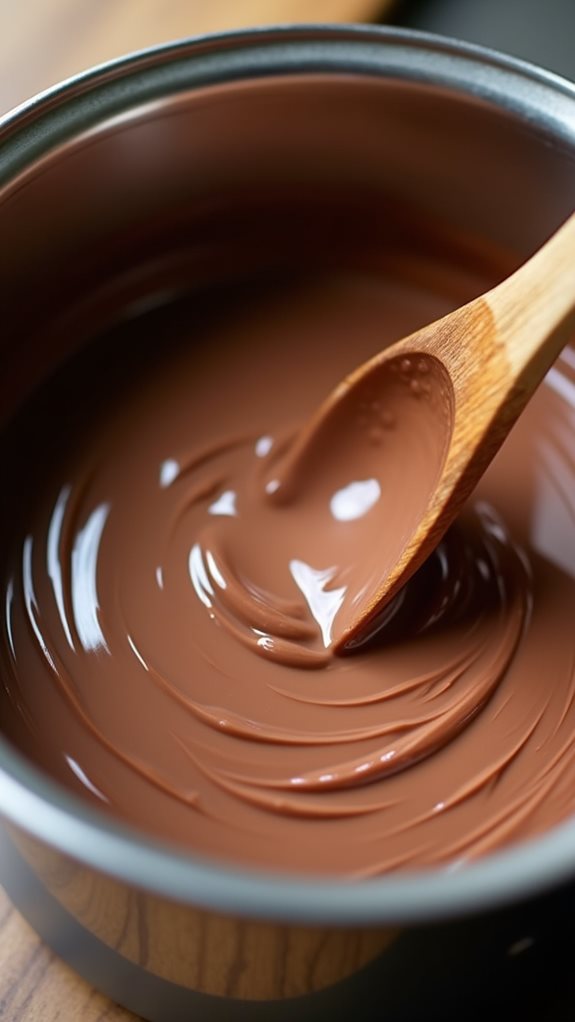
Gently warming heavy cream is your next crucial step. Pour one cup of heavy cream into a small saucepan and heat it over medium-low heat until you see small bubbles forming around the edges, but don't let it boil.
You'll want to stir occasionally to ensure even heating and prevent a skin from forming on top.
Once your cream reaches the right temperature, you'll need to combine it with your melted chocolate. Remove both the cream and chocolate from their heat sources, then slowly pour about one-third of the warm cream into the chocolate bowl.
Using a rubber spatula, stir from the center outward in small, consistent circles until the mixture begins to come together. Continue adding the remaining cream in two more portions, maintaining the same stirring technique throughout the process.
You'll notice the mixture becoming smoother and more uniform with each addition. Keep stirring until you've achieved a glossy, silken texture with no streaks or lumps. This method of combining, known as creating a ganache, ensures your chocolate pots will have the perfect creamy consistency when they set.
Step 3. Pour Into Serving Bowls

With your ganache ready to pour, select four to six small ramekins or dessert bowls, making sure they're clean and completely dry.
Position your serving vessels on a stable, flat surface where they won't need to be moved until the chocolate has set. You'll want to distribute the mixture evenly among your chosen containers.
Carefully pour the warm chocolate mixture into each vessel, leaving about a quarter-inch of space at the top to allow for toppings later. If you notice any air bubbles forming on the surface, gently tap each container against the counter to release them.
Don't worry if the ganache looks slightly runny at this stage – it'll thicken as it cools. For the most professional finish, use a small spatula or the back of a spoon to smooth the top surface of each pot.
Once you've filled all your containers, you'll need to let them set. Transfer them carefully to the refrigerator, making sure they're positioned on a level shelf.
They'll need at least two hours to achieve the perfect silky texture, though you can leave them overnight if you're preparing ahead.
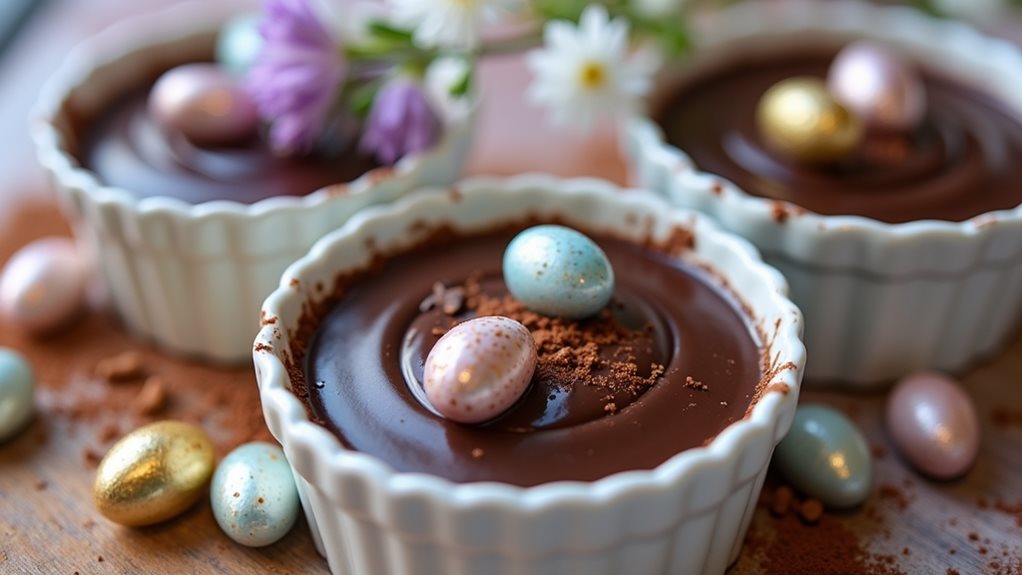
Step 4. Add Candied Toppings Generously
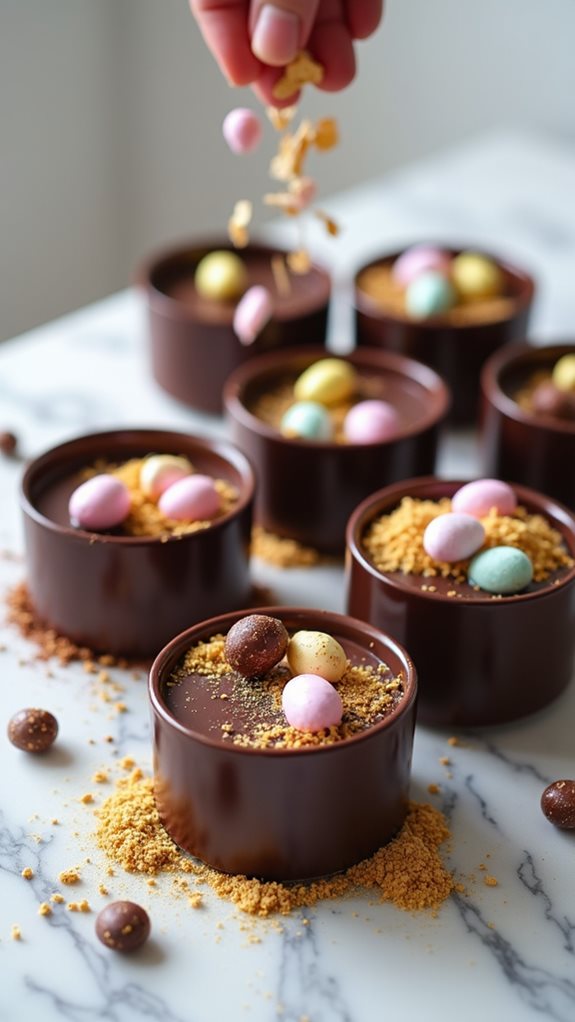
Once your chocolate pots have set completely, it's time to transform them into festive Easter treats with an array of candied toppings. Start by gathering your selection of Easter-themed decorations, including mini chocolate eggs, pastel-colored sprinkles, crushed chocolate bunnies, and colorful jelly beans.
Begin decorating by placing larger items, such as mini eggs or chocolate bunny pieces, in the center of each chocolate pot, creating a focal point that draws the eye.
Next, scatter smaller candies and sprinkles around these centerpieces, ensuring you've created an even distribution of colors and textures. You'll want to press the toppings gently into the surface of the chocolate to prevent them from rolling off, but don't push too hard or you'll break through the set top layer.
For added visual interest, try creating patterns with your toppings, such as concentric circles or spoke-like arrangements.
If you're using multiple chocolate pots, consider varying the decoration schemes while maintaining a cohesive Easter theme. Remember to work quickly while adding your toppings, as the warmth from your hands can slightly soften the chocolate's surface.
Step 5. Chill Overnight Until Firm
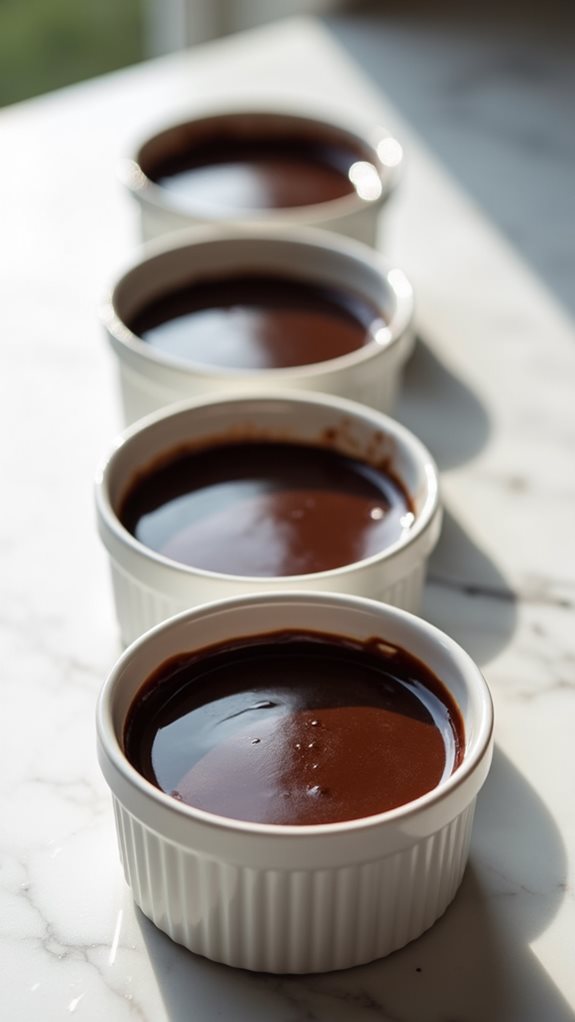
Before adding any decorative toppings, your chocolate pots must properly set through overnight chilling. Place your filled ramekins or dessert glasses on a level shelf in your refrigerator, ensuring they're positioned securely to prevent any spillage.
You'll want to chill them for at least 8 hours, though 12 hours will give you the ideal firmness for the perfect chocolate pot consistency.
While the pots are chilling, resist the urge to disturb them or check their progress too frequently, as this can affect the setting process and temperature stability.
You'll know they're properly set when the surface appears matte rather than glossy, and there's no movement when you gently tap the side of the container.
If you're planning to serve these at a specific time, factor in about 15-20 minutes of standing time at room temperature before serving – this will allow the chocolate to soften slightly, bringing out the full depth of flavors.
During this brief warming period, you can begin adding your chosen toppings, ensuring they'll adhere properly to the slightly softened surface.
Final Thoughts
These chocolate pots make a perfect Easter dessert that'll wow your dinner guests while keeping your stress levels low.
You'll appreciate how the make-ahead nature of this recipe allows you to focus on other aspects of your Easter celebration, knowing your dessert is ready and waiting in the refrigerator.
When you're planning your Easter menu, consider that these chocolate pots offer incredible versatility with their pick 'n' mix toppings.
You can adjust the richness by selecting different chocolate varieties, from intense dark chocolate to creamy milk chocolate, depending on your guests' preferences. If you're serving children, you might want to reduce the chocolate's cocoa percentage for a milder taste.
Remember that while these pots will keep for up to three days in the refrigerator, their texture is best within the first 48 hours.
You'll find that the smooth, silky consistency makes them an excellent alternative to traditional Easter desserts, and their elegant presentation in individual servings eliminates the need for last-minute plating.
Don't hesitate to experiment with seasonal toppings to make this recipe your own signature Easter dessert.
[DIRECTIONS]: