You've likely encountered parfaits at upscale restaurants or elegant brunch settings, but you'll find that creating this classic French dessert at home isn't as daunting as it might appear. The combination of billowy whipped cream and fresh berries, artfully layered in a clear glass, transforms simple ingredients into a sophisticated treat. While its origins trace back to 19th century French cuisine, today's parfait has evolved into a versatile dessert that you can adapt to your preferences. As we explore the history and technique behind this elegant creation, you'll discover why it remains a timeless favorite for both casual gatherings and special occasions.
Key Takeaways
- Whip chilled heavy cream until soft peaks form, gradually adding sugar and vanilla for a stable, sweet base.
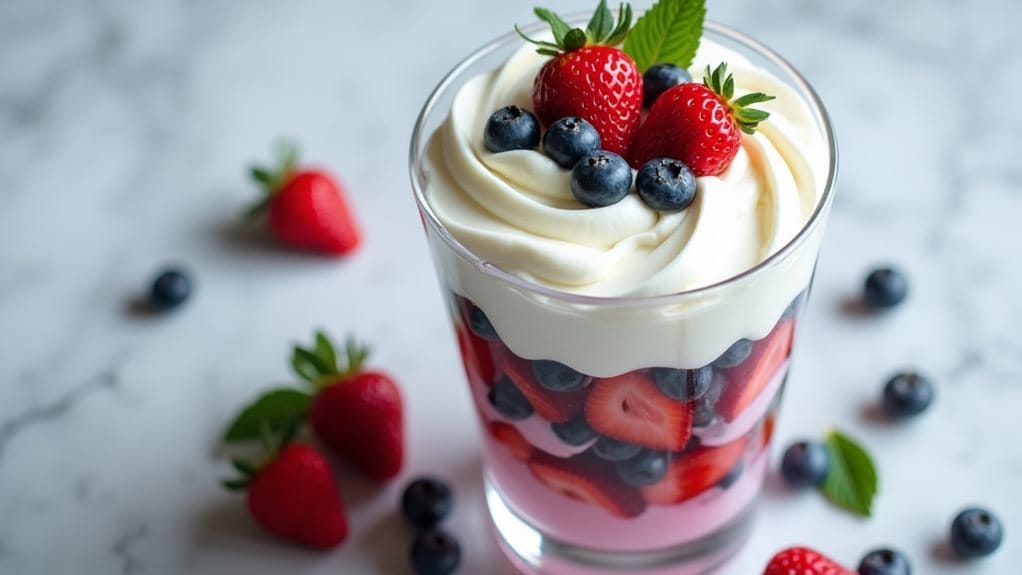
- Layer whipped cream and mixed berries alternately in clear glasses, creating distinct visual layers for presentation.
- Chill parfait glasses and mixing equipment for 15 minutes before preparation to achieve optimal whipped cream texture.
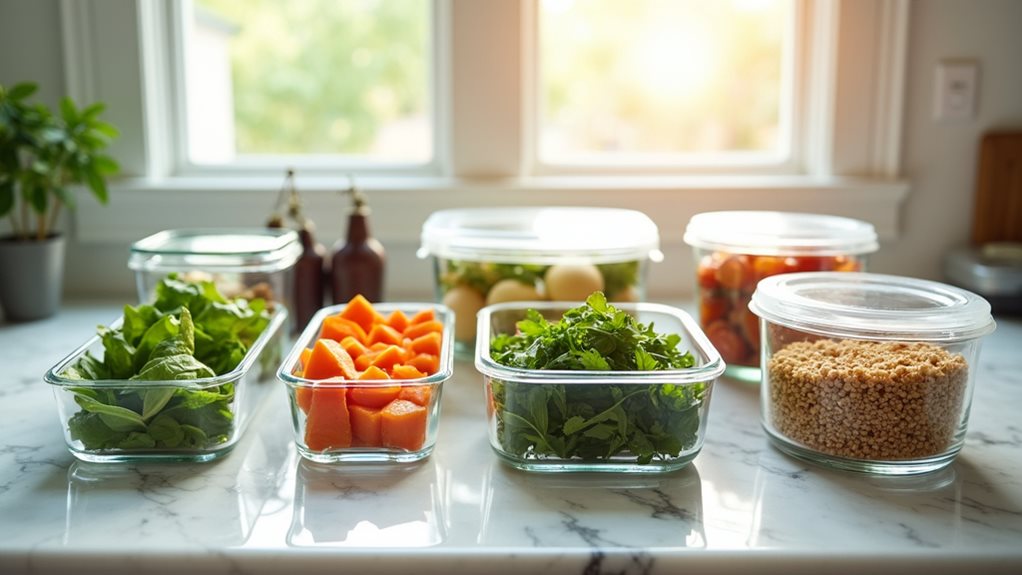
- Assemble parfaits up to 2 hours before serving and store in refrigerator at 38-40°F for best results.
- Garnish with fresh berries and mint leaves just before serving for maximum visual appeal and freshness.
History
The origins of the parfait stretch back to 19th century France, where the word "parfait" literally means "perfect."
Originally, French parfaits weren't the layered desserts we know today but were instead frozen custards made with cream, eggs, and sugar.
You'll find that the evolution of the parfait into its modern form began in America during the early 20th century, when restaurants and soda fountains started creating layered ice cream desserts.
These establishments would often serve their parfaits in tall, narrow glasses that showed off the distinctive layers.
By the 1950s, you'd commonly see parfaits featuring alternating layers of ice cream, fruit, and whipped cream.
Today's berry parfait represents a lighter, more health-conscious adaptation of these earlier versions.
You're now more likely to encounter parfaits made with fresh fruits, yogurt, or whipped cream rather than the heavier frozen custards of their French origins.
The visual appeal of layered parfaits hasn't changed, though – they've maintained their reputation as an elegant dessert that's as beautiful as it's delicious.
Recipe
Whipped Cream and Berry Parfait
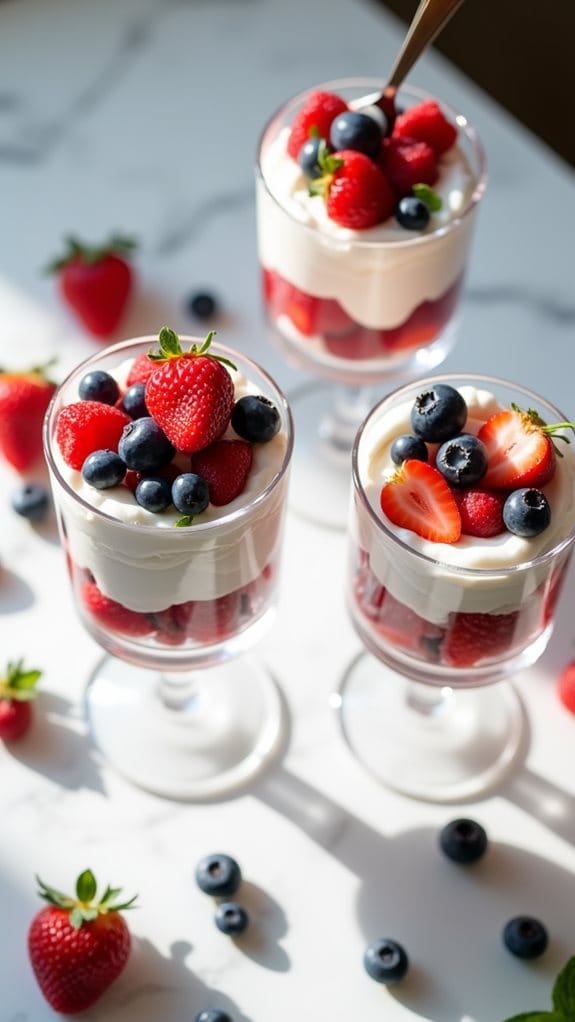
This classic parfait combines the luxurious texture of freshly whipped cream with the vibrant flavors of mixed berries. The elegant layered presentation transforms simple ingredients into an impressive dessert that's perfect for any occasion, from casual family dinners to elegant dinner parties.
This versatile dessert can be adapted using any seasonal fruits, making it an excellent year-round option. The combination of sweetened whipped cream and fresh berries creates a perfect balance of flavors, while the clear glass serving vessels showcase the beautiful layered presentation.
Ingredients:
- 2 cups heavy whipping cream (480ml)
- 2 cups mixed berries (300g)
- ¼ cup granulated sugar (50g)
- 1 teaspoon vanilla extract (5ml)
- 2 tablespoons powdered sugar (15g)
Chill a large mixing bowl and whisk attachment in the freezer for 15 minutes. Using the chilled equipment, whip the heavy cream until soft peaks form. Add both granulated and powdered sugar along with vanilla extract, then continue whipping until stiff peaks develop.
Wash and thoroughly dry the berries. In clear parfait glasses or dessert dishes, create alternating layers beginning with whipped cream, followed by berries. Continue this layering process until reaching the top of each glass, finishing with a generous dollop of whipped cream and garnishing with fresh berries.
For optimal results, ensure all ingredients are well-chilled before beginning. Watch the cream carefully while whipping, as over-whipping can result in a grainy, butter-like texture.
These parfaits can be assembled up to 2 hours before serving and stored in the refrigerator. When making ahead, reserve some fresh berries for the final garnish just before serving to maintain their appearance and prevent bleeding into the cream.
Cooking Steps
Start your parfait preparation by chilling your mixing bowl and whisk in the freezer for 15 minutes, which ensures the cream will whip to perfect peaks.
You'll want to whip the cream until soft peaks form, then add both granulated and powdered sugars along with vanilla extract, continuing to whip until stiff peaks develop.
Layer your whipped cream and berries alternately in clear glasses, finishing with a dollop of cream and fresh berries on top, and if you'd like, garnish with mint leaves before serving these beautiful parfaits immediately.
Step 1. Chill Equipment Before Whipping
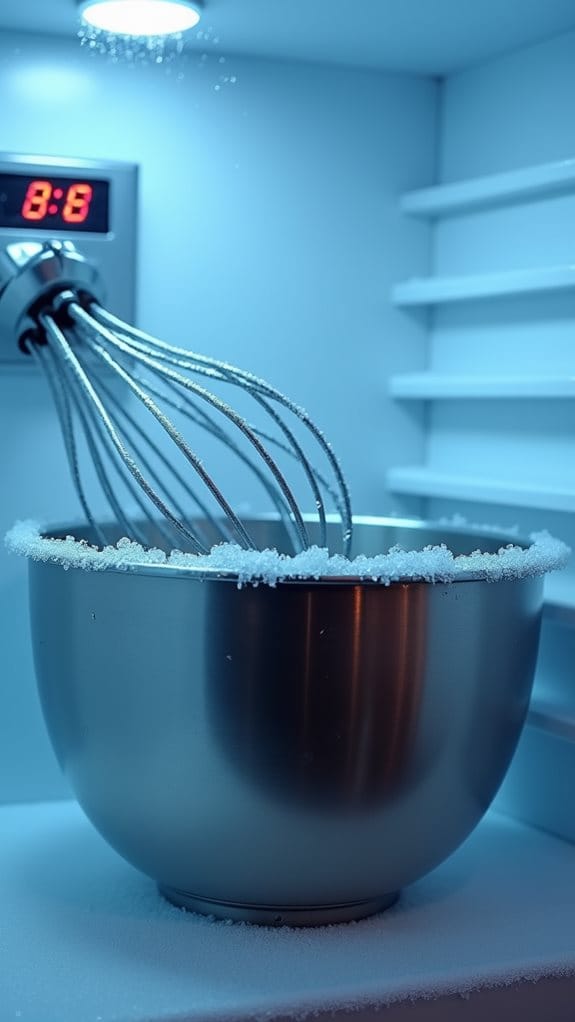
Before starting your parfait preparation, place a large mixing bowl and whisk attachment in the freezer for 15 minutes. This crucial step will significantly improve the quality of your whipped cream, as cold equipment helps stabilize the fat molecules in the cream, leading to better volume and texture.
While you're waiting for your equipment to chill, you can use this time efficiently by measuring out your ingredients and preparing your berries. You'll notice a remarkable difference in how quickly the cream whips when using chilled equipment, and the resulting texture will be notably smoother and more stable.
If you're using a stand mixer, you'll want to chill both the bowl and the whisk attachment; for a hand mixer, just the bowl needs to be frozen.
Don't skip this chilling step, even if you're short on time. The temperature of your equipment directly affects how well the cream holds its shape, which is essential for creating those beautiful, distinct layers in your parfait.
If your cream isn't properly whipped, it won't maintain its structure, and your layers might blend together.
Step 2. Add Sugars to Cream
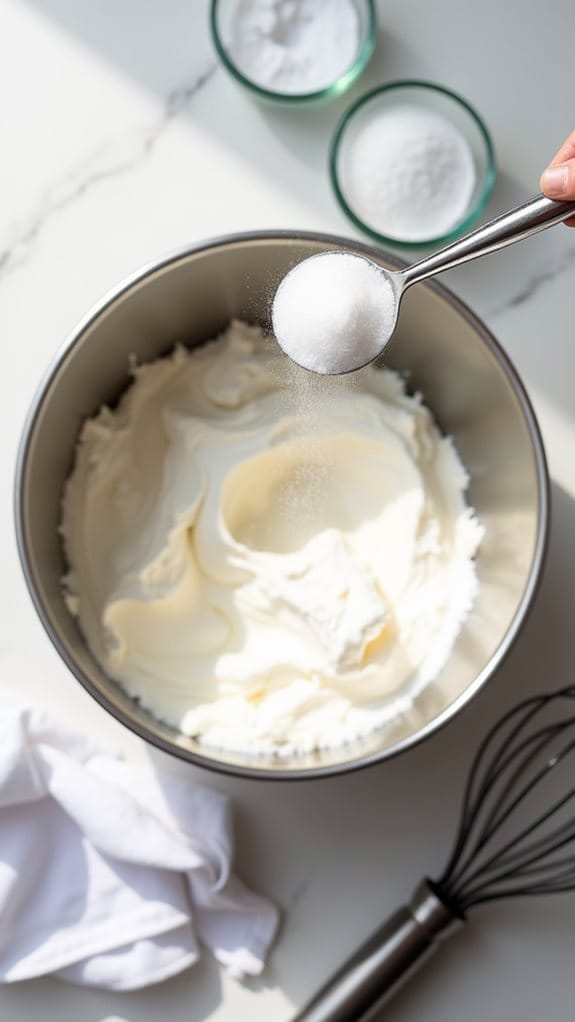
Once your cream begins forming soft peaks, it's time to incorporate both the granulated and powdered sugars. You'll want to add the sugars gradually while continuing to whip the cream, ensuring they dissolve completely into the mixture. The combination of granulated and powdered sugar creates an ideal sweetness level while helping to stabilize your whipped cream for longer-lasting peaks.
As you're adding the sugars, keep a close eye on the cream's texture. You'll want to maintain a steady whipping speed, neither too fast nor too slow, as you incorporate the ¼ cup of granulated sugar followed by the 2 tablespoons of powdered sugar.
Don't forget to add the teaspoon of vanilla extract during this process, as it'll blend more evenly while the cream is still being whipped. Continue beating until you achieve stiff peaks, which you can test by lifting your whisk – the peaks should stand straight up with just a slight curl at the tip.
Be careful not to over-whip at this stage, as the cream can quickly transform from perfectly whipped to butter-like in texture.
Step 3. Layer Berries in Glasses
Clear glass vessels serve as your canvas for creating stunning parfait layers. Begin your artful assembly by spooning a generous layer of the freshly whipped cream into the bottom of each glass, ensuring it's evenly distributed and reaches the sides. You'll want this initial layer to be about 1 inch thick to establish a stable foundation.
Next, carefully place a layer of mixed berries on top of the cream, spacing them evenly to create visual appeal. Don't crowd the berries; instead, allow them to settle naturally into the cream.
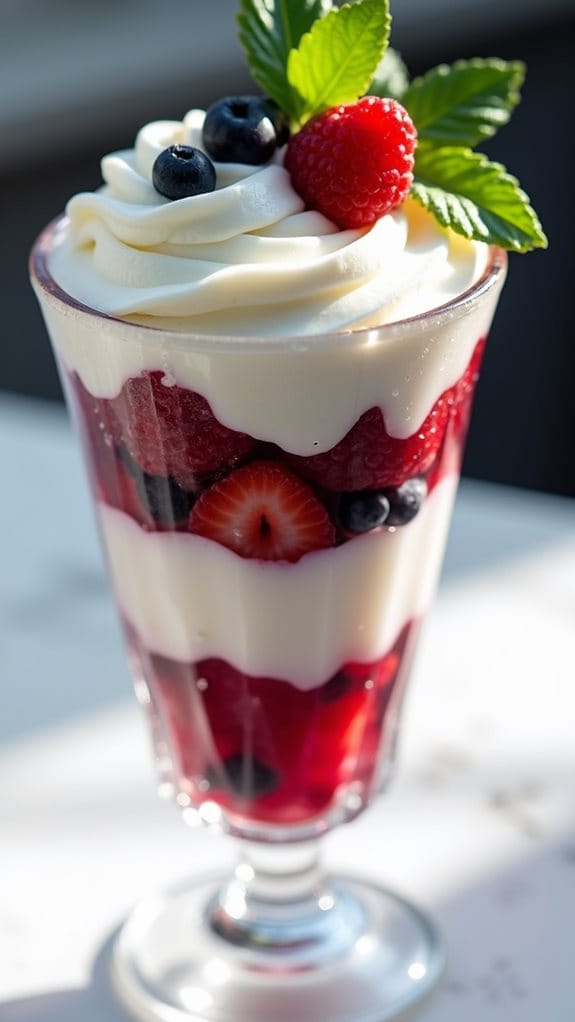
Continue alternating layers of whipped cream and berries until you're about half an inch from the rim of each glass. You'll typically achieve three to four complete sets of layers, depending on your glass size.
For the finishing touch, add a final dollop of whipped cream and crown it with your most attractive berries. If you're working with different types of berries, try creating patterns or deliberately placing specific varieties in each layer.
Remember to press gently as you layer to avoid crushing the berries while ensuring there aren't any gaps between layers.
Step 4. Garnish With Fresh Mint
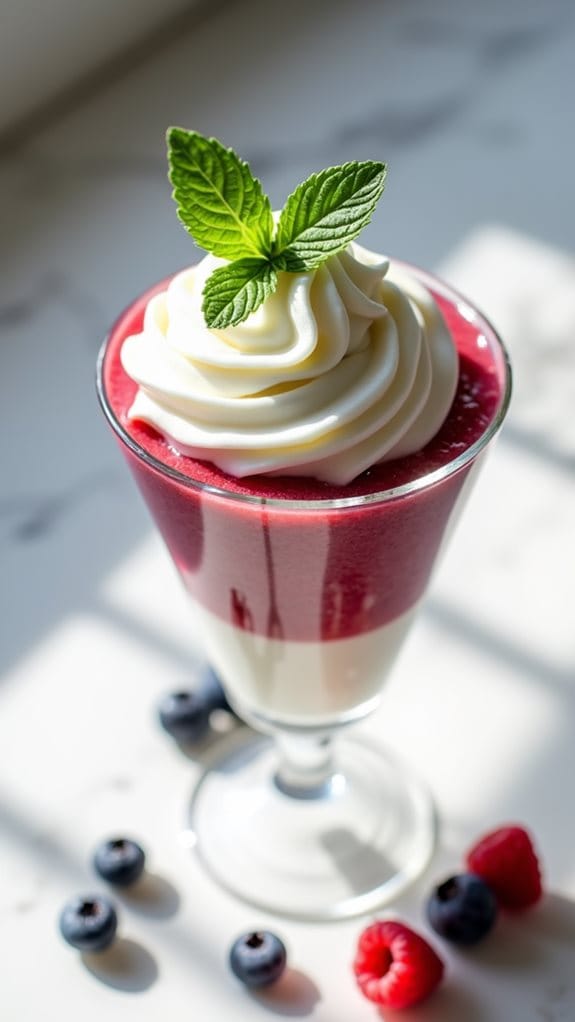
Fresh mint leaves provide the perfect finishing touch to your berry parfaits, adding both visual appeal and a subtle aromatic element. Before garnishing, you'll want to select small, vibrant mint leaves that aren't bruised or discolored, as these will create the most striking presentation against the white cream and colorful berries.
To prepare the mint garnish, gently wash the leaves under cool running water and pat them completely dry with paper towels. You don't want water droplets diluting the whipped cream or causing the berries to shift.
Place one or two mint leaves at an angle on top of the final whipped cream layer, positioning them so they'll be immediately visible to your guests. If you're feeling creative, you can also tuck smaller mint leaves between the parfait layers for an unexpected burst of freshness throughout the dessert.
For special occasions, you might consider creating a cluster effect by grouping three small mint leaves together, or creating a mint-and-berry combination on top that draws the eye.
Don't add the mint until just before serving, as it can wilt if left too long in the refrigerator.
Step 5. Chill Before Serving Immediately
After garnishing your parfaits with mint, proper chilling becomes the final key to serving success. Place your assembled parfaits in the refrigerator for at least 30 minutes, allowing the layers to settle and the flavors to meld together perfectly.
You'll want to maintain a consistent temperature of 38-40°F (3-4°C) to ensure the whipped cream stays firm and the berries remain fresh.
Don't leave your parfaits in the refrigerator for more than 2 hours before serving, as the berries may start to release their juices and the whipped cream could begin to deflate. If you've prepared the components ahead of time, it's best to store them separately and assemble just before the chilling period.
When you're ready to serve, remove the parfaits from the refrigerator and present them immediately while they're still perfectly chilled.
You'll notice that the cold temperature enhances the dessert's refreshing quality and helps maintain the distinct layers that make parfaits so visually appealing. The contrast between the cool, creamy texture and the fresh berries will be at its peak when served right after chilling.
Final Thoughts
Throughout the preparation of this delightful parfait, you'll discover that mastering the art of layering creates an impressive dessert that's both simple and sophisticated. The key to success lies in your attention to detail, from properly chilling your equipment to achieving the perfect whipped cream consistency.
You'll find that this versatile dessert can adapt to your needs throughout the year, allowing you to showcase whatever fresh fruits are in season. Don't hesitate to experiment with different berry combinations or even venture into other fruits like peaches, mangoes, or pomegranates.
While the recipe provides specific measurements, you can adjust the sweetness to your taste by modifying the amount of sugar you add to the whipped cream. Remember that the natural sweetness of your chosen fruits will also influence the overall flavor profile.
Whether you're serving these parfaits at a casual brunch or an elegant dinner party, they'll never fail to impress your guests with their beautiful presentation and harmonious blend of flavors and textures.
With practice, you'll develop an intuitive sense for creating perfectly balanced layers that delight both the eye and palate.