To master advanced chocolate tempering, you'll need to understand the science behind cocoa butter crystals and precise temperature control. Start by melting your chocolate to the correct temperature: 45-50°C for dark, 40-45°C for milk or white. Cool it to 27-28°C to initiate beta crystal formation, then rewarm to 31-32°C for stabilization. Use seeding methods by adding 10-20% pre-tempered chocolate, and employ gentle agitation techniques to ensure even crystallization. Maintain a controlled environment and monitor temperatures closely with a digital thermometer. By mastering these techniques, you'll achieve that coveted glossy sheen and perfect snap. Uncover the secrets to perfecting your chocolate creations and elevating your confectionery skills.
The Science Behind Chocolate Tempering
Three key factors underpin the science of chocolate tempering: crystal structure, temperature control, and chemical reactions.
When you delve into the world of chocolate tempering, you're navigating a complex landscape of cocoa butter crystals. Of the six types that exist, only the elusive beta crystals provide the desired qualities for properly tempered chocolate. To achieve these prized crystals, you'll need to master precise temperature manipulation.
The science of chocolate tempering demands meticulous attention to detail. You'll start by melting your chocolate to specific temperatures: 45-50°C for dark chocolate and 40-45°C for milk or white varieties.
Then, you'll cool it to 27-28°C, initiating the formation of those coveted beta crystals. This process ensures your chocolate develops a glossy finish and satisfying snap.
But there's more to tempering than just crystal formation. The Maillard reaction, occurring during processing, contributes to the development of complex flavors.
When combined with proper tempering, this reaction enhances the overall tasting experience, elevating your chocolate creations to new heights of sensory perfection.
Mastering Temperature Control Techniques
When it comes to mastering chocolate tempering, precise temperature control is the linchpin of success. Quality chocolate demands meticulous attention to thermal stages, ensuring optimal crystallization for that perfect snap and glossy finish.
You'll need to melt dark chocolate to 45-50°C, then cool it to 27-28°C before reheating to 31-32°C. This process is essential for achieving the stable beta crystals that define well-tempered chocolate.
To navigate these temperature shifts with precision, you'll rely on a digital chocolate thermometer. This tool is your compass, guarding against overheating and maintaining tempering potential.
As you cool the chocolate, employ agitation techniques like stirring or spatula work. These methods distribute heat evenly, promoting uniform crystal formation.
Don't overlook your environment; ambient conditions play a crucial role. Room temperature and humidity can significantly impact your results, so aim for a controlled setting.
Advanced Seeding Methods Explained
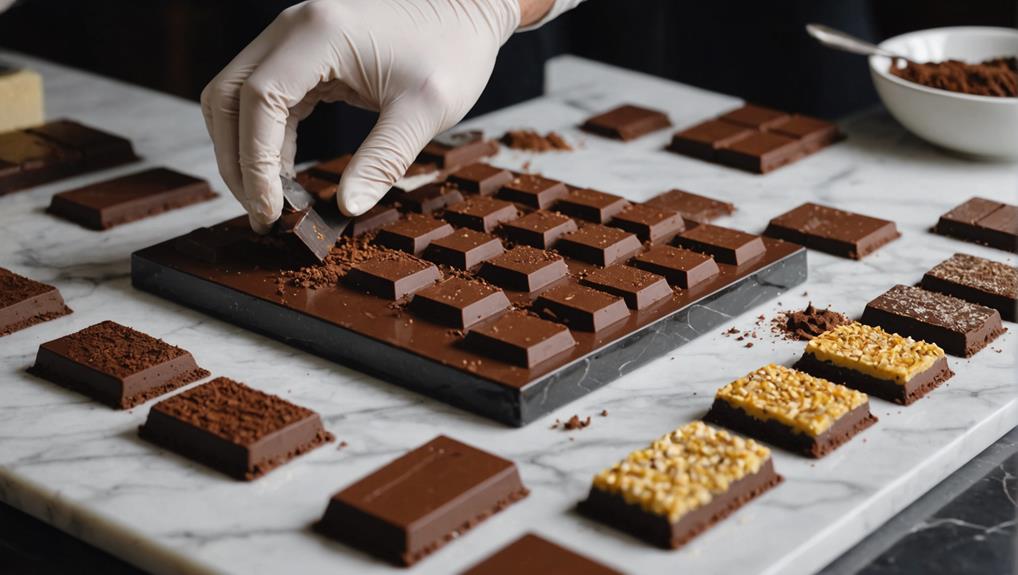
After mastering temperature control, it's time to delve into advanced seeding methods. When tempering chocolate, you'll want to embrace this innovative technique to achieve that coveted glossy finish. The secret lies in adding small, pre-tempered chocolate pieces to your melted chocolate, typically 10-20% of the total weight. This process stabilizes crystallization and encourages the formation of desirable beta crystals.
To execute this method effectively, finely chop your tempered chocolate for seeding. Smaller pieces melt more quickly, distributing stable crystals evenly throughout the mixture. As you add the seed chocolate, closely monitor the temperature, aiming for a rewarming range of 31-32°C (87.8-89.6°F) for dark chocolate.
Mastering The Art of advanced seeding opens up exciting possibilities for flavor experimentation. You can incorporate flavor-infused chocolate as your seeding material, adding complexity to your creations while maintaining perfect tempering.
This technique allows you to push the boundaries of chocolate craftsmanship, elevating your skills and producing consistently superior results. By mastering advanced seeding methods, you'll unlock new levels of precision and creativity in your chocolate tempering journey.
Perfecting Agitation for Optimal Results
When tempering chocolate, you'll need to master specific stirring techniques that promote optimal crystal formation.
Your choice of equipment, such as a rubber spatula or specialized tempering tools, can significantly impact your ability to maintain controlled movement during the process.
Stirring Techniques for Tempering
The art of stirring plays a crucial role in achieving perfectly tempered chocolate. To master this essential technique, you'll need to employ specific stirring techniques that are essential for achieving optimal results.
Begin by using a rubber spatula to gently agitate the melted chocolate, avoiding the incorporation of air bubbles that can compromise texture. As you temper chocolate, maintain a consistent, gentle motion, such as circular or figure-eight patterns, to promote even heat distribution and crystal formation.
Temperature monitoring is paramount during the stirring process. Keep a watchful eye on your thermometer, ensuring the chocolate remains within the ideal working range of 31-32°C (87.8-89.6°F) for dark chocolate. This precision helps achieve optimal crystallization and prevents overheating.
To further enhance the tempering process, consider incorporating "seeding" chocolate. Add small pieces of pre-tempered chocolate to your melted batch while stirring, encouraging the formation of stable cocoa butter crystals. This technique not only aids in achieving a glossy finish but also contributes to that satisfying snap in your final product.
Agitation Impact on Crystals
Mastering the art of agitation takes your chocolate tempering skills to the next level. As you embark on this crucial step, remember that agitation during tempering plays a pivotal role in forming beta cocoa butter crystals, essential for achieving that coveted glossy appearance and satisfying snap.
You'll want to agitate gently and consistently, using a spatula or stirring method that doesn't introduce air bubbles. Timing is key: start agitating when the chocolate reaches 27-28°C (80.6-82.4°F). This temperature sweet spot promotes stable crystal formation, ensuring your chocolate sets perfectly.
Adjust your technique based on the chocolate type you're working with. Dark chocolate may demand more vigorous stirring compared to its milk counterpart.
As you agitate, pay close attention to temperature distribution. Proper agitation during the cooling phase guarantees uniform texture and stability in your final product.
Equipment for Controlled Movement
Several key pieces of equipment can elevate your agitation technique, ensuring optimal results in chocolate tempering. The Art of Tempering relies heavily on controlled movement, and you'll find that certain tools are indispensable for achieving the perfect texture and finish.
An offset spatula or rubber spatula is your go-to instrument for consistent agitation. These tools allow you to maintain precise control over the chocolate's movement, promoting the formation of stable beta crystals.
When working with the tabling method, a marble or granite surface is ideal. These materials provide a cool environment that's crucial for the proper cooling of melted chocolate while allowing you to maintain exact control over movement.
For the seeding method, you'll need to incorporate Tempered Chocolate pieces into melted chocolate. This process requires gentle yet thorough agitation to ensure even mixing and effective stabilization of cocoa butter crystals.
Stabilizing Chocolate for Professional Finish
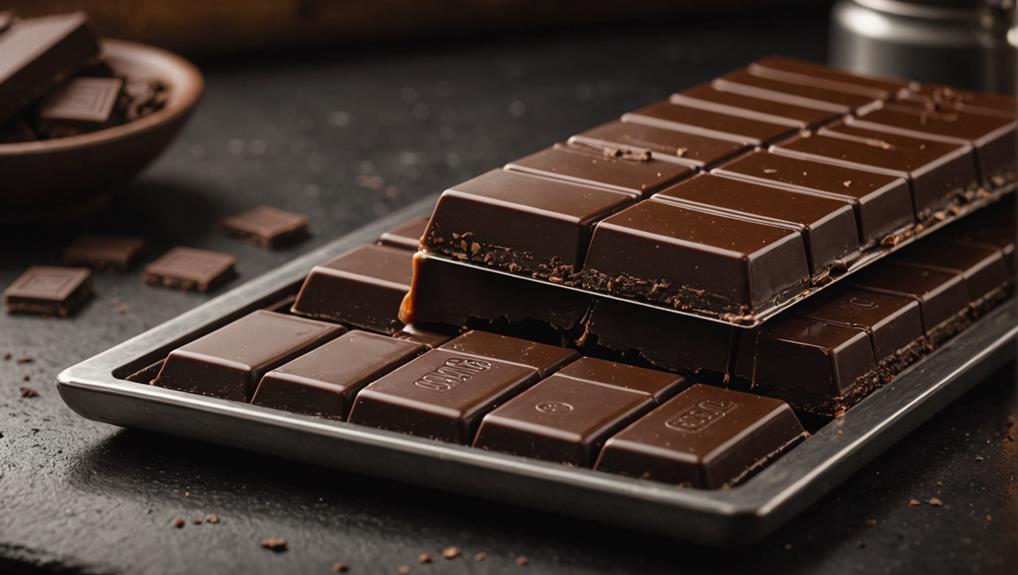
Chocolate's allure lies not only in its taste but also in its appearance and texture. The science behind chocolate stabilization reveals the key to achieving that coveted glossy finish and satisfying snap.
To master this art, you'll need to understand the precise temperature control required for each type of chocolate. Dark chocolate demands melting between 45-50°C, while milk and white chocolates prefer a gentler 40-45°C range.
The magic happens during cooling, where you'll aim for 27-28°C to form those crucial beta crystals. This step is where the professional finish takes shape.
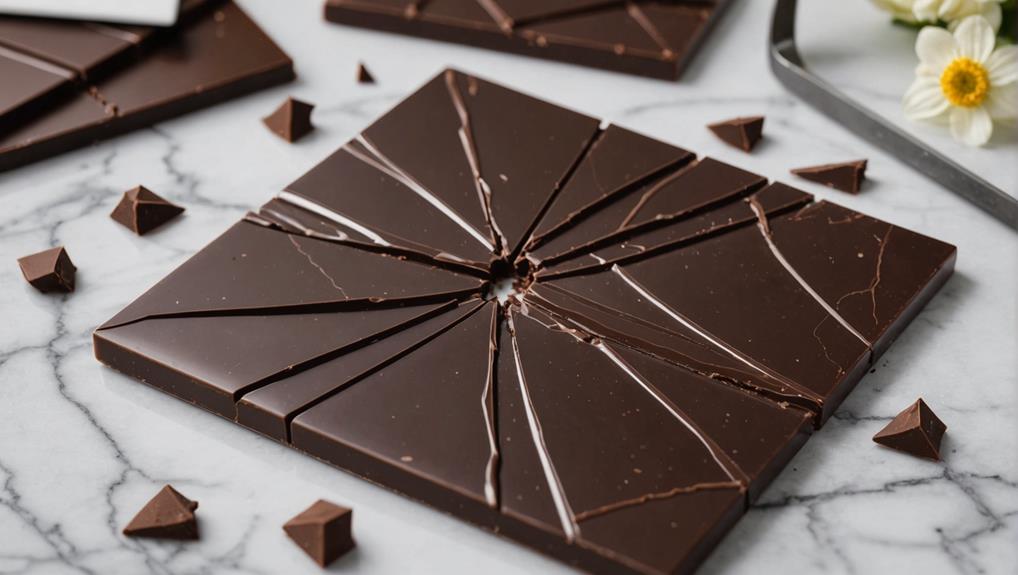
Achieving That Coveted Glossy Sheen
With your chocolate properly stabilized, it's time to focus on achieving that coveted glossy sheen. To master this crucial aspect of chocolate tempering, you'll need to pay close attention to temperature control and cocoa butter content.
For dark chocolate, aim to melt it between 45-50°C (113-122°F), then cool it to 27-28°C (80.6-82.4°F). This precise temperature range promotes the formation of beta crystals, which are essential for that glossy finish you're after.
When selecting your chocolate, opt for high-quality varieties with a cocoa butter content of 30-32%. This ensures better results in achieving a properly tempered product with a lustrous appearance.
As you cool the chocolate, employ agitation techniques like stirring or tabling to promote uniform crystallization and enhance the surface gloss.
Troubleshooting Common Tempering Challenges
Even the most experienced chocolatiers encounter challenges when tempering chocolate. You'll need to troubleshoot common issues to achieve perfection.
If you notice a dull or streaky appearance, it's likely due to improper crystallization. Maintain a slow, even cooling temperature around 27-28°C (80.6-82.4°F) to remedy this.
Blooming, characterized by a white film, occurs when chocolate is exposed to moisture or temperature fluctuations. Store your chocolate in a cool, dry place to prevent this issue.
Soft texture indicates incomplete tempering. Don't hesitate to repeat the process, ensuring precise temperature control.
Seizing, resulting in a grainy texture, happens when moisture is introduced. Keep all tools and surfaces completely dry to avoid this problem.
If you're struggling to release chocolate from molds, improper tempering may be the culprit. Focus on proper cooling and allow the chocolate to contract appropriately during the tempering process.
Frequently Asked Questions
How Does Humidity Affect Chocolate Tempering?
You'll find humidity's a real game-changer in chocolate tempering. It introduces unwanted chocolate moisture, causing temperature fluctuations. For ideal conditions, you'll want to control humidity levels, ensuring a consistently smooth and glossy finish. Innovate your process accordingly.
Can I Temper Chocolate Without Specialized Equipment?
Where there's a will, there's a way! You can temper chocolate without specialized equipment using alternative methods. Be mindful of common mistakes and have troubleshooting tips ready. Embrace innovation and experiment with unconventional techniques for delicious results.
Are There Differences in Tempering Dark, Milk, and White Chocolate?
Yes, you'll find distinct differences when tempering various chocolate types. Each has unique flavor profiles and melting points, requiring tailored tempering techniques. Experiment with innovative approaches to master the nuances of dark, milk, and white chocolate tempering.
How Long Does Properly Tempered Chocolate Stay in Temper?
You'll find that properly tempered chocolate stays in temper for weeks. Your tempering techniques ensure a lasting chocolate sheen and optimal flavor development. Keep it cool and dry to maintain its innovative texture and taste for longer periods.
What's the Best Way to Store Tempered Chocolate Decorations?
When your sweet masterpieces need safekeeping, you'll want to embrace innovative storing chocolate techniques. Control humidity zealously and ensure decoration longevity by placing them in airtight containers. Keep them cool, dark, and away from aromatic companions.
Final Thoughts
You've embarked on a journey through the art of chocolate tempering, unlocking the secrets to perfection. Like a master alchemist, you've learned to control temperature, seed crystals, and agitate with precision. Your newfound skills symbolize the transformation from novice to expert, as you coax glossy, snap-perfect chocolate into existence. Remember, each challenge you overcome is a step toward mastery. With practice, you'll create confections that aren't just treats, but edible works of art, tempered to perfection.