You've likely encountered countless turkey recipes over the years, but the Ultimate Roast Turkey with Herb Butter stands out as a true holiday showstopper. This classic dish combines simplicity with sophistication, elevating the humble turkey to new heights of flavor. By infusing butter with fresh herbs and applying it generously under the skin, you'll achieve a crispy exterior and juicy interior that'll have your guests raving. But what sets this recipe apart from others, and why has it become a favorite among home cooks and professional chefs alike? Let's explore the history and technique behind this mouthwatering masterpiece.
Key Takeaways
- Prepare herb butter by blending softened unsalted butter with finely chopped fresh herbs, salt, and pepper.
- Gently loosen the turkey skin and spread herb butter under it, covering breast, legs, and thighs.
- Roast the turkey at 325°F (165°C) for 15 minutes per pound until internal temperature reaches 165°F (74°C).
- Allow the turkey to rest for 20-30 minutes after roasting to redistribute juices and ensure moist meat.
- This recipe focuses on five key ingredients: turkey, butter, herbs, olive oil, salt, and pepper for a flavorful result.
History
Roast turkey has long been a centerpiece of holiday meals, particularly in North America. You'll find its roots stretching back to the 16th century when Spanish explorers brought wild turkeys from Mexico to Europe. These birds quickly gained popularity and were soon being domesticated across the continent.
By the time English settlers arrived in America, they were already familiar with turkeys as a festive dish.
In the United States, the tradition of serving turkey at Thanksgiving can be traced to the early 19th century. As the holiday became more widely celebrated, roast turkey emerged as the preferred main course. Its large size made it ideal for feeding extended families, and its relatively affordable price meant it was accessible to many households.
Over time, various cooking methods and flavor combinations have evolved. You'll see regional differences in preparation, from deep-frying in the South to smoking in the Midwest.
The herb butter method you're learning about today is a modern twist on classic roasting techniques, designed to enhance flavor and moisture while simplifying the cooking process.
Recipe
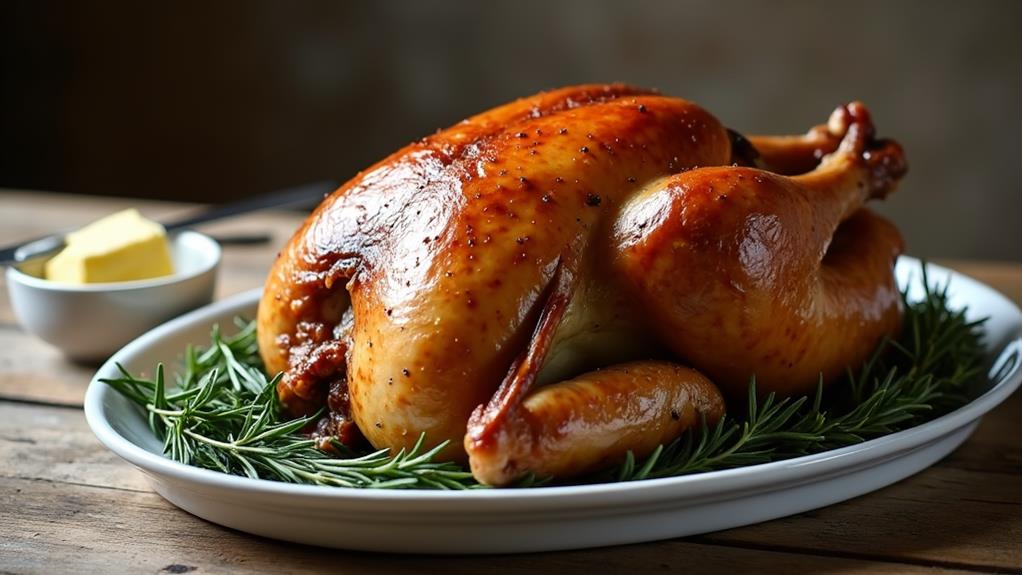
The Ultimate Roast Turkey with Herb Butter is a classic holiday dish that brings families together around the dinner table. This simplified version focuses on enhancing the natural flavors of the turkey with a rich, herb-infused butter that creates a crispy, golden skin while keeping the meat moist and tender.
By limiting the ingredients to just five essential components, this recipe allows the true taste of the turkey to shine through. The combination of fresh herbs and butter creates a fragrant and flavorful bird that will be the centerpiece of any festive meal, without the need for complicated techniques or hard-to-find ingredients.
- 1 whole turkey (12-14 lbs / 5.4-6.4 kg)
- 1 cup (230g) unsalted butter, softened
- 1/4 cup (15g) fresh mixed herbs (such as rosemary, thyme, and sage), finely chopped
- 2 tablespoons (30ml) olive oil
- Salt and pepper to taste
Preheat the oven to 325°F (165°C). In a bowl, mix the softened butter with chopped herbs, salt, and pepper. Gently loosen the skin of the turkey and spread the herb butter underneath, covering as much of the meat as possible.
Rub the outside of the turkey with olive oil and season with additional salt and pepper. Place the turkey in a roasting pan and cook for about 15 minutes per pound, or until the internal temperature reaches 165°F (74°C) when measured at the thickest part of the thigh. Let the turkey rest for 20-30 minutes before carving.
For best results, allow the turkey to come to room temperature for about an hour before cooking. This helps ensure even cooking throughout the bird. Basting isn't necessary with this recipe, as the herb butter will keep the meat moist.
If the skin begins to brown too quickly, cover the turkey loosely with aluminum foil. Remember to save the pan drippings for making gravy, if desired.
Cooking Steps
You'll begin by preparing the herb butter mixture, which forms the foundation of flavor for your turkey.
Next, you'll carefully loosen the turkey's skin and apply the herb butter underneath, ensuring even distribution for maximum taste.
Step 1. Prepare Herb Butter Mixture
To begin, soften the butter by leaving it at room temperature for about 30 minutes.
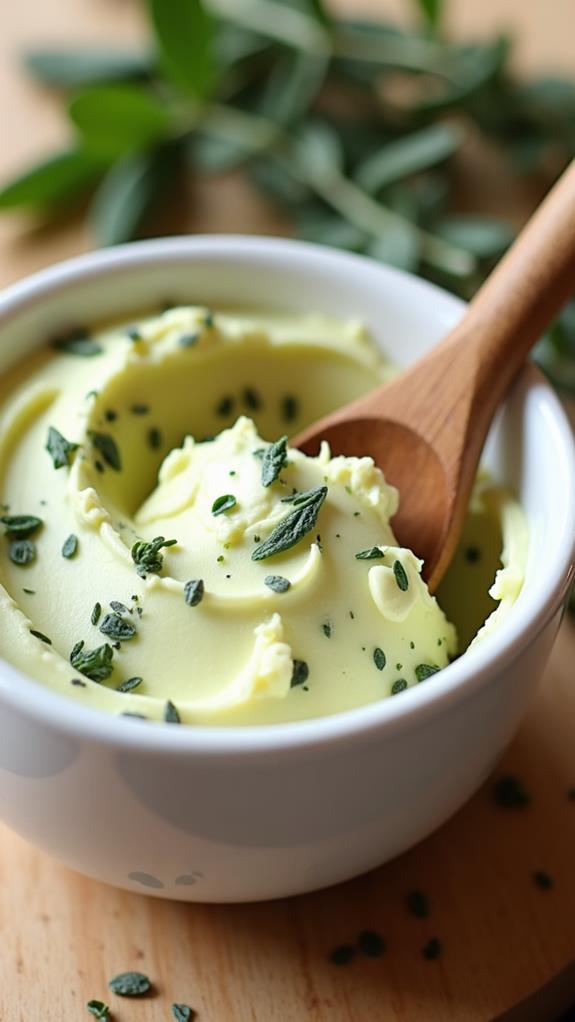
Once softened, place the butter in a mixing bowl and add the finely chopped fresh herbs. You'll want to use a combination of rosemary, thyme, and sage for a classic flavor profile. Add salt and pepper to taste, remembering that you'll be seasoning the entire turkey with this mixture.
Using a fork or a small whisk, blend the herbs and seasonings into the butter until they're evenly distributed. The mixture should be smooth and creamy, with flecks of green herbs visible throughout.
If you're having trouble incorporating the herbs, you can use the back of a spoon to press them into the butter.
Once your herb butter is prepared, set it aside while you prepare the turkey. You'll use this mixture to spread under the skin of the bird, which will help keep the meat moist and infuse it with flavor as it cooks.
The herb butter will also contribute to a beautifully browned and crispy skin.
Step 2. Loosen Turkey Skin Gently
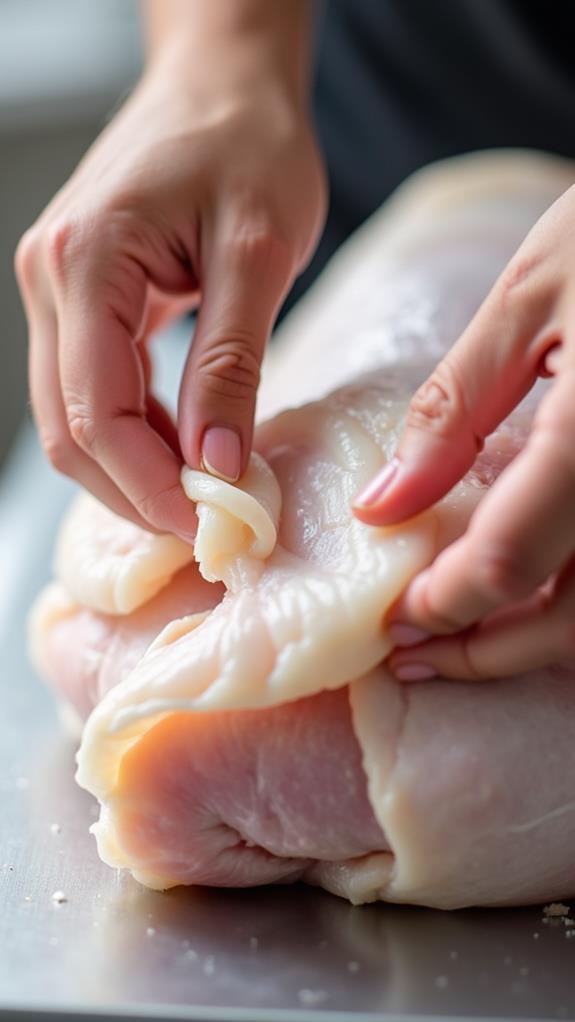
Start by placing your turkey on a clean work surface, breast side up.
You'll now need to carefully separate the skin from the meat, a crucial step for infusing flavor throughout the bird. Begin at the neck end, gently sliding your fingers between the skin and the breast meat. Work your way down, being careful not to tear the skin. As you progress, you'll feel the skin loosening.
Continue this process over the entire breast, then move to the legs and thighs. It's important to be thorough but gentle, creating pockets for the herb butter without damaging the skin. If you encounter resistance, use a spoon to help separate tougher areas.
Once you've loosened the skin over the breast, legs, and thighs, take a moment to ensure you haven't missed any spots. This step allows the herb butter to directly contact the meat, infusing it with flavor and moisture during cooking.
Step 3. Apply Herb Butter Under Skin
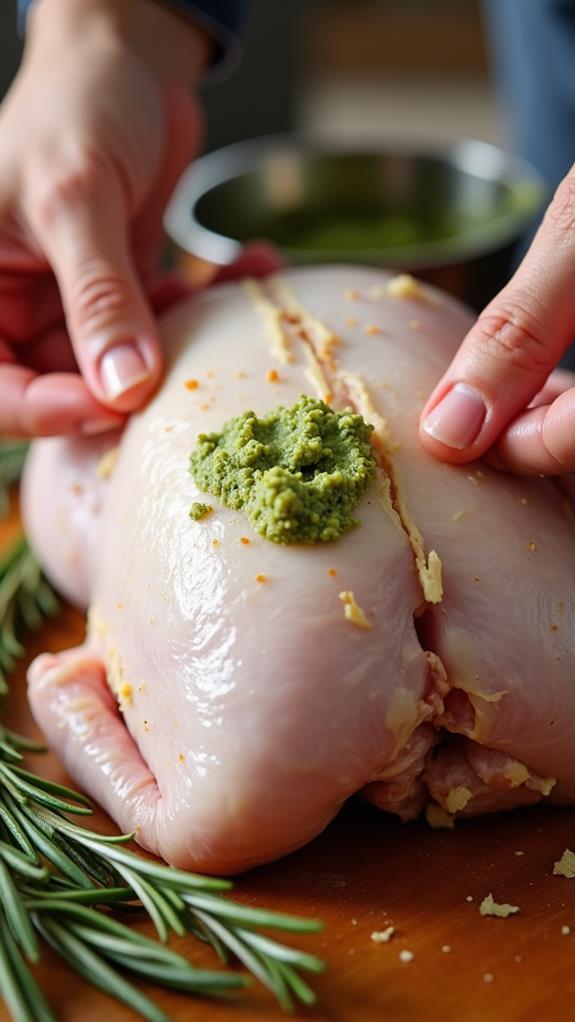
Grab your prepared herb butter mixture and get ready to infuse your turkey with flavor. Using your hands, gently separate the skin from the meat, starting at the breast and working your way towards the legs. Be careful not to tear the skin as you create a pocket between it and the flesh.
Once you've loosened the skin, take small handfuls of the herb butter and spread it evenly underneath. Work the butter into all the areas you've separated, ensuring a thorough coverage. As you massage the butter in, you'll notice the skin becoming slightly raised and taking on a mottled appearance. This is normal and indicates that you're distributing the butter effectively.
Pay special attention to the breast area, as this tends to dry out more quickly during roasting. Apply a generous layer of herb butter here to keep the meat moist and flavorful.
Don't forget to reach as far as you can towards the legs and thighs, spreading the butter as you go. When you're finished, gently smooth the skin back into place, ensuring an even distribution of the herb butter beneath.
Step 4. Roast Turkey in Oven

Once your turkey is prepped with herb butter, it's time to get it into the oven for roasting. Preheat your oven to 325°F (165°C) and position the rack in the lower third of the oven.
Place the turkey breast-side up in a large roasting pan, and if you haven't already, tuck the wing tips under the body to prevent burning.
You'll want to cook your turkey for about 15 minutes per pound, or until the internal temperature reaches 165°F (74°C) when measured at the thickest part of the thigh.
Don't rely solely on cooking time, as ovens can vary. Use a meat thermometer for accuracy. During roasting, you don't need to baste the turkey, as the herb butter will keep it moist.
If you notice the skin browning too quickly, loosely cover the turkey with aluminum foil.
Once the turkey's done, remove it from the oven and let it rest for 20-30 minutes before carving. This allows the juices to redistribute, ensuring moist meat.
While it rests, you can use the pan drippings to make gravy if desired.
Step 5. Rest Turkey Before Carving
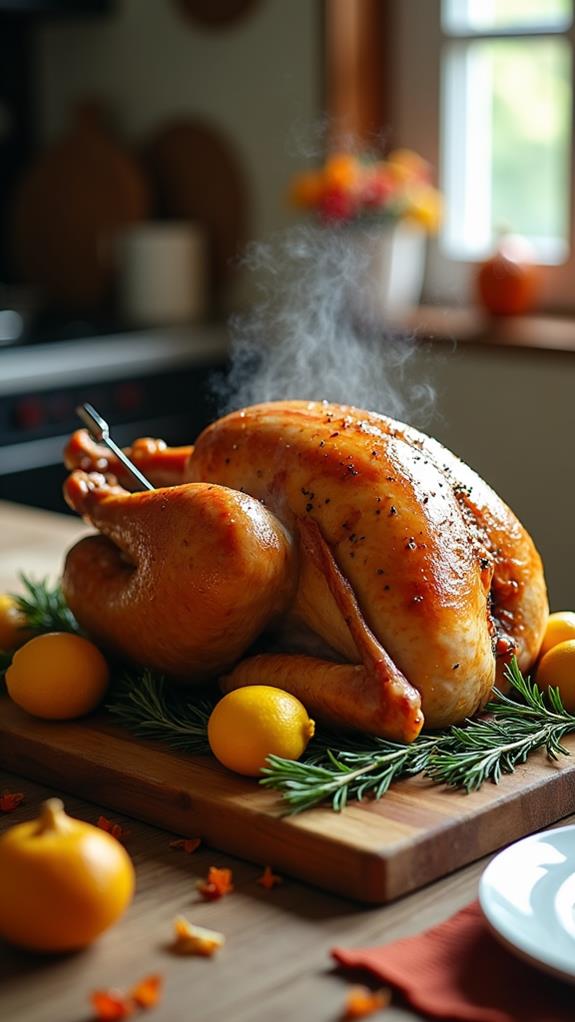
Why is resting your turkey crucial? After you've roasted your turkey to perfection, it's tempting to carve it immediately. However, allowing your bird to rest is a vital step that shouldn't be skipped. When you let your turkey rest, you're giving the juices time to redistribute throughout the meat, ensuring each slice is moist and flavorful.
To properly rest your turkey, remove it from the oven and transfer it to a cutting board. Tent the bird loosely with aluminum foil to keep it warm without trapping steam, which could make the skin soggy.
Let your turkey rest for 20 to 30 minutes before carving. During this time, the internal temperature will continue to rise slightly, completing the cooking process. This resting period also allows you to finish preparing your side dishes and gravy.
While you wait, resist the urge to sneak a taste or cut into the turkey prematurely. Patience is key to achieving the juiciest, most delicious results.
Once the resting time is up, you're ready to carve and serve your beautifully roasted turkey.
Final Thoughts
The Ultimate Roast Turkey recipe offers a foolproof way to create a showstopping centerpiece for your holiday table.
By focusing on just five key ingredients, you'll bring out the natural flavors of the turkey while keeping the preparation simple and stress-free.
The herb-infused butter not only adds a delicious taste but also ensures a moist and tender bird with crispy, golden skin.