To achieve melt-in-your-mouth roasted meats, start by selecting well-marbled cuts and brining them for enhanced flavor and tenderness. Marinate using a balance of oil, acid, and seasonings to infuse depth. Master low and slow oven cooking, typically between 200°F and 250°F, to break down tough fibers. Use a calibrated meat thermometer to monitor internal temperature precisely, ensuring optimal doneness. Allow the meat to rest after cooking, letting juices redistribute for maximum juiciness. When carving, slice against the grain for tender bites. Enhance flavors with aromatics, umami boosters, and complementary vegetables. These techniques are just the beginning of your journey to roasting perfection.
Selecting the Perfect Cut
The key to melt-in-your-mouth roasted meats starts with selecting the right cut. When choosing your meat, consider both cut types and meat quality to ensure the best results.
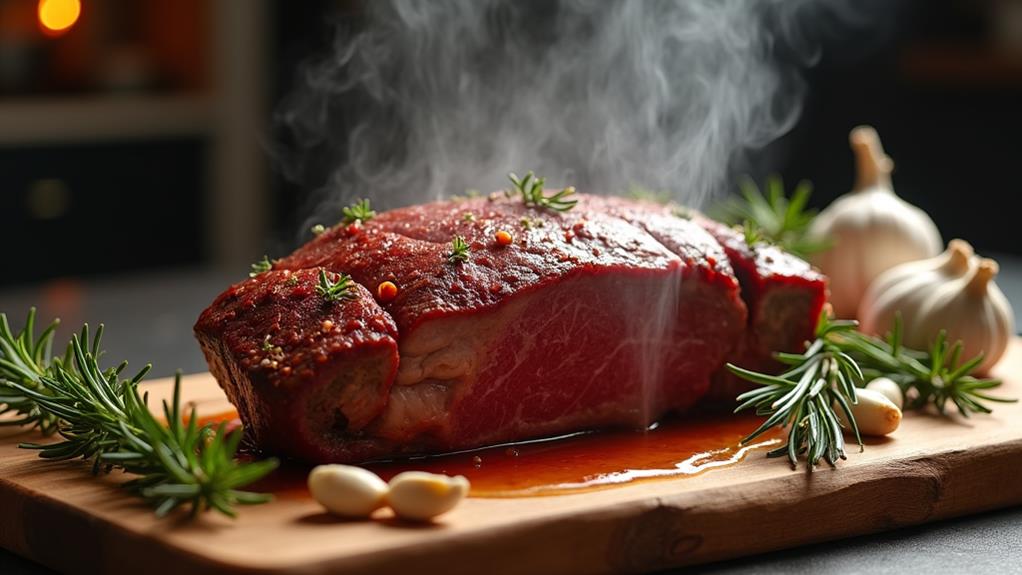
For beef, opt for well-marbled cuts like ribeye, prime rib, or tenderloin. These cuts contain intramuscular fat that renders during cooking, creating a juicy, tender texture.
If you're roasting pork, look for cuts from the loin or shoulder. The loin offers lean meat that's perfect for even cooking, while the shoulder provides rich flavor and tenderness.
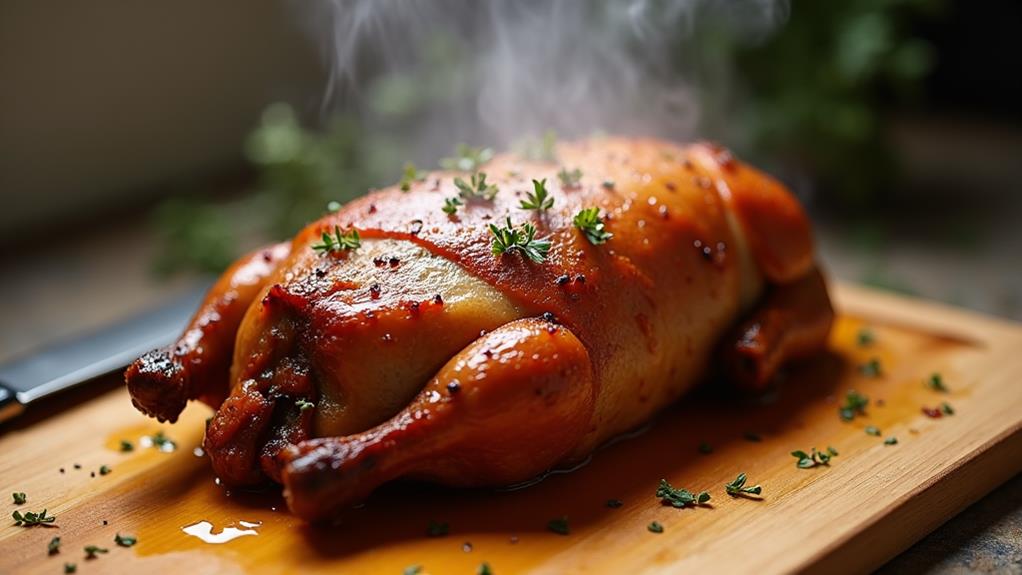
For poultry, consider bone-in, skin-on cuts like whole chickens or turkey breasts. The bones and skin help retain moisture during roasting.
When assessing meat quality, look for bright colors and minimal discoloration. Fresh meat should have a firm texture and little to no odor.
If possible, choose grass-fed or organic options for enhanced flavor and nutritional value. Don't shy away from asking your butcher for recommendations – they can guide you towards the best cuts for roasting and may even offer custom options to suit your needs.
The Art of Brining
Many home cooks overlook brining, but it's a crucial step for achieving truly melt-in-your-mouth roasted meats. Brining techniques involve submerging your chosen cut in a salt-water solution, allowing for salt absorption and moisture retention. This process not only enhances the meat's juiciness but also creates an opportunity for flavor infusion.
To master the art of brining, you'll need to consider various factors:
- Brine ratios: Typically, use 1 cup of salt per gallon of water
- Liquid options: Experiment with adding fruit juices or beer for unique flavors
- Herb combinations and spice ratios: Balance aromatics like rosemary, thyme, and garlic
Timing tips are essential for successful brining. Generally, allow 1 hour per pound of meat, but don't exceed 24 hours to avoid over-salting.
Remember to keep your brine and meat refrigerated throughout the process for safety precautions.
When you're ready to roast, remove the meat from the brine, pat it dry, and let it come to room temperature before cooking. This innovative approach to meat preparation will elevate your roasts, ensuring a succulent and flavorful result that'll impress even the most discerning palates.
Marinating for Maximum Flavor
While brining is excellent for moisture retention, marinating takes flavor infusion to the next level. To maximize your meat's flavor potential, you'll need to master the art of marinating. Start by selecting the right oil as your base; olive oil works well for Mediterranean flavors, while sesame oil complements Asian-inspired marinades.
Next, experiment with herb combinations and acidic ingredients like citrus juices or vinegar to tenderize and add depth. Don't forget to balance sweetness with honey or brown sugar to round out the flavors.
The marinating time is crucial; most meats benefit from 2-8 hours, but delicate proteins like fish require less. Temperature also influences the process, so always marinate in the refrigerator to prevent bacterial growth.
Pay attention to marinade ratios, typically 1/2 cup per pound of meat. For optimal texture enhancement, use a non-reactive marinating container like glass or food-grade plastic.
Mastering Oven Temperature Control
To achieve that melt-in-your-mouth texture, you'll need to master oven temperature control, focusing on three key aspects.
First, embrace the low and slow method, which allows for gentle cooking that breaks down tough fibers and retains moisture.
Next, learn to manage temperature fluctuations by understanding your oven's quirks and making adjustments as needed.
Low and Slow Method
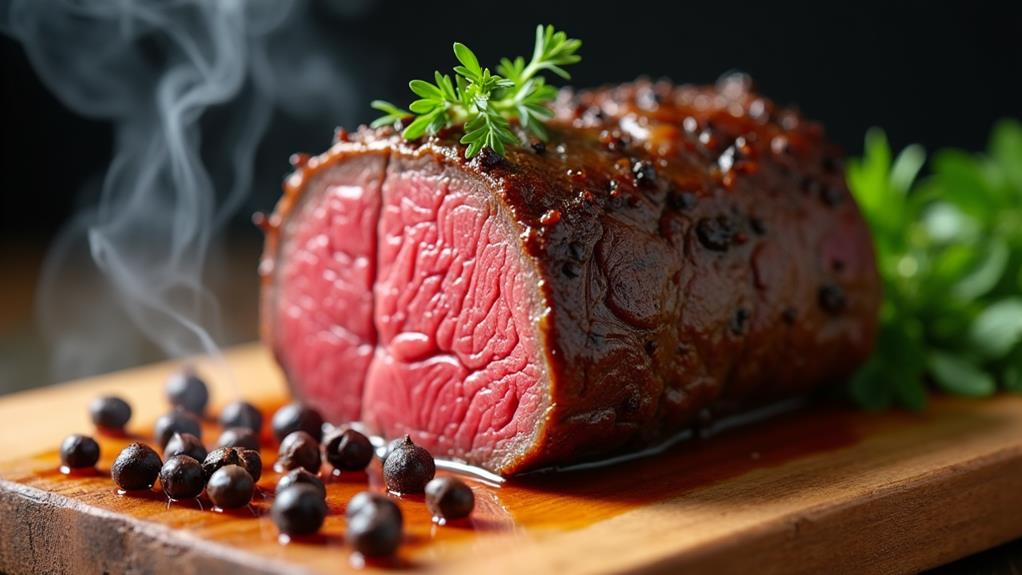
At the heart of achieving melt-in-your-mouth roasted meats lies the low and slow method. This technique involves cooking your meat at a lower temperature for a longer period, allowing collagen to break down gradually and resulting in tender, juicy perfection.
You'll want to set your oven between 200°F and 250°F, depending on the cut and size of your meat.
To enhance flavor during this extended cooking process, consider incorporating smoke infusion or applying spice rubs. These additions will penetrate deeply into the meat, creating complex layers of taste.
As you prepare your roast, imagine:
- A richly marbled brisket, its surface glistening with a perfectly caramelized crust
- Succulent pulled pork, effortlessly falling apart at the touch of a fork
- A prime rib roast, its exterior beautifully browned while maintaining a rosy interior
The low and slow method requires patience, but the results are worth the wait.
You'll notice a significant difference in texture and taste compared to high-heat roasting. This innovative approach transforms even tougher cuts into mouthwatering delicacies, elevating your culinary skills and impressing your guests with restaurant-quality results.
Temperature Fluctuation Management
Mastering oven temperature control is crucial for achieving consistently perfect roasted meats. To maintain temperature stability, you'll need to understand your oven's behavior and make necessary adjustments. Start by investing in an oven thermometer to accurately monitor internal temperatures, as built-in gauges can be unreliable.
Additionally, just as with Slow Cooker Chili Con Carne, preheating is key to ensuring that your initial cooking environment is optimal and flavors develop fully. Position the thermometer in different areas to identify hot spots and cold zones.
To enhance heat retention, preheat your oven thoroughly before introducing the meat. This practice ensures a consistent cooking environment from the start. During the roasting process, resist the urge to frequently open the oven door, as this causes significant temperature fluctuations. Instead, use your oven's window and internal light to check on your roast.
If you notice temperature drops, slightly increase the heat setting to compensate. Conversely, if the oven runs too hot, lower the temperature accordingly.
For gas ovens, which tend to have more temperature swings, consider using a baking stone or heavy-duty baking sheet on the bottom rack. This added thermal mass helps stabilize temperatures, resulting in more even cooking and that sought-after melt-in-your-mouth texture.
Precise Thermometer Usage
Precise thermometer usage goes hand in hand with mastering oven temperature control for perfect roasted meats. To ensure accuracy, start by calibrating your thermometer regularly. This crucial step guarantees that your readings are spot-on, preventing under or overcooking.
When it's time to check your roast, insert the thermometer into the thickest part, avoiding bones or fat pockets that can skew results.
For innovative cooking techniques, consider these approaches:
- Use a dual-probe thermometer to monitor both meat and oven temperatures simultaneously
- Experiment with wireless thermometers for real-time monitoring without opening the oven
- Try a leave-in thermometer with an alarm feature for hands-free cooking
Essential Tools for Roasting
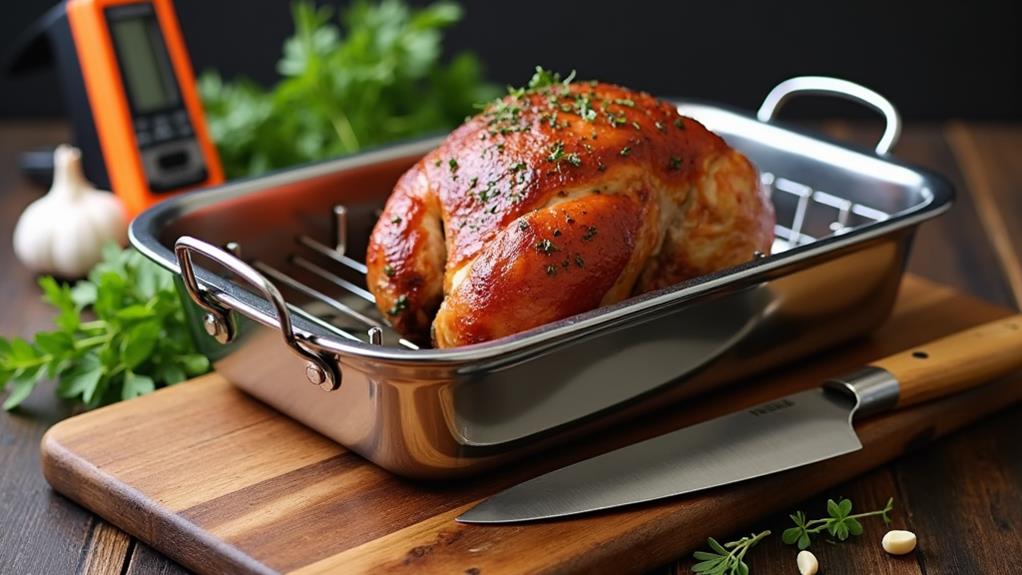
To achieve roasting perfection, you'll need a few key tools in your culinary arsenal. A digital meat thermometer is indispensable for accurately gauging internal temperatures, ensuring your roasts are cooked to the desired doneness.
Invest in a heavy-duty roasting pan, which provides even heat distribution and can withstand high temperatures, while a quality carving knife set will allow you to slice and serve your roasted meats with precision and ease.
Digital Meat Thermometer
A digital meat thermometer stands out as an indispensable tool for achieving perfectly roasted meats. With its precise digital display and wireless connectivity, you'll revolutionize your roasting game. This innovative device allows you to monitor your meat's internal temperature without opening the oven door, ensuring optimal results every time.
When selecting a digital meat thermometer, look for these key features:
- Instant-read capabilities for quick temperature checks
- Programmable alerts to notify you when your meat reaches the desired doneness
- Multiple probe options for monitoring different cuts simultaneously
By using a digital meat thermometer, you'll eliminate guesswork and achieve consistent results. Simply insert the probe into the thickest part of the meat, avoiding bones or fat, and set your target temperature.
As your roast cooks, you can track its progress in real-time, adjusting cooking times and temperatures as needed.
This tool isn't just for roasts; it's versatile enough for grilling, smoking, and even baking. With a digital meat thermometer in your kitchen arsenal, you'll confidently tackle any cooking method, impressing your guests with perfectly cooked, melt-in-your-mouth meats every time.
Heavy-Duty Roasting Pan
Durability meets functionality in a heavy-duty roasting pan, an essential tool for any serious home cook. When selecting your roasting pan, consider the materials carefully. Stainless steel offers excellent heat distribution and durability, while aluminum conducts heat quickly but may not be as long-lasting. For the best of both worlds, look for a tri-ply construction that combines these materials.
The right roasting pan can also enhance your ability to prepare comforting dishes like chicken pot pie and other hearty meals.
Pan size selection is crucial for achieving perfect results. You'll want a pan that's large enough to accommodate your typical roasts with some room for air circulation, but not so large that smaller cuts get lost. A 16-inch by 13-inch pan is versatile for most home cooks, handling everything from a whole turkey to a rack of ribs.
Don't overlook the importance of a sturdy rack. It elevates your meat, allowing heat to circulate and fat to drip away. Opt for a pan with high sides to prevent spills and splashes during cooking.
Look for riveted handles that won't come loose over time, ensuring safe transport from oven to table. With the right heavy-duty roasting pan, you'll be well-equipped to create succulent, melt-in-your-mouth roasted meats every time.
Carving Knife Set
Once you've perfectly roasted your meat, you'll need the right tools to serve it. A high-quality carving knife set is essential for achieving those picture-perfect slices.
When selecting your set, consider the blade materials and ergonomic handles for optimal performance and comfort. Look for knives crafted from high-carbon stainless steel, known for its durability and sharpness retention.
To master various carving techniques and styles, practice these key elements:
- Proper grip and stance for stability and safety
- Smooth, long strokes for even slices
- Angling the blade for optimal cutting precision
Knife maintenance is crucial for preserving your set's longevity and slicing precision. Regularly hone your blades using appropriate sharpening methods, such as whetstones or electric sharpeners.
Always clean and dry your knives thoroughly after use to prevent corrosion and maintain hygiene.
When carving, prioritize safety by using a carving fork to stabilize the meat and keeping your fingers away from the blade's path.
With the right carving knife set and proper techniques, you'll elevate your roasted meats presentation to new heights, impressing guests with your culinary prowess.
Monitoring Internal Meat Temperature
Mastering the art of monitoring internal meat temperature is crucial for achieving perfectly roasted meats. You'll need to understand how different cooking methods and meat types affect heat distribution and cooking times.
To ensure both safety and optimal doneness, invest in a reliable meat thermometer for accurate readings. When roasting, insert the thermometer into the thickest part of the meat, avoiding bones or fat. For poultry, aim for the thigh area.
As you monitor, you'll notice how the internal temperature rises gradually, allowing you to gauge when your meat is approaching the desired level of doneness. Remember, safety guidelines recommend specific minimum internal temperatures for different meats.
For instance, poultry should reach 165°F, while medium-rare beef is done at 135°F. By mastering thermometer placement and understanding these targets, you'll consistently produce safe, delicious roasts.
Don't rely solely on cooking times, as factors like oven accuracy and meat thickness can vary. Instead, let the internal temperature guide you. With practice, you'll develop an intuitive sense of how your meat progresses, leading to perfectly roasted results every time.
The Importance of Resting
After monitoring your meat's internal temperature and reaching the desired doneness, you might be tempted to slice into it immediately. However, resting is a crucial step that shouldn't be overlooked.
Resting techniques allow the meat's juices to redistribute, resulting in a more tender and flavorful dish. The optimal resting time depends on the size and cut of your meat. Generally, you should let it rest for about 5-10 minutes per pound.
During this time, you'll notice:
- Juices settling back into the meat fibers
- A slight decrease in internal temperature
- The meat becoming easier to slice
To maximize the benefits of resting, cover your roast loosely with foil to retain heat without trapping moisture. This innovative approach ensures your meat remains warm while allowing excess steam to escape, preventing overcooking.
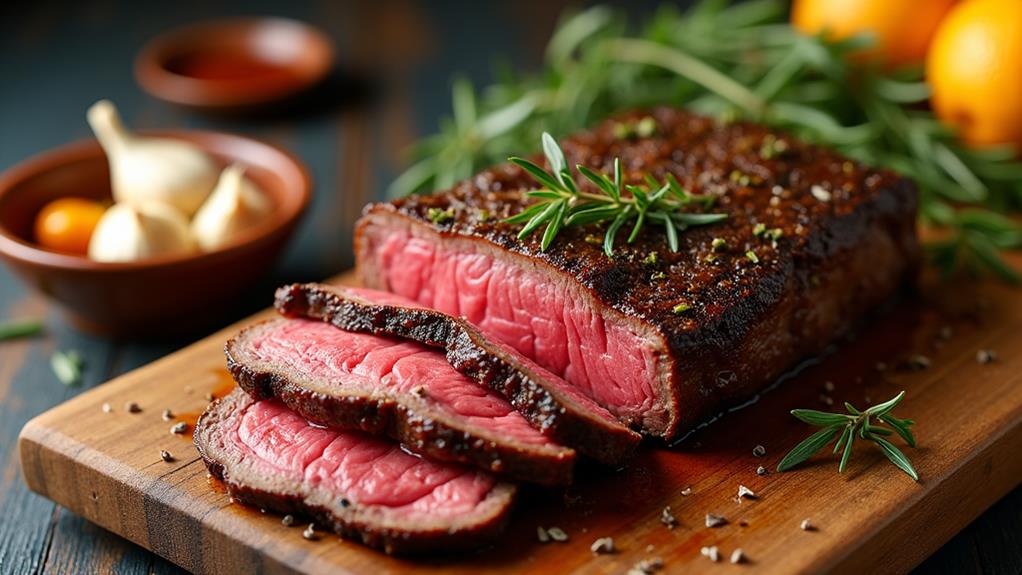
Carving Techniques for Juiciness
Carving your perfectly roasted meat is the final step in achieving that melt-in-your-mouth experience. To maximize juiciness and tenderness, you'll need to master essential slicing techniques. Start by identifying the grain direction of your meat, as this will guide your carving approach.
For most cuts, you'll want to slice against the grain. This method shortens the muscle fibers, making each bite more tender and easier to chew. Use a sharp knife and make clean, decisive cuts to prevent tearing the meat and losing precious juices.
When carving larger roasts, such as a prime rib or turkey, begin by removing larger sections, then slice these into individual portions.
For poultry, start by separating the legs and wings from the body. Then, make long, parallel cuts along the breastbone to remove the breast meat.
For a rack of lamb or pork roast, slice between the bones to create individual chops. Remember, thinner slices are generally more tender, but don't go too thin or you'll lose the meat's texture and temperature.
Enhancing Flavor With Aromatics
Enhancing Flavor With Aromatics
Elevating your roasted meats to new heights of flavor begins with the strategic use of aromatics. By incorporating herb combinations, spice blends, and aromatic oils, you'll create layers of taste that transform your dish. Start by experimenting with citrus infusions, which can brighten the overall profile of your roast.
You can also take inspiration from traditional recipes like Braised Short Ribs in Red Wine, where the process of slow cooking showcases the effectiveness of using aromatics to enhance meat flavor. Explore umami boosters like soy sauce or mushroom powder to add depth and complexity.
Garlic use is crucial in enhancing flavor. Roast whole cloves alongside your meat or create a paste to rub on the surface. Don't overlook onion varieties; each type brings its unique character to the dish.
Root vegetables, when roasted with your meat, impart subtle sweetness and earthiness.
For an innovative twist, try smoke infusion techniques:
- Use a stovetop smoker with wood chips
- Incorporate liquid smoke into your marinade
- Experiment with smoked salts or paprika
Master the art of flavor layering by combining different aromatics. Start with a base of herbs, add spices for complexity, and finish with a touch of citrus or aromatic oil.
This approach ensures a well-rounded, unforgettable taste experience that'll keep your guests coming back for more.
Frequently Asked Questions
How Do I Prevent My Roast From Drying Out During Cooking?
To keep your roast juicy, you'll want to explore innovative marinade techniques and basting methods. Try infusing flavors with a sous vide marinade or experiment with automated basting systems. Don't forget to monitor internal temperature for perfect doneness.
Can I Use a Slow Cooker Instead of an Oven for Roasting Meat?
You can definitely use a slow cooker for roasting meat! It's a game-changer for busy innovators. You'll enjoy tender, flavorful results with minimal effort. Slow cookers offer unique benefits, revolutionizing traditional meat roasting techniques. Give it a try!
What's the Best Way to Reheat Leftover Roasted Meat Without Losing Tenderness?
Don't let your leftover roast become a shadow of its former glory. For cutting-edge moisture retention, try sous vide reheating. You'll preserve tenderness by vacuum-sealing the meat and gently warming it in a water bath. It's culinary innovation at its finest.
Are There Any Vegetarian Alternatives That Can Mimic the Texture of Roasted Meat?
You'll find innovative vegetarian substitutes that mimic roasted meat's texture. Try jackfruit, seitan, or textured vegetable protein. Marinate and roast these texture alternatives to achieve a satisfying, meat-like experience. Experiment with seasonings to enhance flavor profiles.
How Can I Make Gravy From the Drippings of a Roasted Meat Dish?
You'll want to start by degreasing the drippings. Then, mix in a thickening agent like flour or cornstarch. Enhance the flavor with stock, wine, or herbs. Simmer until you've reached your desired consistency. Experiment with unique additions!
Final Thoughts
You've now mastered the secrets to achieving melt-in-your-mouth roasted meats. By applying these techniques, you'll elevate your culinary skills and impress your guests. Did you know that letting meat rest for just 5 minutes can increase its juiciness by up to 15%? Remember, patience is key. From selecting the perfect cut to carving with precision, each step contributes to a superior dining experience. With practice, you'll consistently produce tender, flavorful roasts that'll have everyone asking for seconds.