You've likely encountered various Halloween-themed treats, but have you considered making Spooky Spider Biscuits? These charming cookies combine the classic appeal of butter biscuits with a playful, spooky twist. They're not just tasty; they're also a creative outlet for bakers of all skill levels. As you contemplate your Halloween menu, you might wonder about the origin of these festive treats and how they've become a popular choice for seasonal gatherings. There's more to these arachnid-inspired sweets than meets the eye, and their story is as intriguing as their appearance.
Key Takeaways
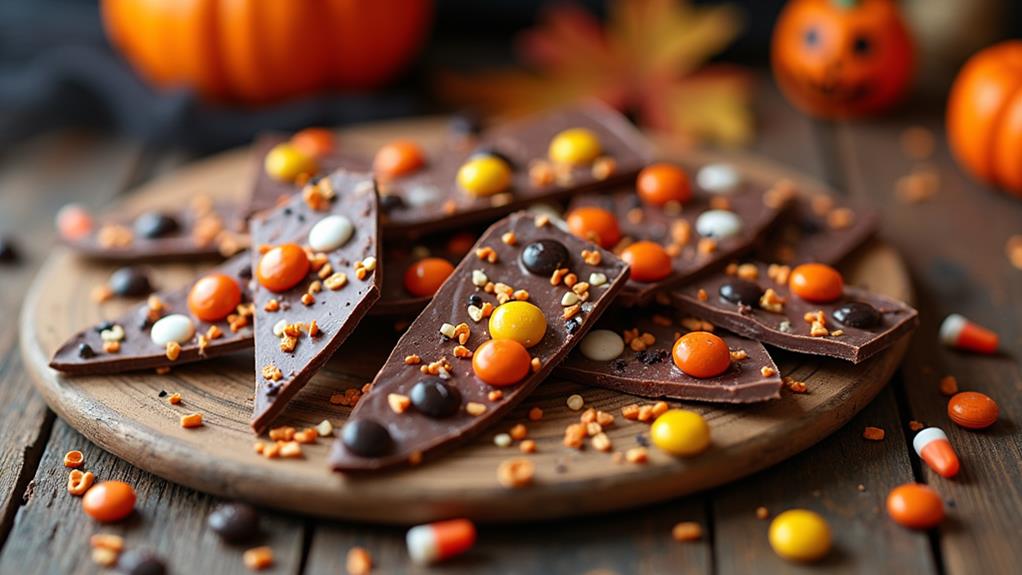
- Spooky Spider Biscuits are Halloween-themed butter cookies decorated to resemble spiders, popular for parties and children's activities.
- Basic ingredients include all-purpose flour, sugar, butter, egg, and chocolate chips, with room for creative decorations.
- Preparation involves creaming butter and sugar, adding egg and flour, shaping into balls, and baking at 350°F for 10-12 minutes.
- Decorating techniques include creating leg indentations with toothpicks and adding edible decorations like candy eyes for a spooky effect.
- These biscuits offer a fun, engaging Halloween treat that encourages creativity and can be personalized with different flavors and decorations.
History
Curiosity about Halloween treats often leads us to explore their origins. The concept of Spooky Spider Biscuits, while not ancient, has its roots in the broader tradition of Halloween-themed baked goods. You'll find that these treats gained popularity in the late 20th century as home bakers sought creative ways to celebrate the holiday.
The inspiration for spider-shaped cookies likely came from the longstanding association of spiders with Halloween and gothic imagery. As you delve deeper, you'll discover that spiders have been linked to folklore and superstition for centuries, making them a natural choice for spooky-themed treats.
The addition of chocolate to these biscuits reflects the growing trend of incorporating confectionery into baked goods, a practice that became widespread in the mid-20th century.
You'll notice that the evolution of Spooky Spider Biscuits mirrors the increasing commercialization of Halloween. As the holiday transformed into a major cultural event, the demand for themed treats skyrocketed.
This led to a proliferation of creative recipes, with home bakers and professional pastry chefs alike contributing to the development of these charming, spider-shaped cookies that have become a beloved Halloween staple.
Recipe
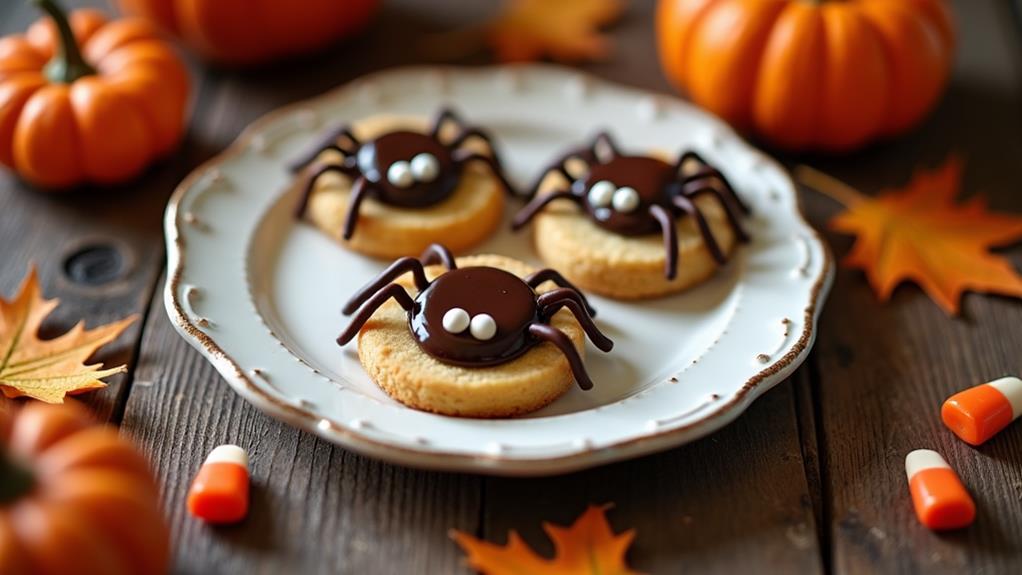
Spooky Spider Biscuits are a delightful Halloween treat that combines the sweetness of butter cookies with the richness of chocolate. These fun and festive biscuits are easy to make, requiring only a handful of ingredients and minimal baking expertise.
Perfect for parties or as a fun activity with children, these biscuits allow for creativity in decoration. The base is a simple butter cookie, which is then partially dipped in melted chocolate to create the spider's body. Additional melted chocolate can be used to draw legs and other spooky details, making each cookie unique.
Ingredients:
- 1 cup (125 g) all-purpose flour
- ½ cup (100 g) granulated sugar
- ½ cup (115 g) unsalted butter, softened
- 1 large egg
- ½ cup (80 g) chocolate chips
- Optional: edible eyes for decoration
Preheat the oven to 350°F (175°C). In a mixing bowl, cream together the softened butter and sugar until light and fluffy. Beat in the egg, then gradually add the flour, mixing until a smooth dough forms.
Shape the dough into small balls and place them on a parchment-lined baking sheet, flattening slightly. Bake for 10-12 minutes until golden brown. Allow the biscuits to cool completely.
Melt the chocolate chips in a microwave or over a double boiler. Dip half of each cooled biscuit into the melted chocolate and place on parchment paper to set. Use remaining melted chocolate to draw spider legs and other details.
For best results, ensure the biscuits are completely cool before dipping in chocolate. If the chocolate begins to harden while decorating, reheat it briefly. To create more defined spider legs, transfer some melted chocolate to a piping bag or a plastic bag with a small corner snipped off.
Experiment with different types of chocolate for varied flavors and colors. Store the finished biscuits in an airtight container at room temperature for up to a week.
Cooking Steps
To begin crafting your Spooky Spider Biscuits, you'll need to preheat your oven to 350°F (175°C) and prepare your ingredients.
Next, you'll cream the butter and sugar together until light and fluffy, then incorporate the egg into the mixture before gradually adding the flour.
Step 1. Preheat Oven to 350°F

Before diving into the baking process, you'll need to preheat your oven to 350°F (175°C). This step is crucial for ensuring your Spooky Spider Biscuits bake evenly and achieve the perfect texture.
While your oven is heating up, you can begin preparing your ingredients and mixing bowl. To preheat effectively, start by removing any items stored in your oven, such as pots or pans.
Then, set the temperature dial or digital control to 350°F. If your oven has multiple rack positions, place a rack in the center for optimal heat distribution. Allow the oven to heat for at least 15 minutes before baking, as this ensures it reaches the correct temperature throughout.
Some ovens have a preheat indicator light or sound that signals when the desired temperature is reached. If yours doesn't, you can use an oven thermometer to check the internal temperature.
While waiting, gather your ingredients and equipment, line your baking sheet with parchment paper, and begin preparing the dough. By the time you've finished these tasks, your oven should be ready for your spooky creations.
Step 2. Cream Butter and Sugar
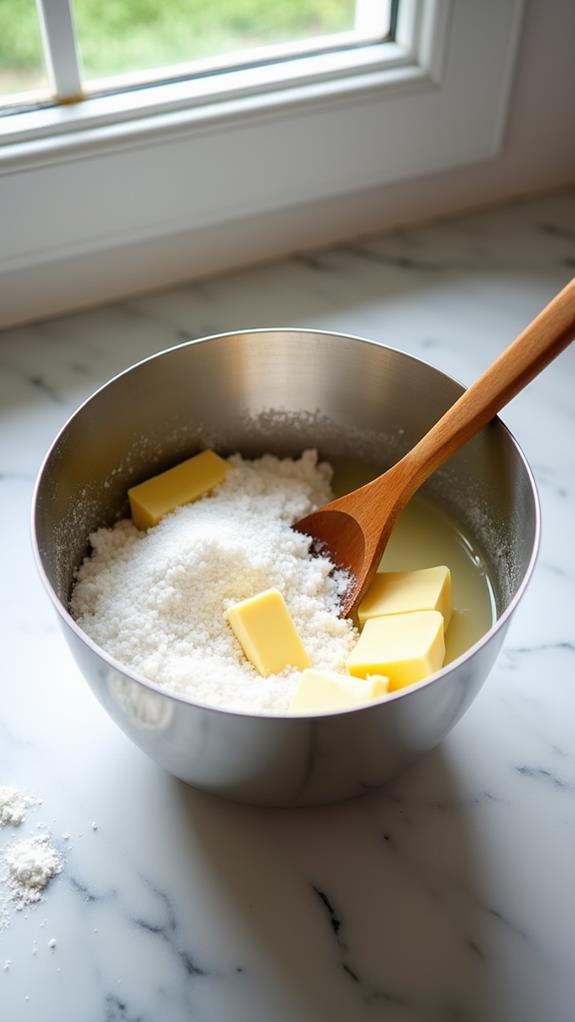
Grab your mixing bowl and electric mixer to begin the creaming process. Add the softened butter and granulated sugar to the bowl. Make sure the butter is at room temperature for optimal results.
Start the mixer on low speed to combine the ingredients, then gradually increase to medium-high. Continue mixing for about 3-5 minutes until the mixture becomes light and fluffy.
You'll notice the color changing to a pale yellow as air is incorporated. This process is crucial for creating a tender, well-textured biscuit. Don't rush this step, as proper creaming ensures your Spooky Spider Biscuits will have the right consistency.
Scrape down the sides of the bowl periodically with a rubber spatula to ensure all ingredients are evenly combined. You'll know the mixture is ready when it's noticeably lighter in both color and texture.
The sugar crystals should be mostly dissolved, creating a smooth, creamy consistency. If you're mixing by hand, this process may take a bit longer, but the results will be just as delicious.
Once you've achieved the desired texture, you're ready to move on to the next step in creating your spooky treats.
Step 3. Add Egg to Mixture

With your butter and sugar perfectly creamed, it's time to introduce the egg to the mixture.
Crack the egg into a small bowl first, ensuring no shell fragments make their way into your batter. This step also allows you to check the egg's freshness before adding it to your carefully prepared mixture.
Now, slowly pour the egg into your creamed butter and sugar. As you add it, use your electric mixer on a low speed to incorporate the egg gradually. This technique prevents the mixture from curdling and ensures a smooth, homogeneous batter.
Once you've added the entire egg, increase the mixer speed to medium and beat for about 30 seconds. You'll notice the mixture becoming lighter in color and slightly fluffier in texture.
Don't overmix at this stage, as it can lead to tough biscuits. Instead, stop mixing once the egg is fully incorporated and the batter looks uniform.
This step is crucial for achieving the right consistency in your Spooky Spider Biscuits, setting the stage for the addition of dry ingredients in the next phase of your baking adventure.
Step 4. Mix in Flour Gradually
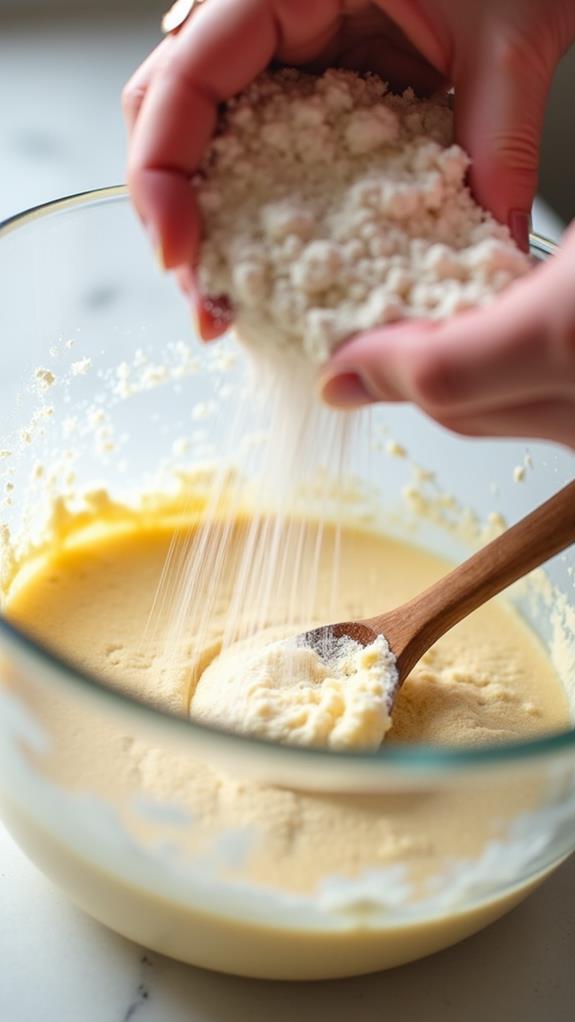
The next critical step in creating your Spooky Spider Biscuits involves gradually incorporating the flour into your wet ingredients.
You'll want to add the flour slowly, about a quarter cup at a time, while continuously mixing. This gradual approach ensures that the flour is evenly distributed throughout the mixture, preventing clumps and resulting in a smooth, consistent dough.
As you add the flour, you'll notice the mixture becoming thicker and more difficult to stir.
Don't be tempted to rush this process; patience is key. Keep mixing until all the flour is fully incorporated. If you're using an electric mixer, start on a low speed to avoid flour flying everywhere, then increase the speed as the dough comes together.
Once all the flour is added, continue mixing for another minute or two to ensure everything is well combined.
The dough should be smooth and slightly sticky to the touch. If it seems too dry, you can add a tablespoon of milk; if it's too wet, sprinkle in a bit more flour.
Your dough is now ready for the next step in creating your spooky treats.
Step 5. Shape and Bake Biscuits
Now that your dough is ready, it's time to shape and bake your Spooky Spider Biscuits.
Begin by preheating your oven to 350°F (175°C) and lining a baking sheet with parchment paper. Take small portions of the dough and roll them into balls, about 1 inch in diameter.
Place these balls on the prepared baking sheet, leaving enough space between them for spreading.
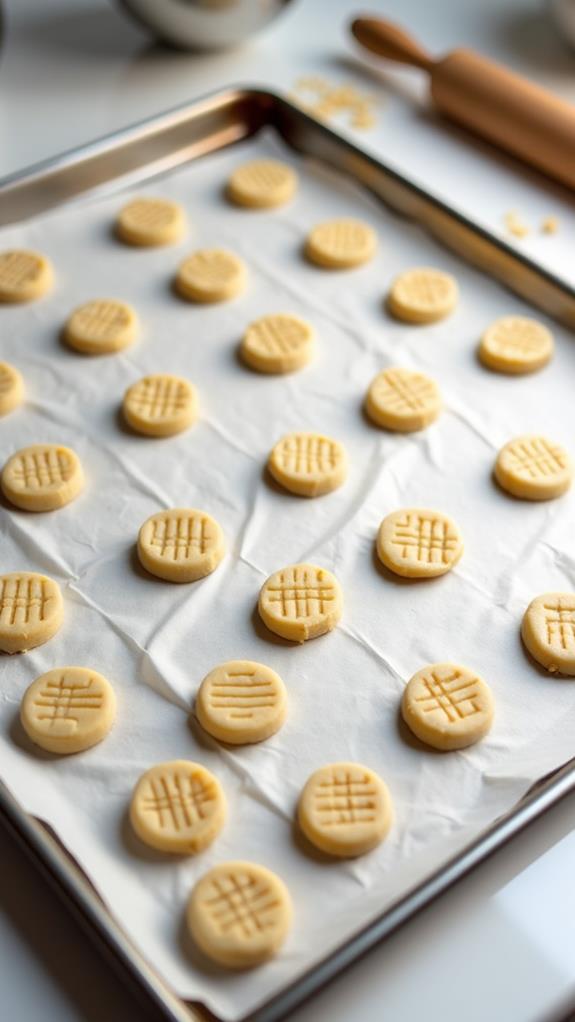
Next, gently press down on each ball with the palm of your hand or a fork to flatten it slightly. This will help create the classic biscuit shape. For a spider-like appearance, you can use a toothpick to draw leg indentations around the edges of each flattened biscuit.
Once you've shaped all your biscuits, place the baking sheet in the preheated oven. Bake for 10-12 minutes, or until the edges turn golden brown.
Keep a close eye on them to prevent over-baking. When done, remove the baking sheet from the oven and let the biscuits cool on the sheet for a few minutes before transferring them to a wire rack to cool completely.
Final Thoughts
Spooky Spider Biscuits offer a delightful way to celebrate Halloween or add a touch of whimsy to any gathering.
They're not only fun to make but also provide an opportunity for creativity in the kitchen. You can experiment with different chocolate types, such as dark, milk, or white, to create varied flavors and appearances.
Don't hesitate to add edible decorations like candy eyes or sprinkles to enhance the spooky effect.