To master bread kneading and folding, you'll need to understand dough composition and hydration levels. Start by developing gluten through proper kneading techniques, using rhythmic motions for 10-15 minutes. For high-hydration doughs, employ gentle folding methods like stretch-and-fold to maintain air pockets. Aim for a smooth, supple texture that passes the windowpane test. Proper proofing in a warm, humid environment is crucial for optimal volume and texture. Shape your loaves carefully to create surface tension, and consider scoring patterns for aesthetic appeal. By mastering these techniques, you'll unlock the secrets to creating scrumptious, artisanal loaves with perfect crumb structure and flavor.
The Science Behind Dough Composition
To understand the art of bread kneading and folding, you'll first need to grasp the science behind dough composition. At its core, dough is a marvel of culinary chemistry, primarily composed of flour, water, yeast, and salt. Each ingredient plays a crucial role in creating the perfect loaf.
Flour, the backbone of your dough, provides the gluten that gives bread its structure and texture. The type of flour you choose matters; bread flour, with its higher protein content, yields stronger gluten formation than all-purpose flour.
Water is equally important, with hydration levels typically ranging from 60% to 80%. Higher hydration leads to a lighter, airier bread due to improved gas retention.
Yeast, the unsung hero of bread-making, acts as a leavening agent by consuming sugars and producing carbon dioxide, creating those essential bubbles that make your bread rise.
Salt isn't just for flavor; it strengthens gluten and regulates yeast activity, ensuring a balanced fermentation process.
Mastering the Kneading Technique
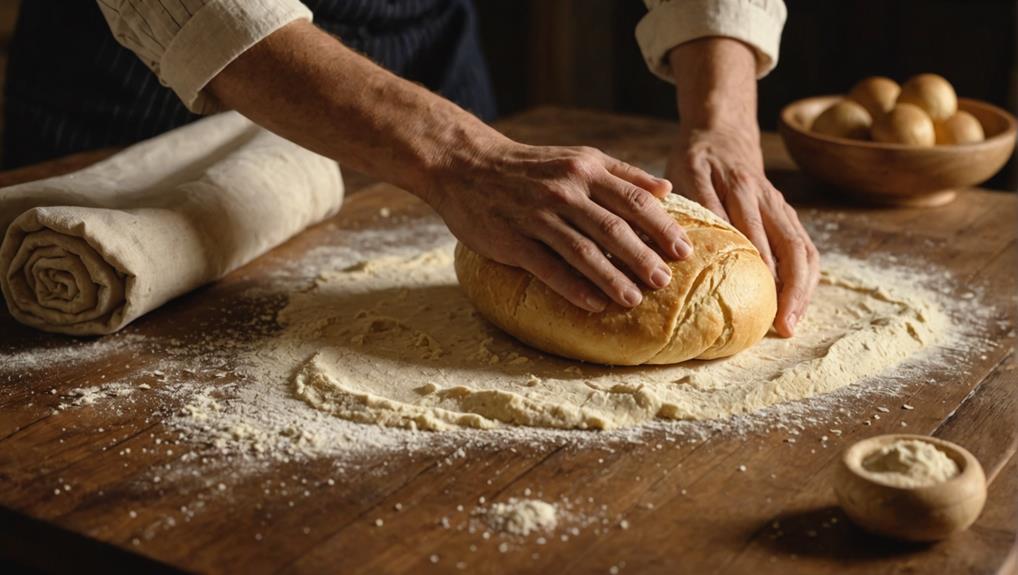
To master the art of kneading, you'll need to focus on essential movements, timing, and texture cues.
Start by implementing a rhythmic motion, such as the "pick, pinch, and slap" method, for 10-15 minutes to develop the dough's elasticity and strength.
As you knead, pay close attention to the dough's consistency, aiming for a smooth, supple texture that cleanly detaches from your hands, indicating it's been properly worked.
Essential Kneading Movements
Mastering the art of kneading is essential for creating the perfect loaf. To develop gluten effectively, you'll need to employ a shearing motion that transforms your dough into a smooth, elastic texture. This technique is crucial for all bread types, but it's especially important for white bread, where traditional kneading enhances texture significantly.
When kneading, incorporate air into the dough using methods like the pick, pinch, and slap technique. This innovative approach boosts elasticity and strength, resulting in a superior bread structure.
Remember to use minimal flour during the process to avoid over-dusting, which can negatively impact your final product's quality and texture.
As you knead, pay attention to the dough's consistency. A well-kneaded dough should feel supple and responsive, cleanly detaching from your hands. This indicates effective gluten formation and readiness for the next steps in your bread-making journey.
Timing and Texture Cues
Three key elements define successful kneading: timing, texture, and technique. When it comes to timing, you'll want to aim for 10-15 minutes of kneading for white bread. This duration is crucial for optimal gluten development and texture.
As you knead, pay attention to texture cues that indicate progress. The dough should transform from a shaggy mass to a smooth, elastic ball. If it's overly sticky, you may need to add a touch more flour, but be cautious not to overdo it, as this can lead to a dense loaf.
To check if you've kneaded enough, try the windowpane test. Stretch a small piece of dough; if it becomes thin enough to see light through without tearing, you've achieved proper gluten development.
Another texture cue to look for is the dough's response when pressed gently. It should spring back, signaling readiness for the next steps in your bread-making journey.
Folding Methods for Perfect Bread
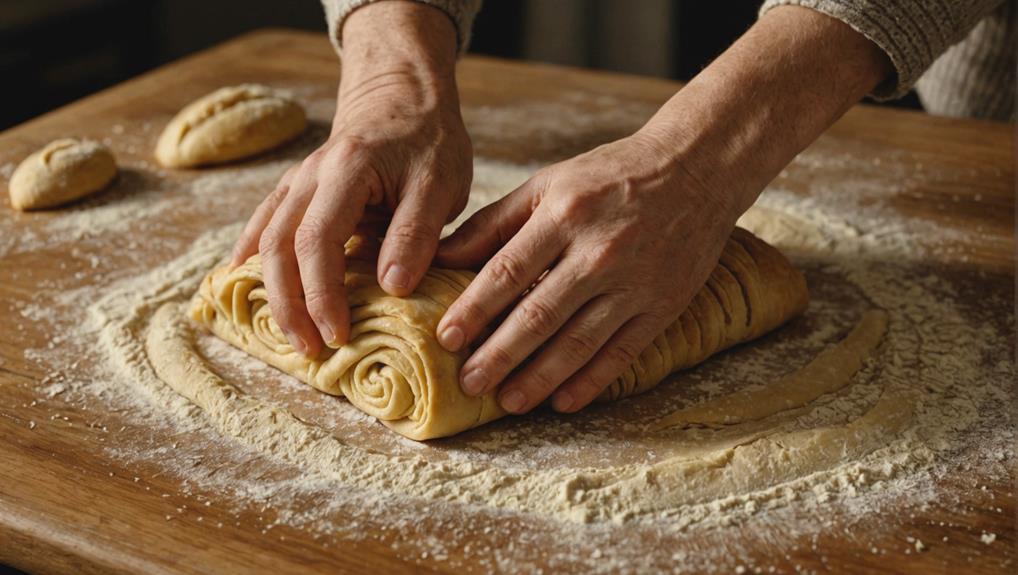
You'll find the stretch-and-fold technique to be an essential skill in your bread-making journey.
This method involves gently stretching the dough and folding it over itself, which effectively incorporates air and develops gluten structure.
As you practice this technique, you'll notice how it transforms your dough, making it more elastic and robust, leading to bread with a superior texture and rise.
Stretch-and-Fold Technique Explained
The stretch-and-fold technique revolutionizes bread making, offering a gentler alternative to traditional kneading. This method is particularly effective for high-hydration doughs, allowing you to develop gluten without overworking the mixture.
You'll perform this technique several times during bulk fermentation, typically every 30 minutes, to build strength and elasticity in your dough.
To execute the stretch-and-fold technique, gently extend the dough to about twice its size, then fold it back onto itself. This process incorporates air evenly and improves the dough's structure.
As you repeat this action, you'll notice the dough becoming more supple and responsive. When you press it gently, a well-developed dough should spring back, indicating proper gluten formation.
Incorporating Air Effectively
Bubbles of air, trapped within the dough, are the secret to achieving a light, airy loaf with an open crumb structure. When incorporating air effectively in bread baking, you'll want to focus on techniques that enhance dough elasticity and strength.
The stretch-and-fold method is your go-to strategy, as it expertly traps air while developing gluten. As you work the dough, maintain consistent movement to improve its structure and ensure a lighter final product.
For an innovative approach, try the "pick, pinch, and slap" method. This technique aerates the mixture while developing gluten, giving your bread that perfect texture.
Remember, less is more when it comes to additional flour. Avoid over-dusting to maintain optimal hydration and air retention in your dough.
After folding, allow your dough to rest. This crucial step promotes flavor development and improves overall texture by giving the gluten time to relax.
Kneading vs. Folding: A Comparison
When it comes to bread-making, understanding the difference between kneading and folding is crucial for achieving the perfect loaf. Kneading involves a vigorous shearing motion that develops gluten strength, essential for creating the desirable texture in white bread recipes. You'll find that proper kneading results in a smooth, elastic dough capable of withstanding fermentation.
On the other hand, folding is a gentler technique primarily used for high-hydration doughs like rye or sourdough. This method helps incorporate air while maintaining the dough's structure. As you fold, you'll notice the dough gradually developing gluten without being overworked, preserving its elasticity and aeration.
While kneading requires more forceful action to thoroughly combine ingredients, folding is done through a series of gentle movements. Each technique serves a specific purpose: kneading is integral for traditional breads, while folding is essential for achieving the lightness and open crumb structure associated with artisanal loaves.
Achieving Ideal Dough Texture
Achieving the ideal dough texture is a delicate balancing act that requires attention to detail and practice. To create a light and airy loaf, you'll need to master the art of incorporating air into your dough. This is done through techniques like stretching and folding, which enhance elasticity and strength.
Additionally, utilizing stale bread in unique ways can inspire your baking creativity, much like the innovation seen in savory bread pudding recipes. Aim for a hydration level of about 70% to ensure a moist and airy bread texture, significantly impacting your final product's quality.
When preparing your dough, strive for a thick, sticky consistency reminiscent of porridge. Gradually add flour to improve the texture, allowing the dough to detach cleanly from your hands. Remember, less is more when it comes to flour during handling. Avoid over-dusting to keep your dough supple and responsive to shaping techniques.
After kneading and folding, allow your dough to rest for an hour. This crucial step develops flavor and texture, resulting in a light and airy finished product.
Gluten Development Through Manipulation
Understanding gluten's structure is crucial for mastering bread making, as it forms the foundation for your dough's strength and elasticity.
You'll need to decide between kneading and folding techniques, which both contribute to gluten development but in different ways.
Understanding Gluten Structure
Gluten's pivotal role in bread making can't be overstated. This complex protein network forms the backbone of your dough, providing the structure and elasticity necessary for that perfect rise and texture. Understanding gluten structure is key to mastering the art of bread making.
When you knead or fold your dough, you're actively aligning gluten strands, creating a robust network that traps air bubbles effectively. This process is crucial for gluten development, which directly impacts your bread's final texture.
To optimize this process:
- Maintain proper hydration levels, typically around 70%
- Use shearing motions during kneading to align gluten strands
- Employ gentle folding techniques for high-hydration doughs
As you manipulate the dough, you'll notice changes in its consistency. A well-developed gluten structure results in dough that's smooth, elastic, and holds its shape.
It's essential to monitor these changes, adjusting your technique as needed. Remember, water activates the proteins in flour, allowing gluten to develop fully. By mastering these techniques, you'll unlock the potential for creating innovative, artisanal breads with superior texture and flavor.
Kneading vs. Folding Techniques
You've mastered the basics of gluten structure, but now it's time to dive into the heart of bread making: kneading and folding techniques. These two methods are crucial for developing gluten and creating the perfect texture in your loaves.
Kneading, a vigorous shearing motion, is ideal for white bread doughs. It develops gluten strength, resulting in better gas retention and a lighter, airier loaf. When you knead, you're building the structure that will give your bread its characteristic chew and rise.
On the other hand, folding is a gentler technique, perfect for high-hydration doughs like artisanal breads with around 70% water content. This method helps maintain air pockets and elasticity without overworking the dough. It's especially useful for rye breads, which require less manipulation.
To achieve the best results, you'll want to master both techniques. Kneading builds strength, while folding incorporates air without deflating the dough. By understanding when to use each method, you'll be able to create a well-developed dough that yields scrumptious loaves with optimal flavor and texture.
Achieving Optimal Dough Strength
Now that you've grasped the basics of kneading and folding, it's time to focus on achieving optimal dough strength. Proper gluten development is crucial for creating bread with excellent structure and gas retention. To attain this, you'll need to employ a combination of techniques that manipulate the dough effectively.
Here are three key strategies to enhance your dough's strength:
- Utilize a gentle folding technique, especially for rye bread, to maintain structure without overworking the dough.
- Aim for a hydration level of about 70%, which contributes to a lighter, airier texture and improved gluten development.
- Incorporate air into the dough through stretching, folding, and the "pick, pinch, and slap" method to create a lively, elastic dough.
Proofing Secrets for Baking Success
After mastering the art of kneading and folding, it's crucial to understand the secrets of proofing for baking success.
Proofing, the final rise before baking, plays a pivotal role in developing your dough's volume and texture. This process typically takes 1 to 2 hours, depending on environmental factors and dough type. To optimize proofing, create a warm, humid environment with temperatures between 75°F and 85°F (24°C to 29°C), encouraging optimal yeast activity.
Monitor your dough's expansion carefully, as over-proofing can lead to structural collapse, while under-proofing results in dense loaves. You can assess readiness using the gentle poke test: if the indentation springs back slowly, your dough is primed for baking.
To maintain moisture during proofing, use a covered container or drape a damp cloth over your dough, preventing unwanted crust formation. By mastering these proofing techniques, you'll elevate your bread-making skills and consistently produce bakery-quality loaves.
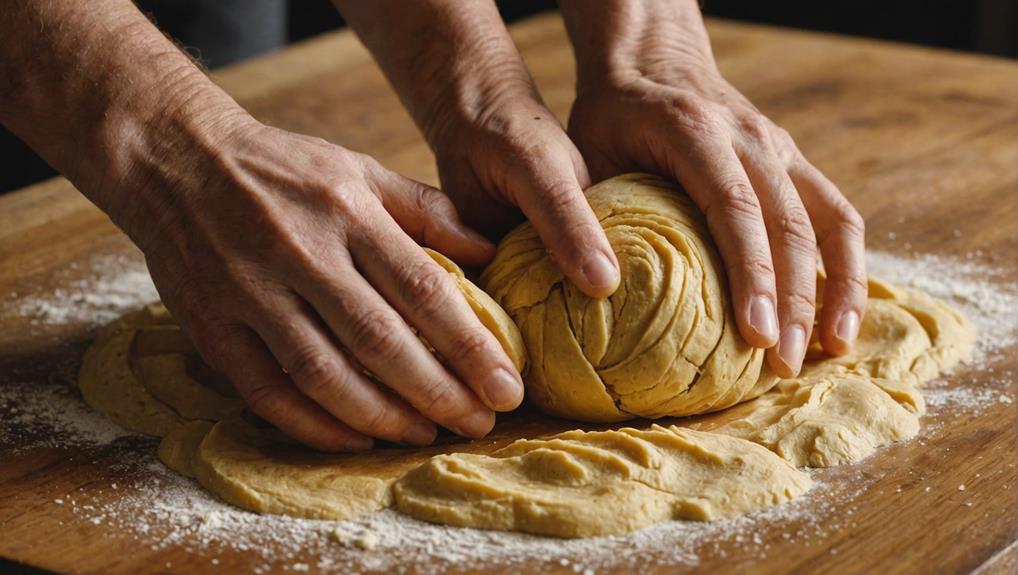
Shaping Techniques for Artisanal Loaves
With your dough properly kneaded and proofed, it's time to master the art of shaping artisanal loaves. The key to successful shaping techniques lies in creating surface tension while maintaining the dough's structure.
Begin with a well-hydrated dough that's been given ample rest time, ensuring optimal elasticity.
For round loaves, employ a gentle tucking method. Rotate the dough while folding its edges into the center, forming a tight ball with a smooth exterior.
When crafting batards or oval loaves, start by slightly flattening the dough, then fold the sides towards the middle. Roll tightly from top to bottom to achieve a uniform shape.
To elevate your shaping game, consider these innovative approaches:
- Utilize a bench scraper for precise dough manipulation
- Experiment with unique scoring patterns for distinctive aesthetics
- Incorporate inclusions like seeds or dried fruits during shaping for added texture
Decoding Crumb Structure
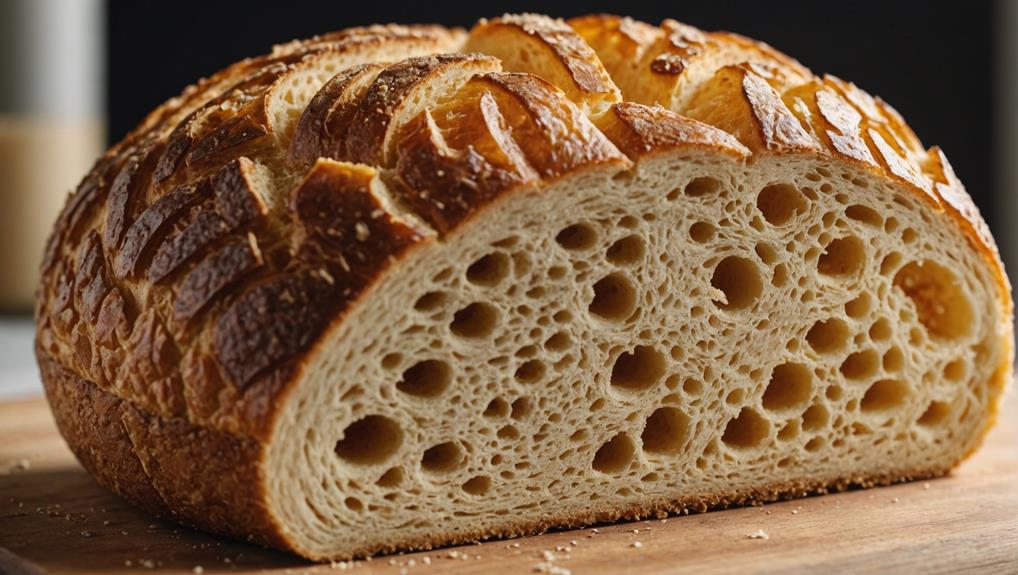
The art of bread-making extends beyond shaping to understanding the hidden intricacies within each loaf. Crumb structure, the internal texture characterized by air bubble distribution, is a key element in creating exceptional bread. To achieve the ideal crumb, you'll need to master several techniques and understand the science behind them.
Just like how the balance of moisture in mushroom risotto is crucial for its creamy texture, achieving the right hydration level in bread-making allows for better gas expansion during baking.
First, focus on developing a strong gluten network through proper kneading. This network is crucial for trapping gas produced by yeast, resulting in a lighter loaf. Experiment with higher hydration levels, around 70%, to allow for greater gas expansion during baking. This will contribute to a more open crumb structure.
As you knead, incorporate gentle folding and stretching techniques to enhance air incorporation. This method leads to a more uniform and desirable crumb texture.
Don't forget the final resting period before baking, which allows for further gas retention and flavor development. This step significantly influences the quality of your bread's crumb.
Hydration's Role in Bread Making
Hydration levels play a pivotal role in bread-making, influencing everything from dough texture to final crumb structure. When you're aiming for a lighter, airier loaf, consider increasing your hydration to around 70%. This higher water content leads to a more open crumb, but it also requires careful handling.
You'll need to master techniques like stretching and folding to effectively trap air and develop elasticity in your dough.
Understanding hydration's impact on your bread is crucial for innovation in your baking. Here's why it matters:
- Enhances gluten development, improving gas retention
- Affects dough behavior during mixing and fermentation
- Influences final flavor profile and crumb structure
As you work with higher hydration levels, you'll notice your dough becomes smoother and more responsive. This is a sign that you're successfully incorporating moisture and air throughout the mixing process.
Frequently Asked Questions
What Is the Secret to Making Good Bread?
You'll unlock the secret to great bread by developing gluten through proper kneading and folding techniques. Embrace high hydration, precise measurements, and adequate rest time. These innovative steps enhance flavor development and texture, yielding irresistible loaves.
What Is the Best Kneading Technique for Bread?
Buckle up, dough dynamo! You'll want to master shearing kneading methods. Use a pick, pinch, and slap technique to incorporate air. For rye, gently fold to maintain structure. Remember, precision's key to unlocking gluten's full potential.
What Does Vitamin C Do to Bread Dough?
You'll find vitamin C is a game-changing dough enhancer. It'll boost gluten strength, improve gas retention, and speed up fermentation. You'll get whiter crumb, uniform texture, and extended shelf life. It's your secret weapon for innovative bread-making.
How to Fold and Seal Dough?
Imagine you're crafting a sourdough boule. You'll want to stretch the dough, creating tension. Fold it in thirds, like a letter, considering dough hydration. Pinch seams firmly, then let it rest. You've just mastered the innovative art of folding and sealing.
Final Thoughts
You've now unlocked the secrets to crafting perfect bread, from kneading to folding. Armed with this knowledge, you're ready to transform your kitchen into a bakery paradise. Remember, practice makes perfect, so don't be discouraged if your first loaves aren't picture-perfect. As you continue to experiment, you'll develop a feel for the dough that's as natural as breathing. Soon, you'll be turning out loaves that would make even the most seasoned bakers rise with envy.