You might think that healthy Halloween treats can't be fun, but Frankenstein Kiwi Pops prove otherwise. These clever creations blend the spooky spirit of the season with nutritious ingredients, offering a guilt-free alternative to traditional candies. You'll find that these pops aren't just visually appealing; they're also surprisingly simple to make. As you explore the history and recipe of these ghoulish treats, you'll discover how they've become a hit at Halloween parties and why they're an excellent way to get kids involved in the kitchen. But there's more to these kiwi monsters than meets the eye…
Key Takeaways
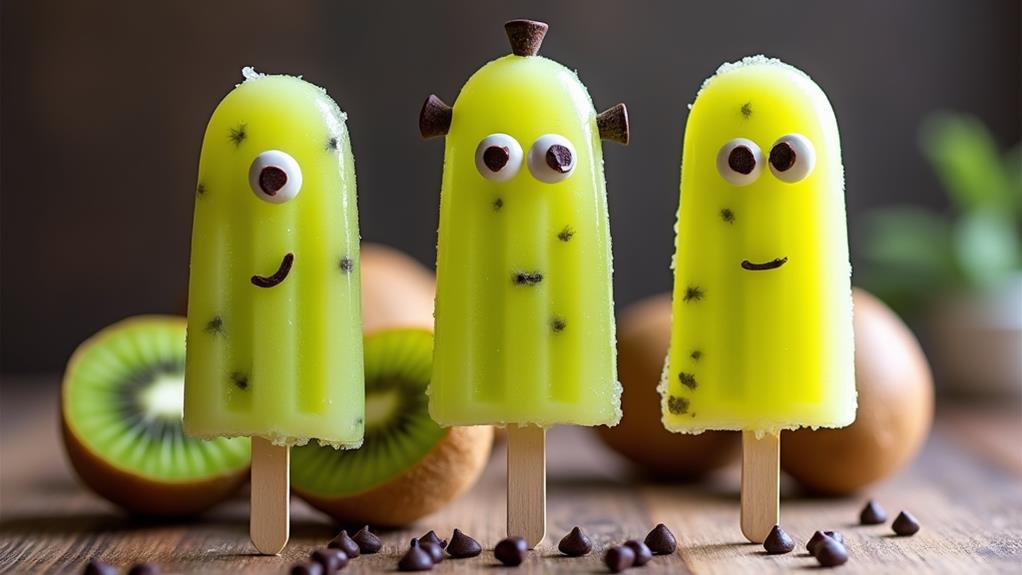
- Frankenstein Kiwi Pops are Halloween-themed frozen treats made with kiwi, Greek yogurt, honey, and chocolate chips.
- The recipe combines healthy ingredients with a spooky appearance, appealing to health-conscious parents and kids alike.
- Preparation involves blending kiwi, yogurt, and honey, then adding chocolate chips as "eyes" before freezing.
- These pops gained popularity through social media, becoming a staple for Halloween parties and autumn gatherings.
- The recipe is simple, nutritious, and adaptable, allowing for creative variations and involvement of children in preparation.
History
The history of Frankenstein Kiwi Pops dates back to the early 2010s when creative food bloggers started mashing up classic Halloween themes with healthy treats.
You'll find that these pops gained popularity as parents sought alternatives to sugary candies for their children during Halloween festivities. The idea quickly spread through social media platforms, where eye-catching photos of the green, monster-like popsicles captured people's attention.
As the trend grew, food enthusiasts began experimenting with different variations, incorporating additional fruits or using alternative yogurt bases.
You'll notice that the core concept remained the same: a kiwi-based pop with chocolate chip "eyes" to mimic Frankenstein's monster. Over time, these pops have become a staple at Halloween parties and autumn gatherings, offering a fun and nutritious option for those looking to balance treats with healthier choices.
The evolution of Frankenstein Kiwi Pops reflects a broader shift in food culture, where creative presentation and nutritional value are increasingly prioritized.
You'll find that this treat has inspired similar themed fruit-based snacks, contributing to a more diverse and health-conscious approach to holiday treats.
Recipe
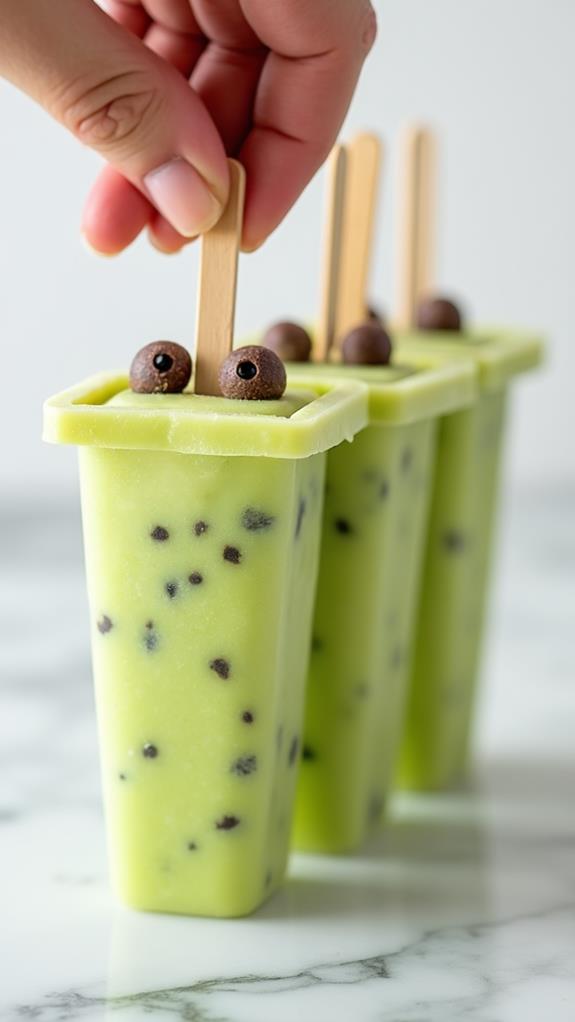
Frankenstein Kiwi Pops are a delightful and spooky treat perfect for Halloween parties or any fun gathering. These frozen treats combine the tangy sweetness of kiwi with creamy Greek yogurt and a touch of honey, all adorned with chocolate chip "eyes" to give them their monstrous appearance.
This easy-to-make recipe isn't only delicious but also a great way to involve kids in the kitchen. With just a few simple ingredients and some freezer time, you can create a batch of these ghoulishly green pops that are sure to be a hit with both children and adults alike.
Ingredients:
- 2 cups kiwi, peeled and sliced (320g)
- 1 cup Greek yogurt (245g)
- 1/4 cup honey (85g)
- 1/2 cup mini chocolate chips (90g)
- 10 plastic pop sticks
To make Frankenstein Kiwi Pops, start by blending the peeled and sliced kiwi with Greek yogurt and honey until smooth. Pour the mixture into pop molds, leaving a small space at the top. Insert the plastic pop sticks into each mold, then drop a few mini chocolate chips into the mixture to create the "eyes." Seal the molds and freeze for at least 4 hours or until completely solid.
For best results, use ripe kiwis for optimal sweetness and flavor. You can experiment with different types of yogurt, such as vanilla or coconut-flavored, to add variety to the taste.
If you want a more vibrant green color, consider blending in a small handful of spinach or kale – it won't affect the flavor significantly but will boost the nutritional value and visual appeal.
Remember to keep the pops covered in the freezer to prevent ice crystals from forming and maintain a smooth texture.
Cooking Steps
To create your Frankenstein Kiwi Pops, you'll start by peeling and slicing the kiwis before blending them with yogurt and honey.
Once you've poured the mixture into molds, you'll add chocolate chip "eyes" to give your pops their spooky appearance.
Step 1. Peel and Slice Kiwis
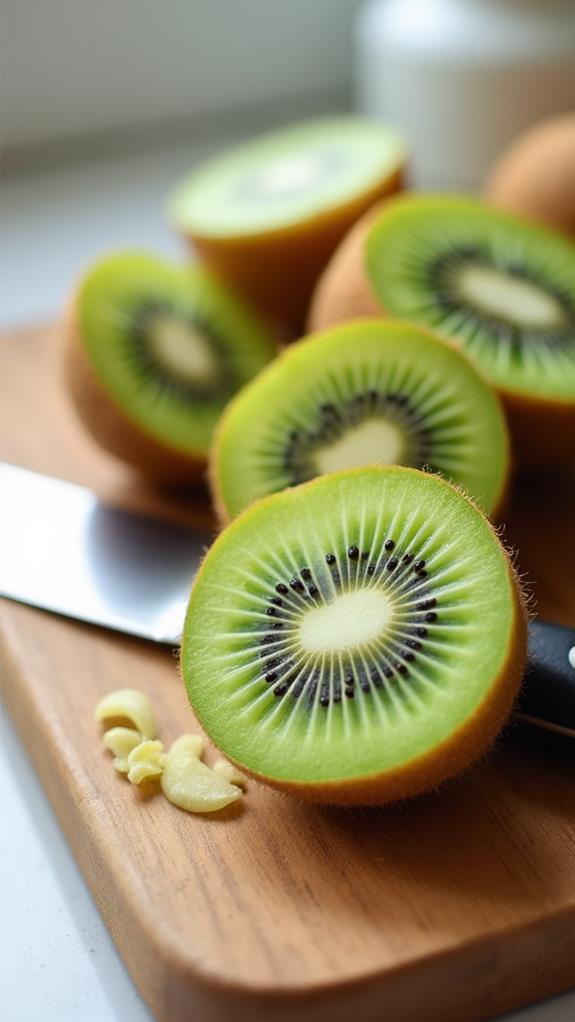
Before diving into the blending process, you'll need to prepare your kiwis. Start by selecting ripe kiwis that yield slightly to gentle pressure. Rinse them under cool water to remove any dirt or debris. Next, use a sharp paring knife to carefully cut off both ends of each kiwi.
Stand the kiwi on one of its flat ends and, using your knife, follow the curve of the fruit to remove the fuzzy skin in strips. Once peeled, lay the kiwi on its side and slice it into thin rounds, about 1/4 inch thick.
For this recipe, you'll need approximately 2 cups of sliced kiwi, which is about 4-5 medium-sized fruits. As you slice, discard any bruised or discolored portions. If you're not using the kiwi immediately, place the slices in an airtight container and refrigerate them to prevent browning.
Step 2. Mix Ingredients in Blender
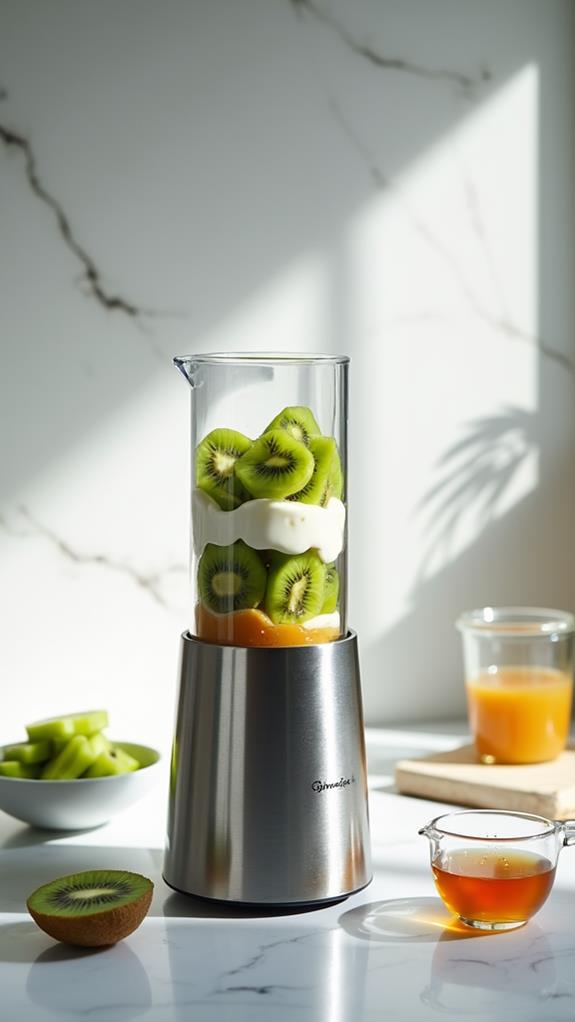
Now that your kiwis are prepped, it's time to combine the ingredients. Grab your blender and add the sliced kiwis, Greek yogurt, and honey. These three components will create the base for your Frankenstein pops, blending together to form a creamy, tangy mixture with just the right amount of sweetness.
Secure the lid on your blender and pulse the ingredients for about 30 seconds. You'll want to achieve a smooth consistency without any chunks of kiwi remaining. If you notice any pieces stuck to the sides, stop the blender and use a spatula to scrape them down. Resume blending until you've reached the desired texture.
Once your mixture is smooth, give it a taste. If you'd like it sweeter, add a bit more honey and blend again.
For a brighter green color, you can toss in a handful of spinach – it won't affect the flavor but will intensify the hue. Remember, the freezing process will slightly dull the sweetness, so it's okay if it tastes a bit sweeter than you'd expect.
Step 3. Pour Mixture Into Molds

With your kiwi mixture ready, it's time to fill your pop molds. Carefully pour the blended concoction into each mold, leaving about a quarter-inch of space at the top. This extra room allows for expansion as the mixture freezes and ensures your pops don't overflow.
As you're pouring, gently tap the molds on the counter to remove any air bubbles that might've formed.
Once you've filled the molds, it's time to add the spooky touch. Drop a few mini chocolate chips into each mold, allowing them to sink slightly into the mixture. These will create the eerie "eyes" of your Frankenstein pops.
Next, insert the plastic pop sticks into the center of each mold, pushing them about halfway down. Make sure they're straight to ensure easy removal later. If your molds have lids, securely fasten them now. If not, you can cover the tops with aluminum foil, creating small slits for the sticks to poke through.
This step helps prevent freezer burn and keeps your pops fresh. Your Frankenstein Kiwi Pops are now ready for their transformation in the freezer.
Step 4. Add Chocolate Chip Eyes
The chocolate chip eyes are what truly bring your Frankenstein Kiwi Pops to life. After you've poured the kiwi mixture into your pop molds, it's time to add this crucial detail.
Take a handful of mini chocolate chips and carefully drop them into each mold. You'll want to add them near the top of the pop, where they'll be visible once frozen. For the classic Frankenstein look, use two chips per pop, placing them side by side to create a pair of eyes.
As you add the chips, they'll naturally sink a bit into the mixture. This is perfect, as it'll help them stay in place during freezing. If you're feeling extra creative, you can experiment with different eye shapes or expressions by arranging the chips in various patterns.
Once you've added the eyes to all your pops, it's time to insert the popsicle sticks. Gently push each stick into the center of the mold, ensuring it's straight and secure. Now, your Frankenstein Kiwi Pops are ready for their final transformation in the freezer.
Step 5. Freeze for 4+ Hours
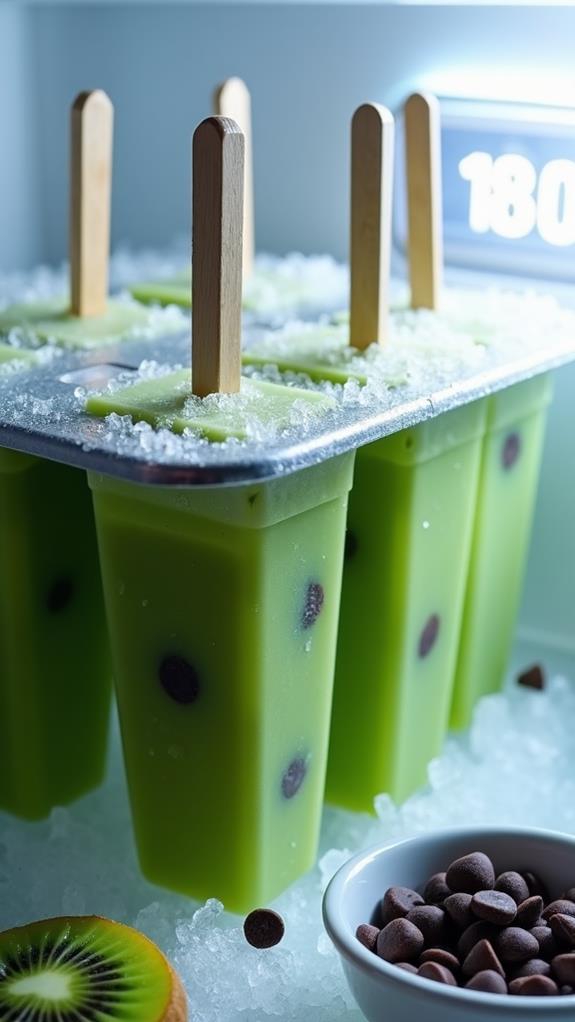
After you've added the chocolate chip eyes and inserted the popsicle sticks, it's time for the crucial freezing step. Place the filled molds carefully into your freezer, ensuring they're on a flat surface to prevent any spills.
For optimal results, you'll need to freeze your Frankenstein Kiwi Pops for at least four hours, though overnight freezing is ideal. This extended freezing time allows the mixture to solidify completely, creating a smooth, icy texture that's perfect for a refreshing treat.
During the freezing process, it's important not to disturb the pops. Avoid opening the freezer frequently, as this can introduce warm air and slow down the freezing. If you're making these for a party, plan ahead and prepare them the day before.
Once fully frozen, you can remove the pops from their molds by running them briefly under warm water. This will help release them without breaking.
If you're not serving the pops immediately, wrap each one individually in plastic wrap or store them in an airtight container to prevent freezer burn. Your Frankenstein Kiwi Pops are now ready to delight and spook your guests!
Final Thoughts
Creativity in the kitchen can lead to delightful surprises, and Frankenstein Kiwi Pops are no exception. These fun and festive treats offer a perfect blend of flavor, nutrition, and spooky charm. By following the simple recipe, you'll create a memorable snack that's sure to impress guests of all ages.
Remember, the key to success lies in using ripe kiwis and allowing ample freezing time for the pops to set properly.
Don't be afraid to experiment with variations, such as adding different fruits or using flavored yogurt to create your own unique twist. If you're looking to boost the nutritional value, consider sneaking in some leafy greens for an extra health kick.
These pops aren't just for Halloween; they're a refreshing treat for any occasion, from summer picnics to birthday parties. By involving children in the preparation process, you'll not only create lasting memories but also encourage healthy eating habits.