Like the timeless tale of Peter Cottontail hopping down the bunny trail, you've probably encountered Easter sugar cookies throughout your life's celebrations. You'll find these festive treats carry a rich heritage spanning centuries, from their humble beginnings in European monasteries to today's Instagram-worthy creations. Whether you're a seasoned baker or just starting to explore holiday traditions, mastering these soft, buttery delights can transform your Easter gathering into a memorable experience. The secrets to crafting these picture-perfect cookies, from achieving the ideal consistency to creating intricate designs, might surprise you.
Key Takeaways
- Classic Easter sugar cookies require basic ingredients: flour, butter, sugar, eggs, vanilla extract, baking powder, and salt.
- Chill dough for at least 2 hours (overnight recommended) to maintain shape during baking and prevent spreading.
- Bake at 375°F for 8-10 minutes until edges are lightly golden, using center oven racks for even heat distribution.
- Roll dough to ¼-inch thickness between parchment paper and cut into festive spring shapes like eggs, bunnies, and flowers.
- Store decorated cookies in airtight containers with parchment paper between layers for up to one week of freshness.
History
Easter sugar cookies trace their origins back to medieval European Easter celebrations, when bakers would craft simple butter cookies to mark the end of Lent.
You'll find that these early cookies weren't as decorative as today's versions, but they held deep religious significance for Christians who'd abstained from sugar and butter during the Lenten season.
By the 18th century, you'd have seen German settlers bringing their cookie traditions to America, where they introduced the concept of cut-out cookies shaped like Easter symbols.
These settlers' recipes typically included ingredients you'll recognize today: butter, sugar, eggs, and flour.
You'll notice that the tradition of decorating Easter cookies with royal icing didn't become widespread until the Victorian era, when baking supplies became more readily available to home cooks.
If you're interested in the modern evolution of Easter sugar cookies, you'll see that they've become increasingly elaborate since the 1950s, with the introduction of food coloring, sprinkles, and sophisticated decorating techniques.
Today, you'll find that these cookies often feature pastel colors, spring motifs, and intricate designs that reflect both religious and secular Easter celebrations.
Recipe
Easter sugar cookies are a delightful holiday tradition that brings families together for both baking and decorating. These soft, buttery cookies hold their shape perfectly when cut into festive Easter shapes like eggs, bunnies, and flowers, making them ideal for creative decorating with royal icing and sprinkles.
The key to perfect Easter sugar cookies lies in properly chilling the dough and maintaining the right temperature while rolling and cutting. When prepared correctly, these cookies have a tender, slightly crisp exterior with a soft middle, creating the perfect canvas for elaborate Easter-themed designs.
Ingredients:
- 3 cups all-purpose flour (375g)
- 1 cup unsalted butter, softened (227g)
- 1½ cups granulated sugar (300g)
- 2 large eggs
- 2 teaspoons vanilla extract
- 1 teaspoon baking powder
- ½ teaspoon salt
- ¼ teaspoon almond extract (optional)
Cream softened butter with sugar until light and fluffy, about 3-4 minutes. Beat in eggs one at a time, then add vanilla and almond extract.
In a separate bowl, whisk together flour, baking powder, and salt. Gradually mix dry ingredients into wet ingredients until just combined.
Divide dough in half, wrap in plastic, and chill for at least 2 hours. Roll dough to ¼-inch thickness on a floured surface, cut into desired shapes, and bake at 350°F (175°C) for 8-10 minutes until edges are lightly golden.
For best results, ensure all ingredients are at room temperature before beginning. Keep unused dough refrigerated while working with each portion, and avoid overworking the dough which can lead to tough cookies.
Cool cookies completely on wire racks before decorating, and store in an airtight container between layers of parchment paper for up to one week.
Cooking Steps
Begin your cookie-making journey by preheating the oven to 375° and combining your dry ingredients in a large mixing bowl.
You'll want to cream your butter with sugar until it's light and fluffy, then incorporate the eggs and vanilla until well blended.
After mixing all ingredients thoroughly, you'll need to chill your dough for at least an hour before rolling it out, which ensures your cookies will hold their shape while baking.
Step 1. Preheat Oven to 375°
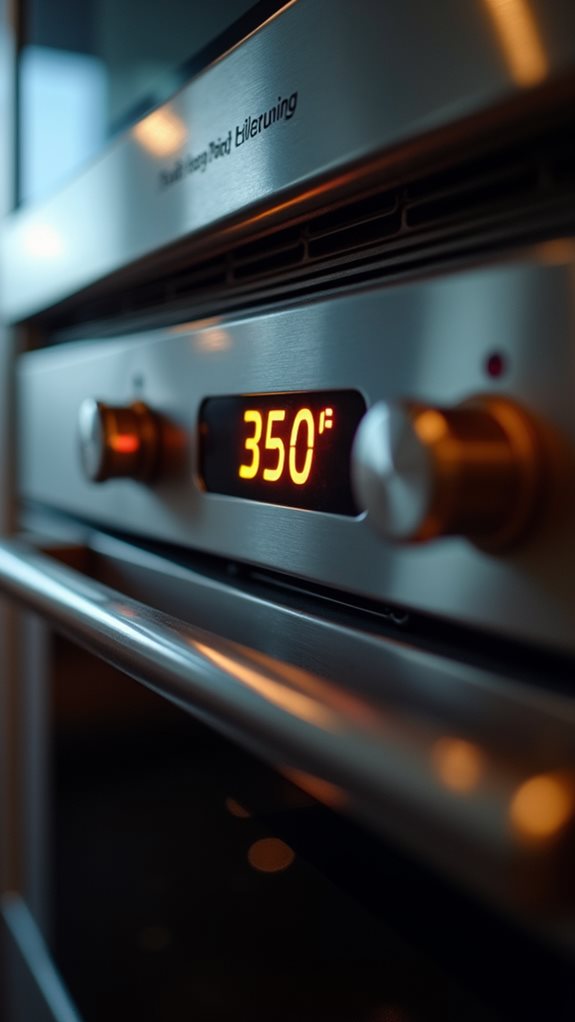
While your sugar cookie dough chills in the refrigerator, preheat your oven to 375°F (190°C). You'll want to give your oven adequate time to reach the proper temperature, which typically takes 10-15 minutes for most standard ovens.
During this preheating period, you can begin organizing your workspace and gathering your baking supplies.
To ensure your oven reaches the correct temperature, it's important to verify with an oven thermometer, as many home ovens can be inaccurate by 25-50 degrees.
If you're using a convection oven, you'll need to adjust the temperature down by 25 degrees to 350°F (175°C), since the fan circulation creates more efficient heating.
Position your oven racks in the center position, which will allow for even heat distribution and consistent browning of your cookies.
If you're planning to bake multiple batches, you can use both the upper and lower middle racks, but you'll need to rotate the baking sheets halfway through cooking.
Don't place the cookie sheets in the oven until it has fully preheated, as this will affect the texture and spread of your Easter sugar cookies.
Step 2. Mix Dry Ingredients Together
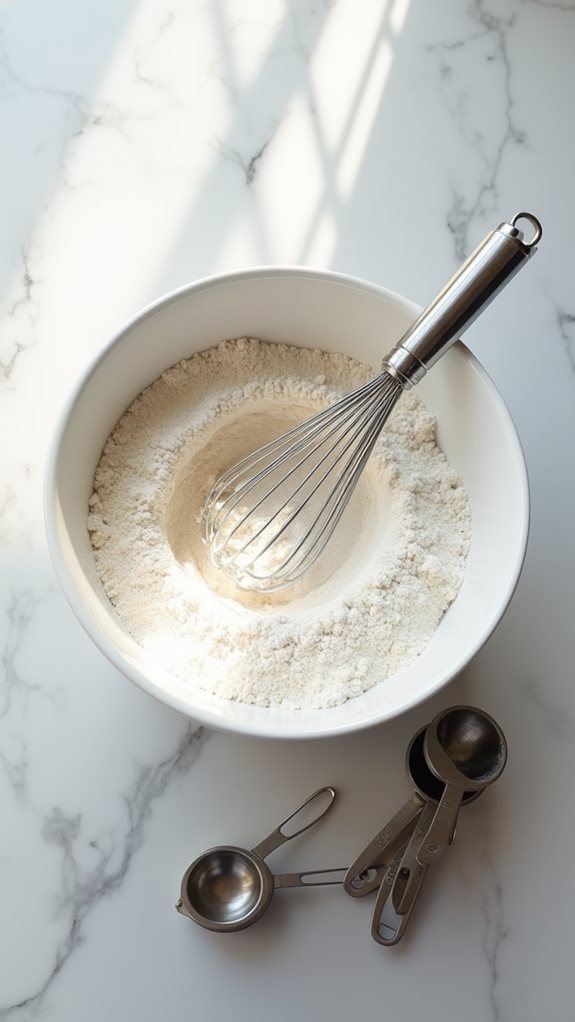
With your oven warming up, let's focus on preparing the cookie dough's foundation. You'll need to gather your dry ingredients, which include 3 cups of all-purpose flour, 1 teaspoon of baking powder, and 1/2 teaspoon of salt. These precise measurements ensure your cookies will have the perfect texture and rise properly during baking.
In a medium-sized mixing bowl, combine your flour, baking powder, and salt. Using a wire whisk, you'll want to blend these ingredients thoroughly, making sure there aren't any lumps in the mixture.
This step is crucial because it ensures even distribution of the leavening agents throughout your dough, which will help your cookies bake uniformly. As you whisk, you might notice the mixture becoming lighter and more aerated – that's exactly what you want.
Don't rush this process; take about 30 seconds to thoroughly incorporate all the dry ingredients. Once you've achieved a uniform mixture with no visible streaks of salt or baking powder, set the bowl aside. You'll need these dry ingredients ready when it's time to combine them with your wet ingredients.
Step 3. Cream Butter With Sugar
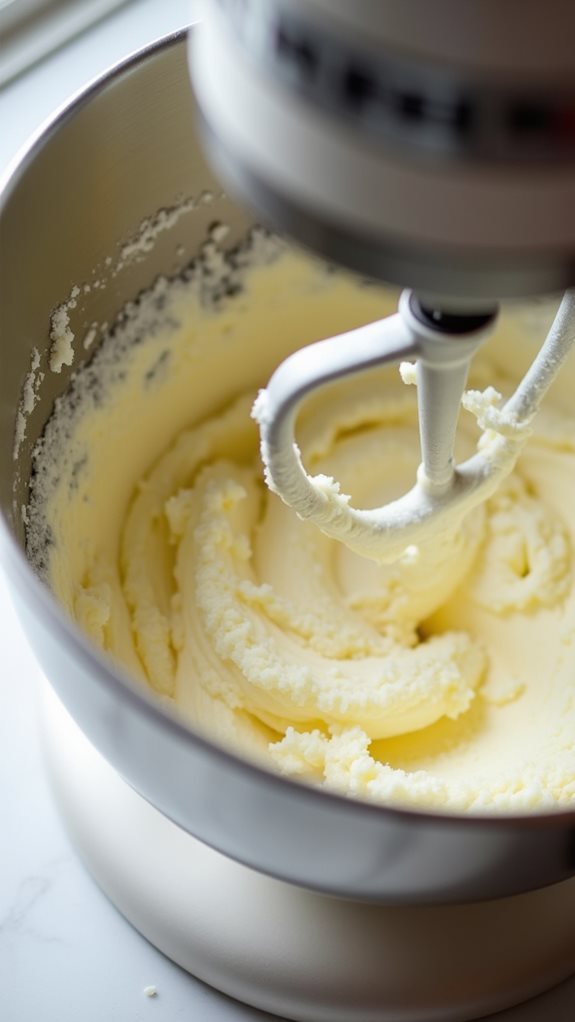
The next crucial step involves creaming together 1 cup of softened butter with 1½ cups of granulated sugar.
You'll want to use your electric mixer on medium speed, beating the ingredients until they're light and fluffy, which typically takes about 3-4 minutes.
Don't rush this step, as proper creaming creates the foundation for your cookies' texture.
While mixing, you'll notice the color changing to a pale yellow, and the mixture becoming increasingly airy.
Stop occasionally to scrape down the sides of your bowl with a rubber spatula, ensuring all ingredients are thoroughly combined.
You'll know you've reached the right consistency when the mixture looks almost whipped and clings to the sides of the bowl.
If your butter isn't properly softened, you'll end up with a lumpy mixture that won't incorporate air properly.
The ideal butter temperature is around 65°F – soft enough to leave an indent when pressed but not so soft that it's melting.
This temperature allows for optimal creaming and ensures your Easter sugar cookies will have that perfect, tender crumb once baked.
Step 4. Add Eggs and Vanilla
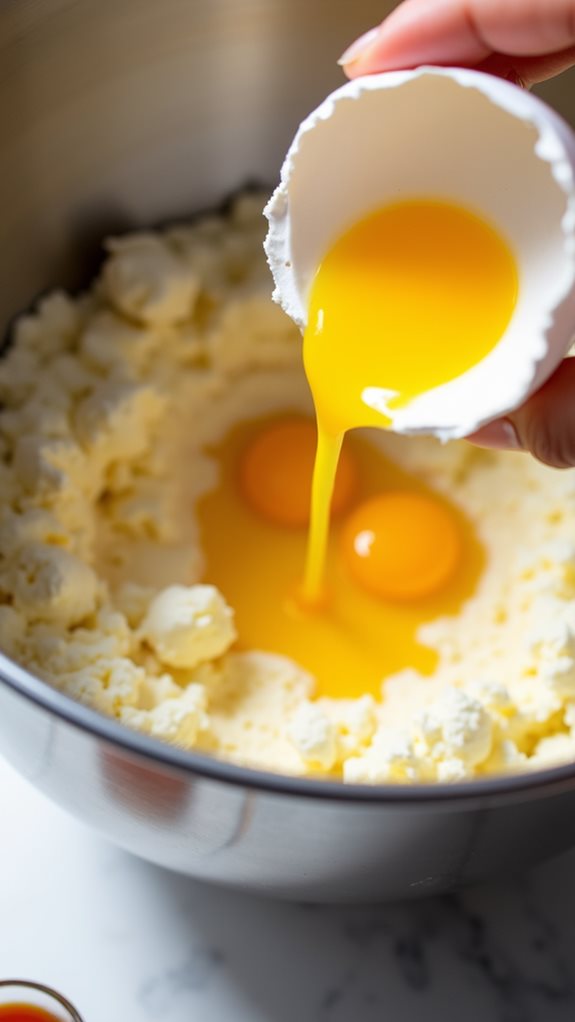
After creaming the butter and sugar, add 3 large eggs one at a time, beating well after each addition.
You'll want to ensure each egg is fully incorporated before adding the next one, which typically takes about 30 seconds of mixing per egg. As you're adding the eggs, occasionally scrape down the sides of the bowl with a rubber spatula to maintain even distribution throughout the mixture.
Next, pour in 2 teaspoons of pure vanilla extract, which will enhance your cookies' flavor and aroma.
Don't substitute imitation vanilla, as it won't provide the same depth of taste that's essential for classic sugar cookies. Mix until the vanilla is thoroughly combined with the egg mixture, but don't overbeat.
You'll know you've achieved the right consistency when the mixture looks smooth and slightly fluffy, with no streaks of egg visible. If your mixture appears curdled or separated after adding the eggs, don't worry – it'll come together once you add the dry ingredients in the next step.
The temperature of your ingredients can affect how well they blend, so it's helpful if your eggs are at room temperature before you begin.
Step 5. Chill Dough Before Rolling
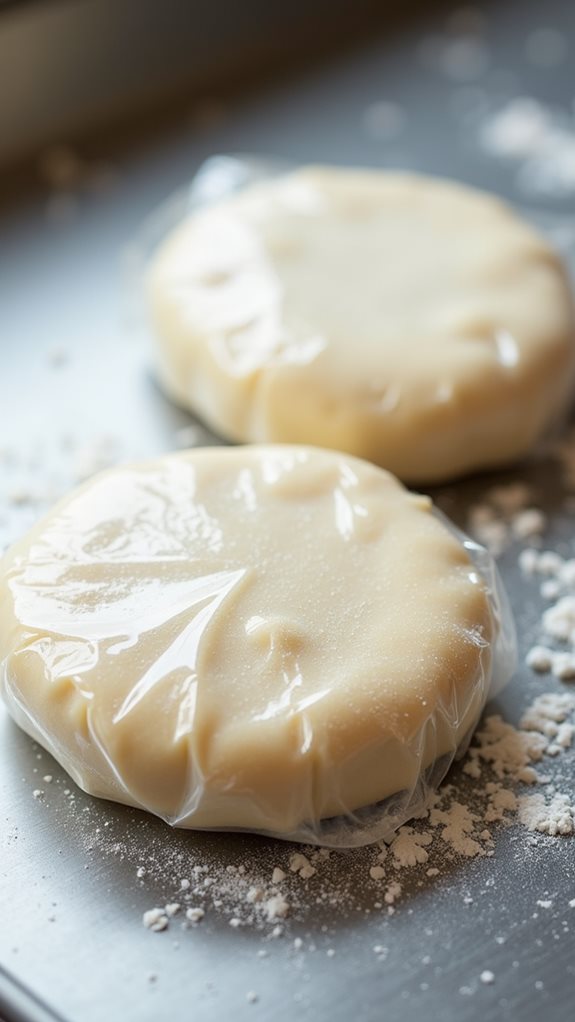
Properly chilled cookie dough is essential for creating clean-cut Easter shapes. After you've mixed your dough, wrap it tightly in plastic wrap and refrigerate it for at least 2 hours, though overnight chilling will yield the best results. You'll notice that the dough becomes firmer and less sticky, making it much easier to handle and roll out.
When you're ready to start rolling, remove only a portion of the dough from the refrigerator, keeping the rest chilled until needed. If your kitchen's warm, you'll want to work quickly as the dough softens at room temperature.
Roll the dough between two sheets of parchment paper to prevent sticking and maintain an even thickness of about 1/4 inch. If the dough becomes too soft while you're working with it, don't hesitate to return it to the refrigerator for 15-20 minutes to firm up again.
This chilling process isn't just about convenience – it allows the flour to hydrate fully and helps prevent your cookies from spreading during baking, ensuring they'll maintain those crisp, distinctive Easter shapes you're aiming for.
Final Thoughts
Thanks to their charming designs and sweet flavor, Easter sugar cookies bring joy to spring celebrations. You'll find that these delightful treats aren't just delicious – they're also perfect for creating lasting holiday memories with family and friends.
Whether you're making them for an Easter basket, a springtime party, or a festive dessert table, these cookies will surely impress your guests.
Remember that patience and attention to detail are key when making Easter sugar cookies. Don't rush the process, as each step – from mixing the dough to decorating the finished cookies – contributes to the final result.
You'll achieve the best outcome by following the recipe precisely, maintaining proper dough temperature, and using quality ingredients. If you're new to cookie decorating, start with simple designs and gradually work your way up to more intricate patterns.
Keep in mind that even imperfect cookies can taste wonderful, so don't stress too much about achieving picture-perfect results. With practice and dedication, you'll develop the skills to create beautiful Easter sugar cookies that taste as good as they look.