You'll find that Easter Nest Cake represents more than just another holiday dessert on your springtime table. While its chocolate-laden layers and whimsical decorations might catch your eye first, there's a fascinating story behind this beloved creation that stretches back to early European traditions. Today's modern interpretations have evolved far beyond their humble origins, yet they maintain that perfect balance of nostalgia and creativity that makes special occasions memorable. Whether you're an experienced baker or just starting to explore seasonal treats, understanding the complete story of this iconic dessert will transform how you approach your next Easter celebration.
Key Takeaways
- A traditional European dessert featuring a chocolate cake base decorated to resemble a bird's nest with chocolate shavings and candy eggs.
- Made with two layers of moist chocolate cake using cocoa powder, eggs, flour, and hot coffee for enhanced flavor.
- Decorative elements include nest-like chocolate frosting, Easter candies, and edible spring-themed ornaments arranged on top.
- The cake requires baking at 350°F for 30-35 minutes, followed by cooling before adding decorative nest elements.
- Popular as a centerpiece dessert for Easter celebrations, combining rich chocolate flavors with whimsical spring-themed decorations.
History
The Easter nest cake emerged as a cherished springtime dessert in early 20th century Europe, combining traditional Easter symbolism with creative baking techniques.
You'll find that German and Austrian bakers were among the first to popularize this festive creation, which they'd often display in their shop windows during the Easter season.
When you look into the cake's development, you'll discover that it evolved from simpler Easter bread traditions, where bakers would incorporate eggs and nests into their seasonal offerings.
The specific design you're familiar with today, featuring a nest-like structure filled with candy eggs, gained widespread recognition in the 1920s and 1930s as decorated cakes became more accessible to home bakers.
You'll notice that the cake's appearance has changed over time, though its core elements remain consistent.
Where bakers once used simple chocolate shavings and Jordan almonds, you'll now find elaborate decorations including chocolate eggs, candy-coated chocolates, and even edible flowers.
Today's Easter nest cakes often incorporate modern ingredients and techniques, but they've maintained their symbolic connection to spring's renewal and rebirth.
Recipe
A delightful Easter Nest Cake combines the rich flavors of chocolate cake with decorative elements that capture the spirit of spring. This showstopping dessert features a moist chocolate base topped with chocolate frosting and decorated to resemble a bird's nest, complete with candy eggs and chocolate shavings.
The cake's versatility allows for various decorative approaches, from simple designs using store-bought candies to more elaborate arrangements with handmade chocolate pieces. While traditionally served during Easter celebrations, this festive cake can be adapted for other spring occasions or whenever a whimsical dessert is desired.
Ingredients:
- 2 cups (250g) all-purpose flour
- 2 cups (400g) granulated sugar
- ¾ cup (75g) unsweetened cocoa powder
- 2 teaspoons baking soda
- 1 teaspoon baking powder
- 1 teaspoon salt
- 2 eggs
- 1 cup (240ml) milk
- ½ cup (120ml) vegetable oil
- 2 teaspoons vanilla extract
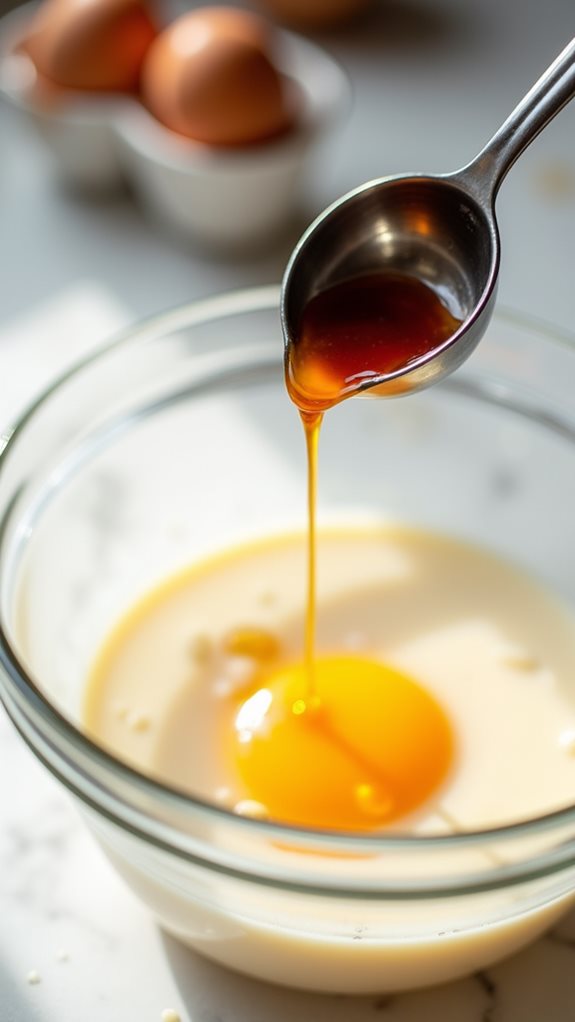
- 1 cup (240ml) hot coffee
- 2 cups (480ml) chocolate frosting
- 2 cups (200g) chocolate shavings
- 12-15 small candy eggs for decoration
Preheat oven to 350°F (175°C). Grease and flour two 9-inch round cake pans. Mix dry ingredients in a large bowl. In a separate bowl, combine eggs, milk, oil, and vanilla. Add wet ingredients to dry ingredients, mix until smooth, then stir in hot coffee. Pour batter into prepared pans and bake for 30-35 minutes. Cool completely.
Stack layers with frosting between them, then cover entire cake with remaining frosting. Create a nest effect by pressing chocolate shavings around the sides and top of the cake, leaving a slight depression in the center. Arrange candy eggs in the center depression.
For best results, brew fresh coffee rather than using instant coffee for enhanced chocolate flavor. Allow the cake to cool completely before frosting to prevent melting. The chocolate shavings can be made by running a vegetable peeler along the edge of a room-temperature chocolate bar.
Store the finished cake in a cool place, and if making ahead, add the candy decorations just before serving to prevent color bleeding into the frosting.
Cooking Steps
Let's start your Easter Nest Cake by preheating your oven to 350°F and preparing your ingredients for mixing.
You'll cream together the butter and sugar until light and fluffy, then incorporate the eggs one at a time along with the vanilla extract, making sure each addition is well combined.
Finally, blend in your flour and cocoa powder mixture until just incorporated, then pour the smooth batter into your prepared cake pan, ensuring an even distribution for optimal baking.
Step 1. Preheating Oven to 350F
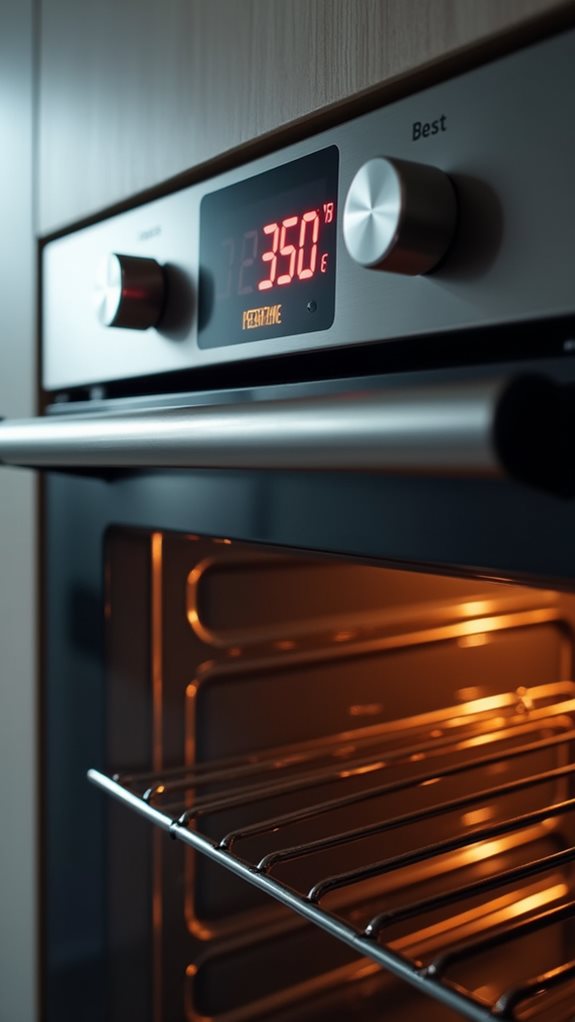
Begin your Easter nest cake preparation by preheating your oven to 350°F (175°C). You'll want to give your oven adequate time to reach the proper temperature, which typically takes between 10 to 15 minutes.
While you're waiting, it's essential to confirm your oven's accuracy using an oven thermometer, as temperature variations can significantly affect your cake's texture and baking time.
Make sure you've positioned your oven rack in the center position, which will allow for even heat distribution throughout the baking process. If you're using a convection oven, you'll need to adjust the temperature by reducing it to 325°F (163°C), as the fan-circulated heat cooks more efficiently.
During this preheating period, you can begin gathering your ingredients and preparing your baking pans, making the most efficient use of your time.
Don't be tempted to put your cake in before the oven reaches the full temperature, as this common mistake can lead to uneven rising and disappointing results. A properly preheated oven is crucial for achieving that perfect, professional-looking Easter nest cake you're aiming to create.
Step 2. Mixing Butter and Sugar
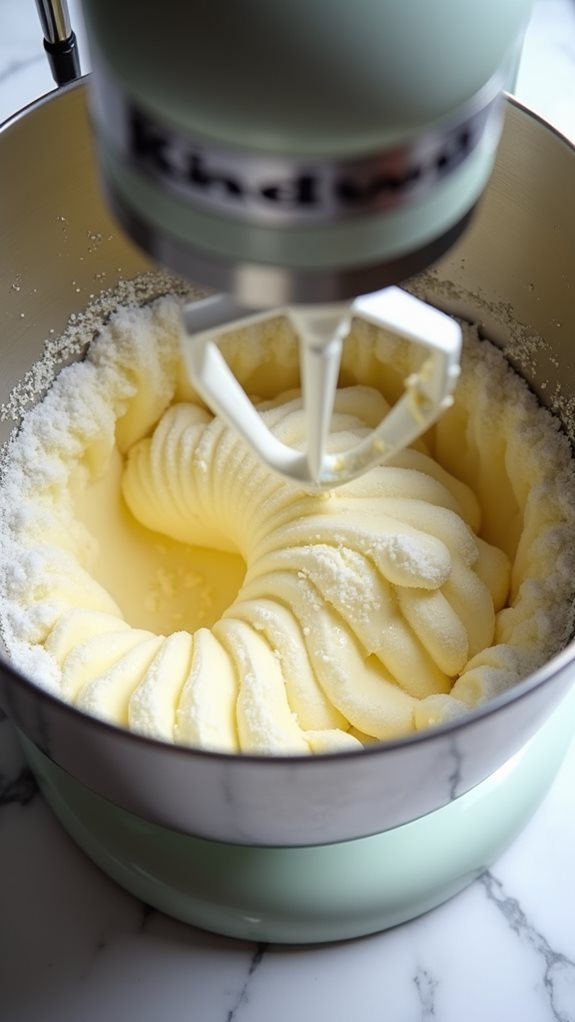
Creaming together softened butter and sugar forms the essential foundation of your Easter nest cake.
You'll need 1 cup of room temperature butter and 1½ cups of granulated sugar to achieve the perfect consistency. Begin by placing the softened butter in your mixing bowl, ensuring it's pliable but not melted, as the proper temperature will help create the ideal structure for your cake.
Using an electric mixer set to medium speed, beat the butter until it's smooth and creamy, which typically takes about 30 seconds. Next, gradually add the sugar while continuing to mix.
You'll want to scrape down the sides of the bowl periodically to ensure even incorporation. Continue beating the mixture for 3-4 minutes until it becomes light, fluffy, and nearly white in color.
This extended creaming process incorporates air into the mixture, which will help create a tender, well-structured cake. You'll know you've reached the right stage when the mixture appears almost whipped, with a noticeably lighter color and increased volume.
Don't rush this step, as proper creaming is crucial for achieving the perfect cake texture.
Step 3. Adding Eggs and Vanilla
The next crucial step builds upon your perfectly creamed butter-sugar mixture. You'll need to add your room-temperature eggs one at a time, beating for about 30 seconds after each addition.
It's essential that you don't rush this process, as proper incorporation ensures your cake's ideal texture and rise. As you're adding each egg, you'll notice the mixture may look slightly curdled or separated – don't worry, this is normal.
Continue beating until it becomes smooth again before adding the next egg. Once all eggs are incorporated, pour in your vanilla extract, which should be pure rather than imitation for the best flavor profile.
Beat for an additional minute to ensure everything's well combined. During this stage, you'll want to scrape down the sides of your bowl frequently with a rubber spatula to ensure no ingredients are left unmixed.
The final mixture should look pale yellow, feel slightly thick, and have a silky consistency. If you notice any lumps at this point, beat for another 30 seconds until they disappear completely.
Step 4. Blending Flour and Cocoa

After incorporating the eggs and vanilla, you'll need to carefully blend your dry ingredients. In a separate medium bowl, sift together 2½ cups of all-purpose flour and ¾ cup of unsweetened cocoa powder, ensuring there aren't any lumps that could affect your cake's texture.
You'll want to add ½ teaspoon of baking soda and 1 teaspoon of salt to this mixture, whisking them thoroughly to combine.
Now comes the crucial part where timing and technique matter significantly. You'll need to gradually add your dry ingredients to the wet mixture in three separate portions, mixing at medium-low speed between each addition.
Don't overmix – you're looking for the dry ingredients to be just incorporated, with no streaks of flour visible. If you're using a stand mixer, you'll want to scrape down the sides of the bowl with a rubber spatula between additions to ensure everything's evenly distributed.
The final mixture should be smooth and have a rich chocolate color, but be careful not to beat it too long as this can lead to a tough, dense cake instead of the light, tender crumb we're aiming for.
Step 5. Pouring Batter Into Pan
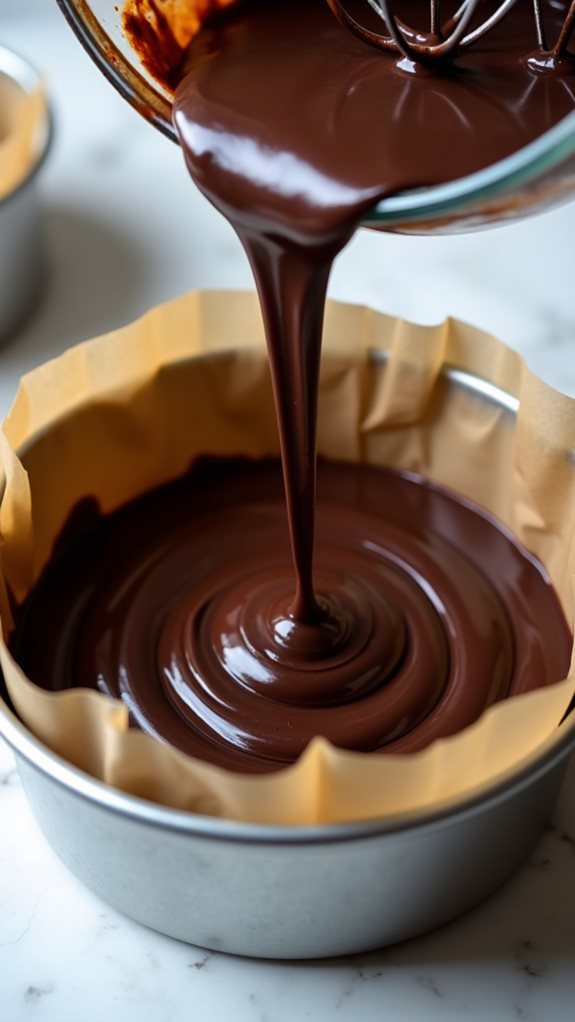
Now that your batter is ready, pour it out into two 9-inch round cake pans that you've thoroughly greased and lined with parchment paper.
Use a rubber spatula to ensure you're distributing the batter evenly between both pans, as uneven amounts will result in layers of different thicknesses that won't stack properly. You'll want to aim for approximately the same amount of batter in each pan, roughly 2½ to 3 cups per pan.
Give each filled pan a gentle tap on the counter three to four times to release any air bubbles trapped in the batter. This step is crucial for achieving an even texture throughout your cake layers.
If you notice the batter isn't level, tilt the pan slightly to help it spread to the edges, or use your spatula to smooth the surface. Don't worry if the batter doesn't completely reach the edges of the pans; it'll spread as it bakes.
Before placing the pans in the oven, check that they're positioned at least an inch apart to allow for proper air circulation during baking.
Final Thoughts
Making this Easter Nest Cake brings joy to both kids and adults during spring celebrations.
You'll find that this show-stopping dessert creates lasting memories while offering a creative way to celebrate the season. The combination of moist chocolate cake, realistic nest-like decorations, and colorful candy eggs makes this recipe particularly special for Easter gatherings or spring parties.
Remember that you can customize this cake to suit your preferences by using different types of chocolate, varying the candy decorations, or adjusting the size of the nest portion.
Don't hesitate to experiment with alternative food colorings or decorative elements to match your celebration's theme. If you're planning to transport the cake, you'll want to ensure it's properly secured in a cake carrier and kept cool to maintain its structural integrity.
You've now mastered a dessert that's sure to become a cherished part of your spring baking repertoire.
With practice, you'll develop your own techniques for crafting the perfect nest texture and may even discover creative variations that make this Easter Nest Cake uniquely yours.