When your grandmother pulled out her trusty Easter fudge recipe in 1952, she was joining millions of American homemakers who'd discovered this simple yet satisfying confection during the post-war years. You'll find that making Easter fudge isn't just about creating a sweet treat; it's about carrying on a tradition that bridges generations. While the classic white chocolate base hasn't changed much over the decades, today's variations offer endless possibilities for personalization, from pastel swirls to mini egg decorations. There's an intriguing story behind how this humble dessert became a holiday staple, and it reveals much about America's evolving relationship with homemade confections.
Key Takeaways
- Easter fudge is a no-bake dessert combining white chocolate, sweetened condensed milk, and pastel colors for a festive holiday treat.
- The recipe requires minimal cooking skills and takes about 4 hours to set in the refrigerator.
- Melt white chocolate in 30-second intervals at 50% microwave power, then add food coloring for desired pastel shades.
- Store finished fudge in airtight containers for up to two weeks, making it perfect for Easter baskets or holiday gifts.
- Use a sharp knife after 10 minutes at room temperature for clean cuts, and package decoratively with pastel ribbons.
History
Easter fudge emerged as a holiday treat in the mid-20th century, alongside the commercialization of Easter candy. You'll find that this creamy confection gained popularity when home cooks began experimenting with chocolate-based treats to complement traditional Easter desserts, as sugar rationing had ended after World War II and ingredients became more readily available.
During the 1950s and 1960s, you'd often see Easter fudge recipes appearing in women's magazines and community cookbooks, typically featuring pastel colors and spring-themed decorations. The tradition evolved as manufacturers started producing specific Easter-themed ingredients, such as pastel-colored white chocolate chips and bunny-shaped molds, which you could easily incorporate into your homemade fudge.
If you'd explored candy shops in the 1970s, you would've noticed Easter fudge becoming a staple seasonal offering, with flavors like vanilla buttercream and chocolate-mint gaining particular recognition.
The treat's popularity continues today, and you'll find that many families maintain their own special Easter fudge recipes, passed down through generations, often incorporating modern twists while preserving traditional techniques.
Recipe
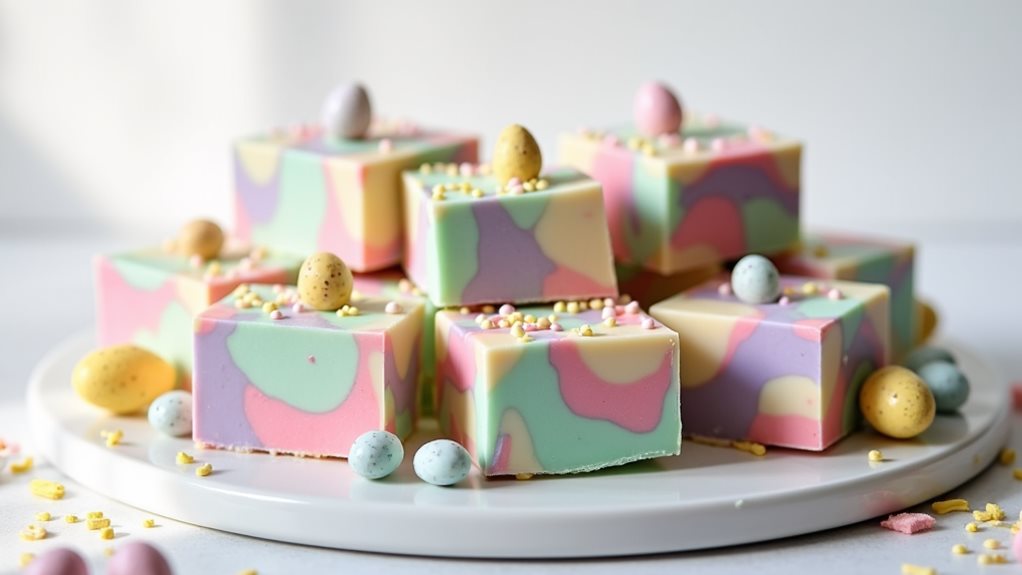
Easter Fudge is a delightful springtime treat that combines the rich, creamy texture of traditional fudge with festive pastel colors and Easter-themed decorations. This no-bake dessert is perfect for holiday celebrations, Easter baskets, or as a homemade gift for friends and family.
Making Easter fudge is a simple process that requires minimal cooking skills and basic ingredients. The key to success lies in properly tempering the white chocolate and maintaining the right temperature throughout the mixing process to achieve that perfect fudge consistency. This recipe yields approximately 36 pieces of colorful, Easter-themed fudge.
Ingredients:
- 24 oz (680g) white chocolate chips
- 1 can (14 oz/397g) sweetened condensed milk
- 3 tablespoons (42g) unsalted butter
- 1/4 teaspoon salt
- 1 teaspoon vanilla extract
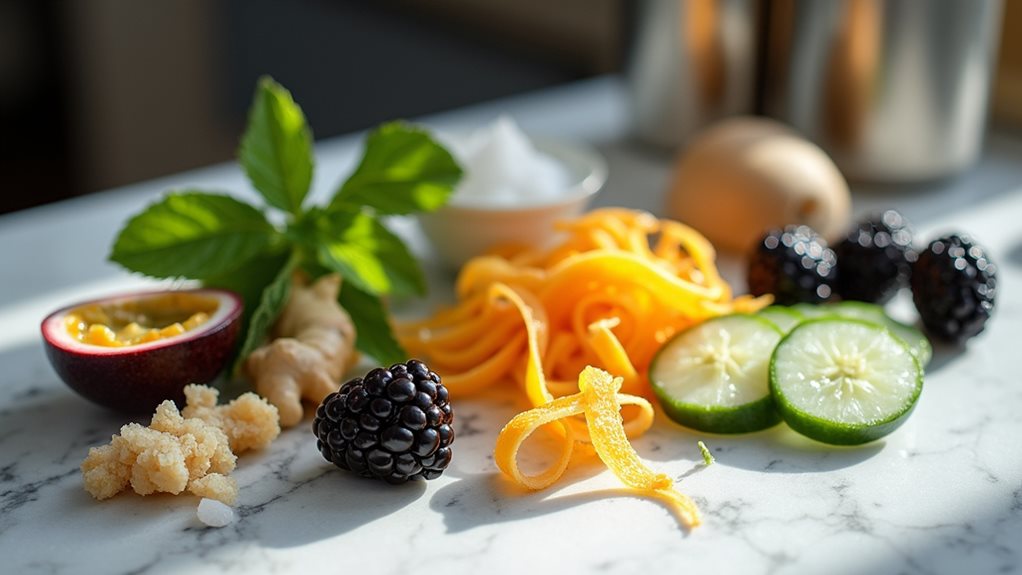
- Food coloring (pastel pink, blue, yellow, and purple)
- 1 cup (180g) Easter-themed sprinkles
- 1/2 cup (90g) mini chocolate eggs
- 8 Easter-themed candy decorations (optional)
Line an 8×8-inch baking pan with parchment paper. In a double boiler, melt the white chocolate chips, condensed milk, and butter together over medium-low heat, stirring constantly until smooth. Remove from heat and stir in vanilla extract and salt.
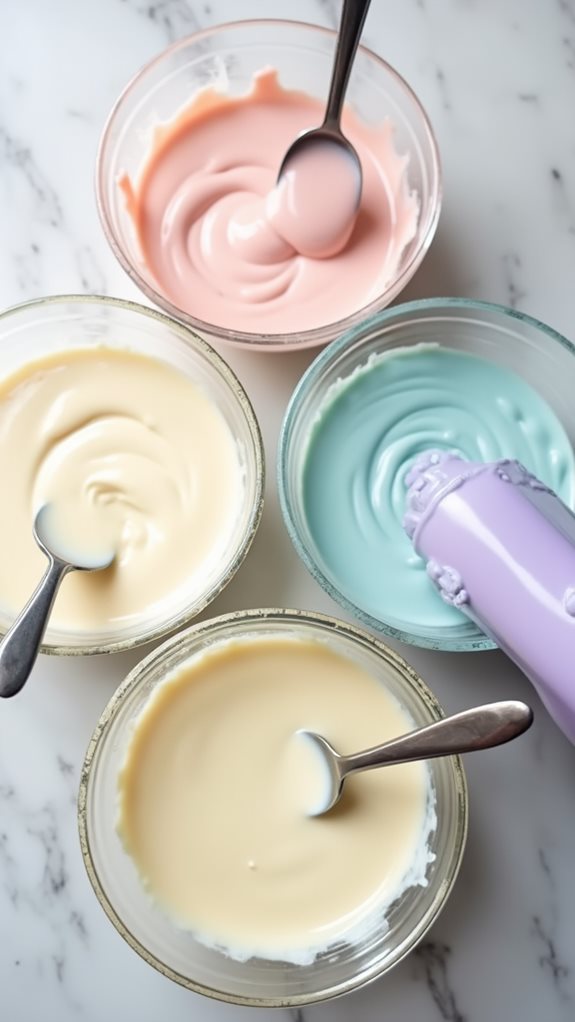
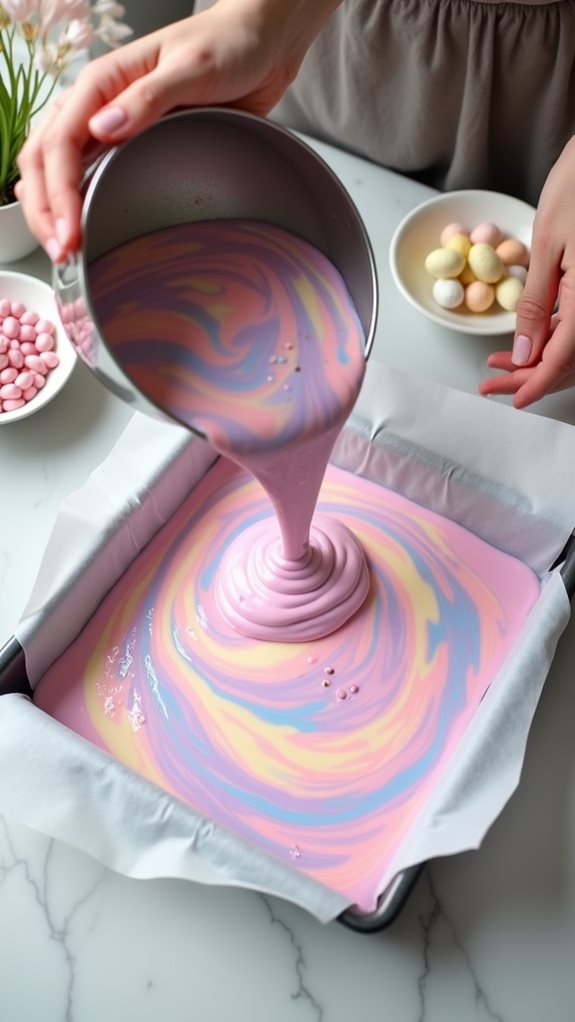
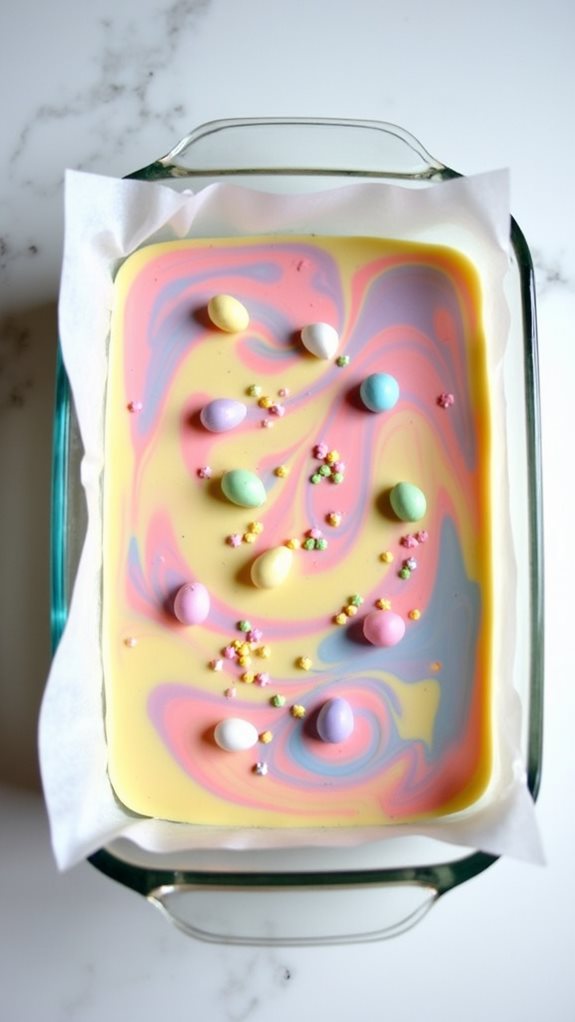
Divide the mixture into separate bowls and add different food coloring to each portion. Pour the colored mixtures into the prepared pan in alternating dollops, then swirl gently with a knife to create a marbled effect. Top with sprinkles, mini eggs, and candy decorations. Refrigerate for at least 4 hours or overnight until completely set. Cut into squares.
For best results, ensure all ingredients are at room temperature before beginning. Avoid overheating the chocolate mixture, as this can cause it to seize or become grainy.
Store the fudge in an airtight container in the refrigerator for up to 2 weeks, or freeze for up to 3 months. Allow frozen fudge to thaw in the refrigerator before serving. If the fudge becomes too soft at room temperature, return it to the refrigerator for 15-20 minutes before serving.
Cooking Steps
You'll begin your Easter fudge-making journey by melting white chocolate chips in a microwave-safe bowl.
Carefully stirring in drops of food coloring and vanilla extract until you achieve your desired pastel shade.
After thoroughly combining the ingredients, pour the smooth mixture into a lined baking pan, ensuring an even distribution across the surface.
Place the pan in your refrigerator and let it set completely, which typically takes about two hours, before cutting the fudge into festive shapes.
Step 1. Melting White Chocolate Chips
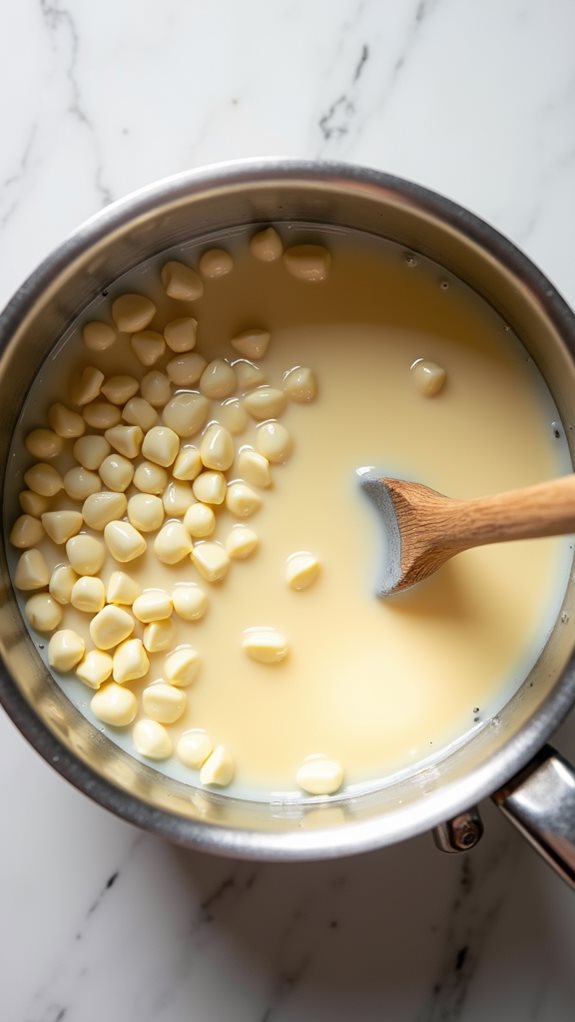
For perfect Easter fudge, melting white chocolate chips requires careful attention to temperature and technique.
You'll want to start by placing your white chocolate chips in a microwave-safe bowl that's completely dry, as any moisture can cause your chocolate to seize. Set your microwave to 50% power, which will help prevent scorching and ensure even melting.
Heat the chips in 30-second intervals, making sure to stir thoroughly between each session. You'll notice the chips beginning to lose their shape and become glossy.
Don't be tempted to rush this process – overheating can result in grainy, unusable chocolate. When about 75% of the chips have melted, remove the bowl from the microwave and continue stirring. The residual heat will melt the remaining pieces while preventing overheating.
If you're using a double boiler instead, fill the bottom pot with about an inch of water, ensuring it doesn't touch the upper bowl. Heat the water to a gentle simmer, not a rolling boil.
Place your chips in the top bowl and stir constantly until they're smooth and completely melted.
Step 2. Adding Food Coloring
Selecting the right food coloring is crucial for creating vibrant Easter fudge that won't affect the texture. You'll want to use gel or concentrated paste food coloring rather than liquid varieties, as these won't thin out your melted chocolate mixture.
Add your chosen coloring gradually, starting with just a small amount and stirring thoroughly between additions until you achieve your desired shade.
For pastel colors that are perfect for Easter, you'll need less food coloring than you might expect. Start with just a drop or two, as white chocolate provides an ideal base for creating soft, spring-like hues.
If you're planning to make multiple colors, divide your melted chocolate into separate bowls before adding the coloring.
When working with darker shades like purple or blue, remember that the color will deepen slightly as the fudge sets. You can test the final color by placing a small amount on a white plate and allowing it to cool for a few minutes. This will give you an accurate preview of how your finished fudge will look.
Step 3. Adding Vanilla Extract
Adding vanilla extract requires precise timing during the fudge-making process.
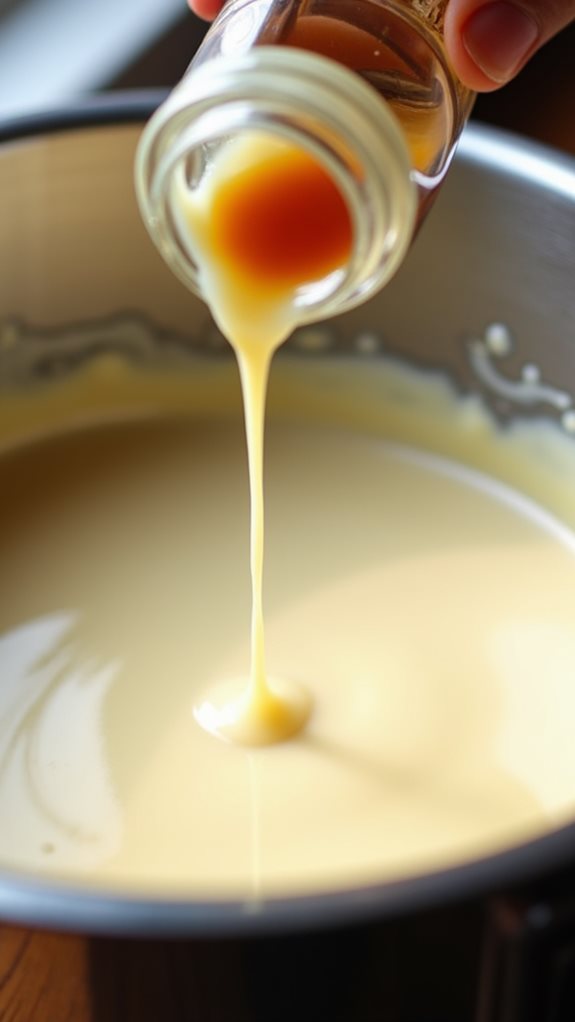
You'll want to incorporate the vanilla after you've removed the mixture from heat but before it begins to cool and set. Once your fudge mixture reaches the soft-ball stage (238°F), take it off the heat and let it rest for about 3-4 minutes before adding the extract.
Pour 1-1/2 teaspoons of pure vanilla extract into your fudge mixture, being careful not to scrape the sides of the pan.
You'll notice that the vanilla might cause a slight sizzling effect as it hits the hot fudge – this is normal and helps distribute the flavor evenly. Stir the extract in with smooth, consistent motions until it's fully incorporated.
Don't overmix, as this can cause your fudge to become grainy.
If you're making Easter-themed fudge, you might consider using clear vanilla extract instead of the traditional brown variety.
This choice won't affect the pastel colors you've created, and it'll still provide that classic vanilla flavor that complements your holiday treat perfectly.
Step 4. Pouring Into Lined Pan
Proper pan preparation is crucial before pouring your Easter fudge mixture. You'll want to line an 8-inch square baking pan with parchment paper or aluminum foil, leaving enough overhang on the sides to create handles for easy removal later. Lightly coat the lining with cooking spray to prevent sticking.
Once your fudge mixture has reached the right consistency, you'll need to work quickly but carefully. Pour the hot mixture into your prepared pan, using a rubber spatula to scrape the sides of the cooking pot clean.
Don't worry if the surface isn't perfectly smooth yet – you'll fix that in a moment. Gently tap the filled pan against your counter several times to release any trapped air bubbles.
Now, use your spatula to spread the mixture evenly into the corners and create a level surface. If you're adding any Easter-themed sprinkles or decorations, now's the time to sprinkle them across the top before the fudge begins to set.
You'll want to work fast, as the fudge will start firming up quickly at room temperature.
Step 5. Refrigerate Until Fully Set
The most critical step for achieving perfect Easter fudge texture is proper refrigeration. You'll need to place your pan of fudge in the refrigerator for at least 4 hours, though overnight chilling will ensure the best results.
During this time, the fudge's molecules will gradually align and crystallize, creating that signature smooth, firm consistency you're aiming for.
While it's tempting to check on your fudge frequently, you shouldn't disturb it during the setting process. Keep the refrigerator door closed as much as possible, as temperature fluctuations can affect the final texture.
You'll know your fudge is properly set when it feels firm to the touch and has lost its glossy appearance. If you're working in a warm kitchen or humid environment, you might need to extend the refrigeration time by an additional 1-2 hours.
Once your fudge has fully set, you can remove it from the refrigerator and let it stand at room temperature for about 10 minutes before cutting. This brief warming period will make it easier to slice through the fudge without cracking or crumbling.
Final Thoughts
Making Easter fudge creates delightful memories with family and friends while providing a sweet treat everyone will love. You'll find that this recipe's versatility allows you to experiment with different colors, flavors, and decorative elements to match your Easter celebrations perfectly.
Don't forget that your homemade Easter fudge makes an excellent gift when packaged in decorative boxes or cellophane bags tied with pastel ribbons. You can prepare multiple batches in advance, storing them in airtight containers for up to two weeks, which makes them perfect for Easter basket surprises or holiday gatherings.
If you're planning to share your fudge, consider making ingredient cards to accompany your gifts, especially if you've modified the recipe to accommodate dietary restrictions.
Remember that practice makes perfect when it comes to fudge-making. Don't be discouraged if your first batch isn't picture-perfect – each attempt will help you master the timing and temperature control needed for ideal results.
You'll soon discover that Easter fudge becomes a cherished part of your holiday tradition, bringing joy to both making and sharing this special confection.