You've probably noticed the stunning Easter drip cakes flooding your social media feeds each spring, with their mesmerizing candy-colored drips cascading down pristine layers of frosting. While these eye-catching desserts might seem like they belong in a professional bakery window, you can actually create this modern masterpiece in your own kitchen. The Easter drip cake isn't just about looks—it's a celebration of both traditional holiday baking and contemporary artistic expression that's become a must-have centerpiece for festive gatherings. Let's explore how this Instagram-worthy phenomenon has transformed from a trending novelty into a beloved Easter tradition.
Key Takeaways
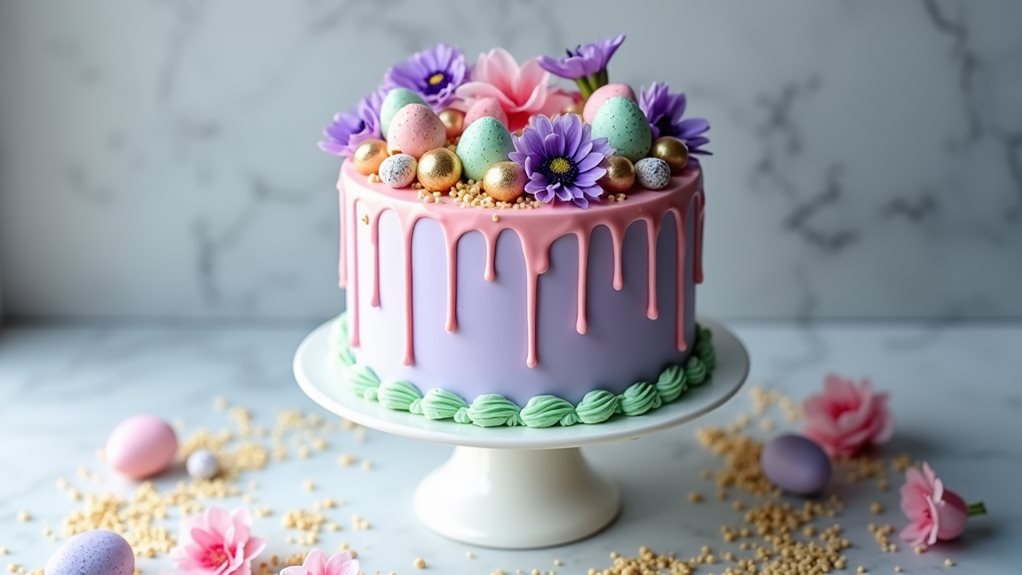
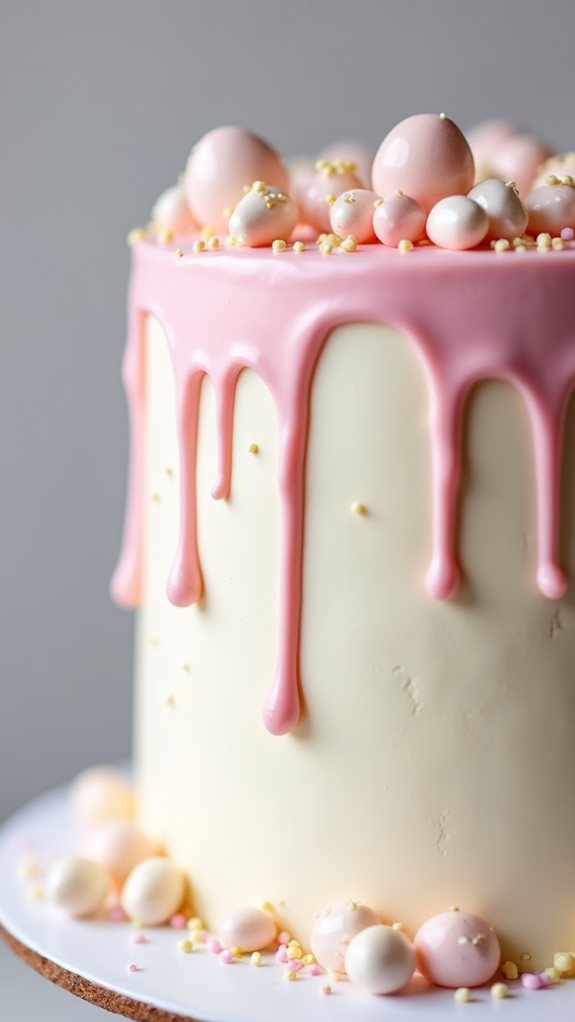
- Easter drip cakes feature colorful pastel drips made from white chocolate and gel food coloring cascading down a frosted cake.
- Decorative elements include Easter eggs, spring flowers, and pastel-colored sprinkles applied while the drips are still wet.
- The cake requires three 8-inch layers, smooth buttercream frosting, and melted chocolate at 90°F for optimal dripping consistency.
- Popular on social media since mid-2010s, these cakes combine traditional baking with modern decoration techniques for holiday celebrations.
- Key success factors include proper frosting temperature, careful color mixing, and allowing drips to set before adding final decorations.
History
Easter drip cakes emerged as a modern twist on traditional holiday baking in the mid-2010s, coinciding with the rise of Instagram-worthy desserts and creative cake decorating techniques. You'll find that these eye-catching creations quickly gained popularity through social media platforms, where bakers began showcasing their colorful interpretations of drip designs using pastel hues and spring-themed decorations.
The drip technique itself, which you've likely seen on many contemporary cakes, wasn't new to Easter celebrations. In fact, you can trace its origins to the ganache-covered cakes of French patisseries, though today's version often features candy melts and colored chocolate for more dramatic effects.
By 2016, you'd commonly find Easter drip cakes featuring innovative elements like speckled buttercream (mimicking robin's eggs), metallic drips, and themed toppers such as chocolate bunnies or hand-painted macarons.
Professional bakeries and home bakers alike have embraced this style, transforming it into a sought-after Easter dessert option that combines traditional holiday symbolism with modern aesthetic appeal.
You'll notice that the trend has evolved to include various skill levels, making it accessible to both novice and experienced decorators.
Recipe
A festive Easter drip cake combines the elegance of a modern drip technique with spring-inspired decorations. This showstopping dessert features layers of moist vanilla cake filled with buttercream and topped with a stunning candy-colored chocolate drip effect, perfect for your Easter celebration.
This recipe creates a three-layer 8-inch cake that serves 12-16 people. The pastel-colored drip effect is achieved using white chocolate tinted with gel food coloring, while the decorative elements can include Easter eggs, sprinkles, and spring flowers to create a stunning centerpiece for your holiday table.
Ingredients:
- 3½ cups (420g) all-purpose flour
- 3 teaspoons baking powder
- ½ teaspoon salt
- 1 cup (227g) unsalted butter, softened
- 2 cups (400g) granulated sugar
- 4 large eggs
- 2 teaspoons vanilla extract
- 1¼ cups (300ml) whole milk
- 1½ cups (350g) unsalted butter (for frosting)
- 6 cups (720g) powdered sugar (for frosting)
- 12 oz (340g) white chocolate
- Food coloring gels
- Easter-themed decorations
The cake layers should be baked separately in greased and lined 8-inch cake pans at 350°F (175°C) for 25-30 minutes or until a toothpick comes out clean. Once cooled, level the cakes and stack them with buttercream filling.
After crumb coating and chilling, apply a smooth final coat of buttercream. For the drip effect, heat white chocolate until melted, divide into portions for different colors, and apply around the edges of the chilled cake, allowing drips to form naturally down the sides.
For best results, ensure all ingredients are at room temperature before beginning. The cake should be thoroughly chilled before applying the drip effect, and the melted chocolate should be around 90°F (32°C) for optimal dripping consistency.
Work quickly when coloring the white chocolate as it can seize if overheated, and consider doing a test drip on the back of the cake to check the consistency before completing the full drip effect.
Cooking Steps
You'll begin crafting your Easter drip cake by carefully mixing pastel food coloring into separate bowls of frosting.
Next, you'll combine your dry cake ingredients in one bowl while whisking the wet ingredients in another.
After that, you'll need to beat room-temperature butter into your frosting until it reaches a smooth, pipeable consistency that's perfect for creating those signature drips.
Finally, once you've applied the colorful drips around the cake's edge, you'll add a festive touch by sprinkling various Easter-themed decorations onto the still-wet frosting.
Step 1. Mixing Pastel Food Coloring
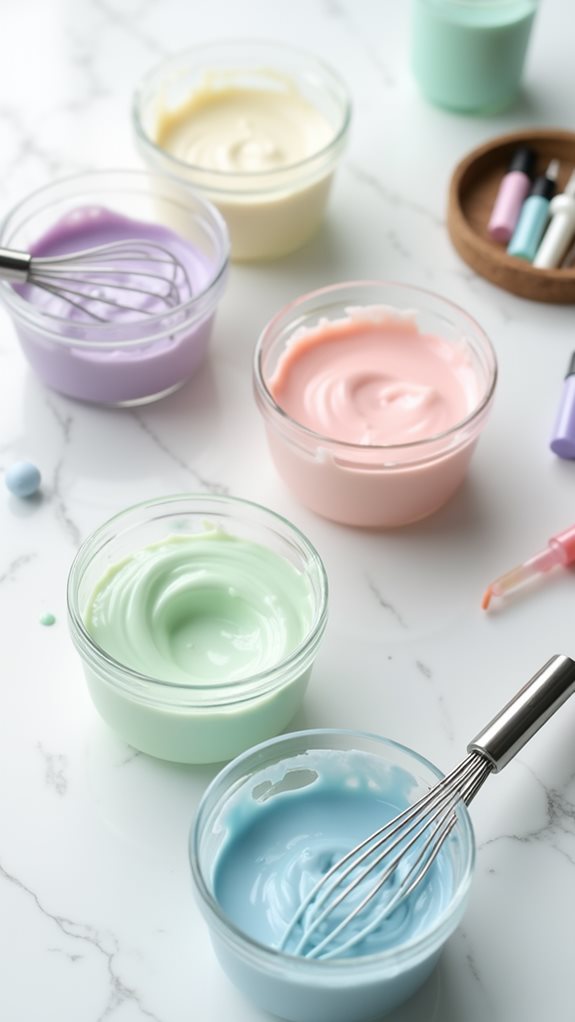
Creating pastel colors for your Easter drip cake requires careful mixing of gel food coloring with white frosting.
You'll want to start with a clean bowl of pure white buttercream frosting as your base, ensuring it's at room temperature for optimal mixing.
Begin by adding tiny amounts of gel food coloring using a toothpick, as you'll need significantly less than you might expect to achieve those soft, springtime hues.
For achieving the perfect pastel pink, add one small dot of rose pink coloring and mix thoroughly.
To create a delicate mint green, combine a minimal amount of leaf green with a touch of sky blue.
For lavender, you'll need just a hint of violet, while pastel yellow requires only the smallest amount of sunshine yellow gel coloring.
Remember that you can always add more color, but you can't remove it once it's mixed in.
Test your colors by letting a small amount of frosting dry completely, as the shade will typically appear lighter once set.
If you're planning multiple pastel shades, prepare separate bowls and clean your mixing tools thoroughly between colors to avoid cross-contamination.
Step 2. Combine Dry Cake Ingredients
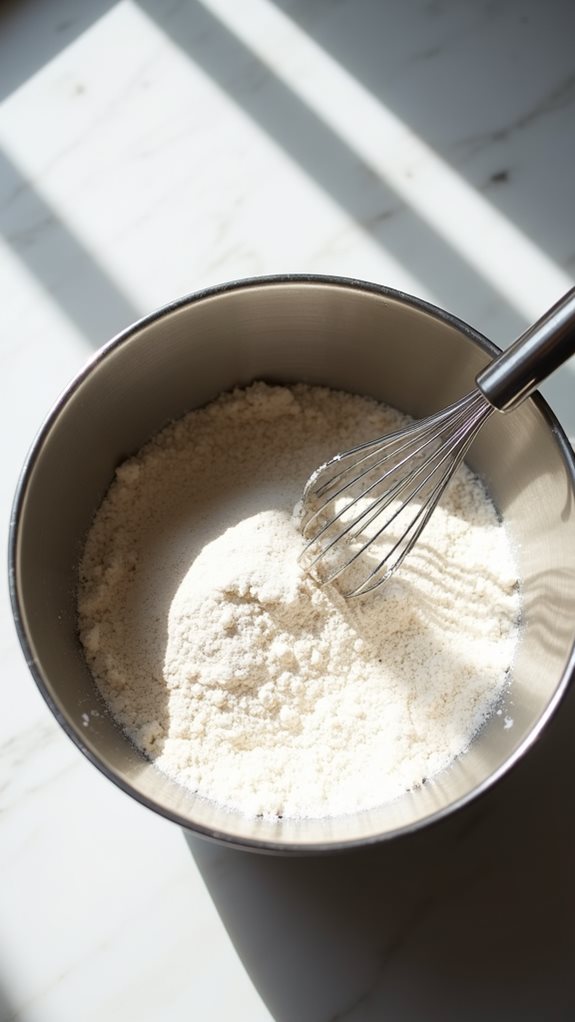
Precision in combining dry ingredients forms the foundation of a perfect Easter drip cake. In a large mixing bowl, you'll need to sift together 2¾ cups of all-purpose flour, 2½ teaspoons of baking powder, and ¾ teaspoon of salt. Sifting removes any lumps and ensures even distribution of the leavening agents throughout your mixture.
Once you've sifted these initial ingredients, add 1½ cups of granulated sugar to the bowl. Using a whisk, you'll want to blend everything thoroughly, making sure there aren't any visible streaks of individual ingredients.
Don't rush this step – proper incorporation of your dry ingredients will prevent flour pockets in your finished cake. You should whisk for at least 30 seconds, paying special attention to the sides and bottom of the bowl where ingredients tend to settle.
If you're planning to add any dry flavor enhancers, such as vanilla powder or ground spices, now's the time to incorporate them. Remember to write down any modifications you make to the recipe, as this will help you replicate your success in future baking endeavors.
Step 3. Mix Wet Ingredients Together

With the dry ingredients thoroughly combined, it's time to prepare the wet mixture. In a large mixing bowl, you'll begin by adding three room-temperature eggs, ensuring they're fresh and properly separated from their shells.
Next, you'll pour in 1 cup of whole milk, 1/2 cup of vegetable oil, and 2 teaspoons of pure vanilla extract.
Using your electric mixer on medium speed, you'll want to beat these ingredients until they're fully incorporated and slightly frothy, which typically takes about 2 minutes.
Don't forget to scrape down the sides of the bowl periodically to ensure everything's evenly mixed. If you notice any small lumps of egg white, continue mixing until they disappear completely.
Once your wet mixture appears uniform in consistency, you'll need to check its temperature. It's crucial that all ingredients are at similar temperatures to ensure proper emulsion – this will affect the cake's final texture.
If any ingredient feels cool to the touch, let the mixture stand at room temperature for 10-15 minutes before proceeding with the next step of combining wet and dry ingredients.
Step 4. Add Butter Into Frosting
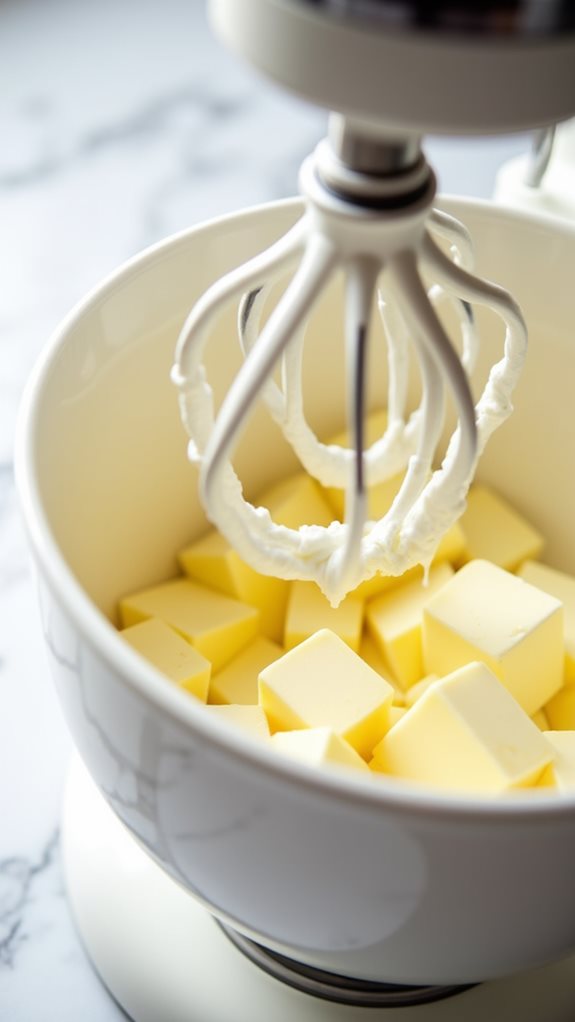
To achieve the perfect frosting consistency, you'll start by adding 3 cups of softened unsalted butter to your mixing bowl.
Make sure the butter's at room temperature, which typically takes about 30 minutes on your counter, as this ensures it'll blend smoothly without any lumps or air pockets.
Begin mixing the butter on medium speed for 3-4 minutes until it becomes light and fluffy, scraping down the sides of the bowl as needed.
You'll notice the color changing to a pale yellow, which indicates you're incorporating the right amount of air into the mixture.
While mixing, gradually increase the speed to medium-high, but don't overbeat, as this can lead to a greasy texture.
If you're working in a warm kitchen, you might need to chill the bowl for 5-10 minutes if the butter becomes too soft.
Once your butter reaches the proper consistency, it should hold its shape when you lift the beater, forming soft peaks that maintain their structure.
This stage is crucial for creating a stable base that'll support the remaining frosting ingredients and achieve that professional-looking drip effect on your Easter cake.
Step 5. Add Sprinkles to Drips
Now that your frosting base is ready, adding sprinkles to your drips will create that perfect Easter flair.
You'll want to work quickly while the drips are still wet to ensure proper adhesion of your chosen sprinkles. Start by selecting pastel-colored or metallic sprinkles that complement your Easter theme, making sure they're small enough to stick to the drips without overwhelming them.
Hold your hand about 6 inches above the cake and carefully sprinkle the decorations onto the drips, allowing them to naturally fall and stick to the wet frosting.
You'll notice that some sprinkles will cascade down the drips, creating a beautiful, natural-looking pattern. For precise placement, use tweezers to position individual sprinkles on specific areas of the drips. If you're working with multiple colors, alternate them section by section to create a balanced look.
Don't forget to catch any excess sprinkles on a baking sheet placed beneath your cake stand. Once you've finished applying the sprinkles, let the drips set completely for about 30 minutes before adding any additional decorations to your Easter cake.
Final Thoughts
Creating an Easter drip cake lets you showcase your creativity while bringing a showstopping dessert to your holiday celebration. When you've completed all the steps, from baking the perfect layers to adding those final sprinkles, you'll have mastered a technique that you can use for countless celebrations to come.
Remember that practice makes perfect, and if your first drip cake isn't exactly as you envisioned, don't be discouraged. Each time you create one, you'll develop a better feel for the ideal ganache consistency and temperature, leading to more controlled drips.
You'll also become more confident in your ability to achieve smooth buttercream surfaces and create eye-catching color combinations.
Store your finished Easter drip cake in a cool place until you're ready to serve it, and don't forget to photograph your creation before cutting into it. While the cake's appearance is certainly important, what matters most is that you've put your heart into making something special for your loved ones to enjoy during the Easter celebration.
Your guests will appreciate both the visual impact and the delicious flavors you've crafted.