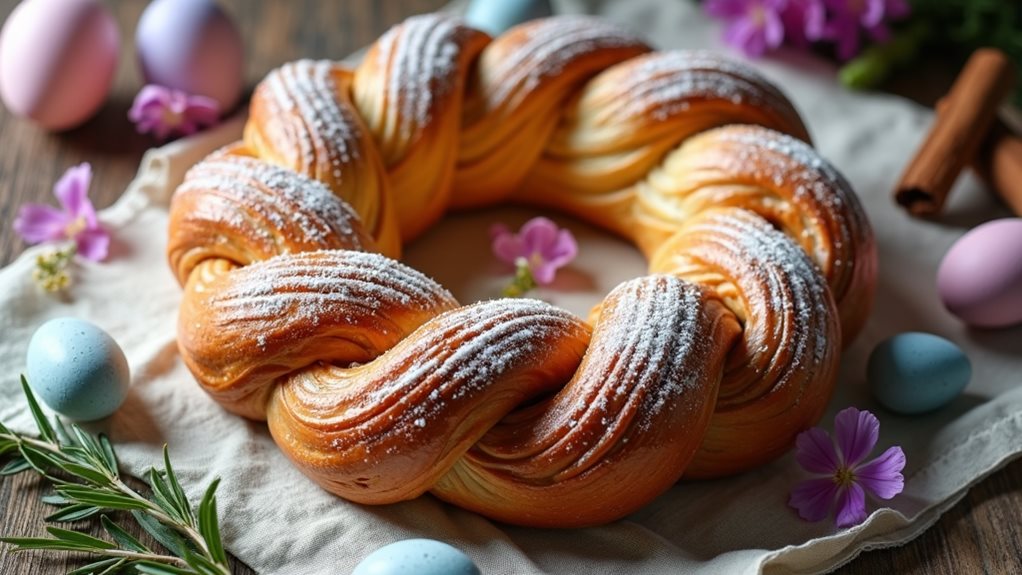
Picture yourself walking into your grandmother's kitchen on Easter morning, where the unmistakable aroma of freshly baked cinnamon and yeast fills the air. You'll notice a stunning braided wreath cooling on the counter, its golden-brown crust glistening with a light sugar glaze. This Easter Cinnamon Wreath isn't just another sweet bread – it's a cherished tradition that's been passed down through generations of European families. Whether you're an experienced baker or new to bread making, you'll discover that creating this symbolic holiday centerpiece brings together both artistry and time-honored techniques that you can master.
Key Takeaways
- An Easter Cinnamon Wreath is a traditional Northern European sweet bread shaped in a circle, symbolizing eternal life and Easter celebration.
- The braided dough features cinnamon-sugar swirls and requires basic ingredients like flour, yeast, milk, butter, eggs, and brown sugar.
- The wreath is formed by cutting a filled dough log lengthwise, twisting the halves together, and shaping into a circle.
- Bake at 350°F for 25-30 minutes until golden brown, with optional icing decoration after cooling for added festivity.
- The bread can be prepared ahead, stored for two days at room temperature, or frozen for up to one month.
History
While the exact origin isn't clear, Easter cinnamon wreaths emerged in Northern European baking traditions during the 17th century.
You'll find their earliest documented appearances in German and Scandinavian households, where families would prepare these aromatic treats to mark the end of Lent and celebrate Christ's resurrection.
The wreath's circular shape holds deep symbolic meaning, representing eternal life and God's endless love, while the cinnamon-sugar filling reflects the spices used in ancient burial practices.
You'll notice that the braided dough pattern, which you'll see in most traditional recipes, symbolizes the crown of thorns worn by Jesus during the crucifixion.
Recipe
Easter Cinnamon Wreath is a festive and aromatic sweet bread that combines the warm, comforting flavors of cinnamon with a visually striking presentation perfect for holiday gatherings. The braided wreath shape symbolizes continuity and celebration, while its sweet filling and optional icing make it an irresistible centerpiece for Easter brunch or any special occasion.
This enriched dough recipe creates a soft, pillowy texture that perfectly complements the sweet cinnamon filling. The process involves creating a yeasted dough that's allowed to rise twice, ensuring a light and airy final product. When baked, the wreath develops a golden-brown crust while maintaining a tender interior, with swirls of cinnamon-sugar mixture throughout each slice.
Ingredients:
- 4 cups (500g) all-purpose flour
- 2¼ teaspoons (7g) active dry yeast
- 1 cup (240ml) warm milk
- ⅓ cup (75g) granulated sugar
- ¼ cup (60g) unsalted butter, softened
- 2 large eggs
- 1 teaspoon salt
- 1 teaspoon vanilla extract
Filling:
- ½ cup (115g) unsalted butter, softened
- 1 cup (200g) brown sugar
- 2 tablespoons ground cinnamon
- 1 egg (for egg wash)
Mix the warm milk with yeast and let stand for 5 minutes until foamy. In a large bowl, combine flour, sugar, and salt. Add the softened butter, eggs, and vanilla to the yeast mixture. Gradually incorporate the wet ingredients into the dry ingredients, kneading until a soft, elastic dough forms.
Let rise for 1 hour, then roll out into a rectangle. Spread with butter-cinnamon-sugar mixture, roll into a log, and slice lengthwise. Twist the two halves together to form a wreath shape. Let rise again for 30 minutes, brush with egg wash, and bake at 350°F (175°C) for 25-30 minutes until golden brown.
For best results, ensure all ingredients are at room temperature before beginning. The dough should be soft but not sticky – add flour gradually if needed during kneading. When forming the wreath, pinch the ends together well to maintain the shape during baking.
The bread can be made ahead and frozen for up to one month; simply thaw overnight and warm slightly before serving. For a more decorative finish, drizzle with simple icing made from powdered sugar and milk after cooling.
Cooking Steps
You'll start by combining all your dry ingredients in a large mixing bowl before gradually incorporating the warm butter mixture until well blended.
After kneading the dough until it becomes smooth and elastic, let it rise overnight in the refrigerator for optimal flavor development.
The next morning, you'll shape your enriched dough into a beautiful wreath form, taking care to create an even circle that will become the foundation of your Easter centerpiece.
Step 1. Mixing Dry Ingredients Together
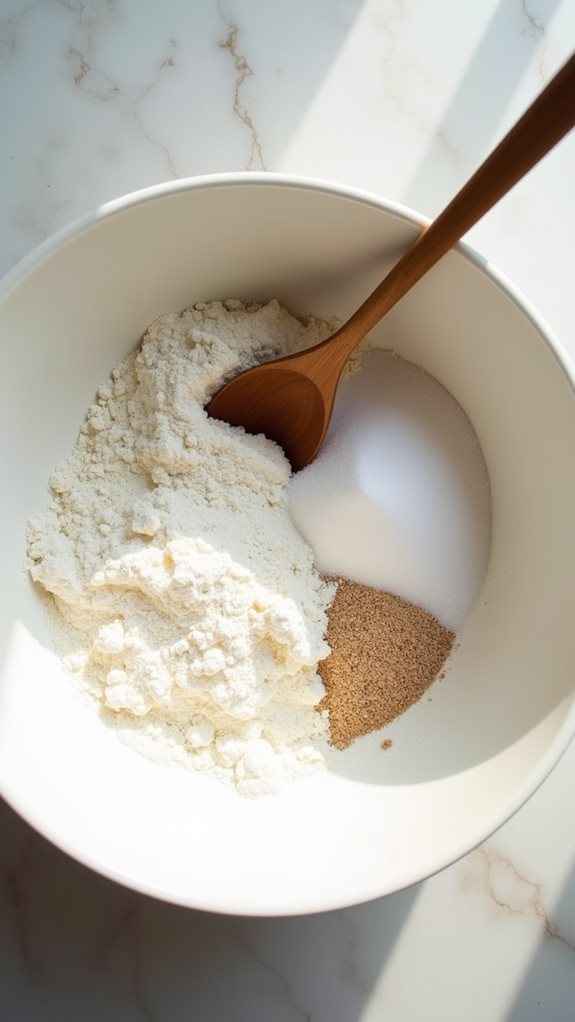
Begin by gathering all your dry ingredients in a large mixing bowl. You'll need all-purpose flour, active dry yeast, granulated sugar, and a pinch of salt to create the base of your Easter cinnamon wreath.
Using a whisk, combine these ingredients thoroughly to ensure even distribution of the yeast and sugar throughout the flour.
Next, you'll want to create a well in the center of your dry mixture, which will later accommodate the wet ingredients. Before proceeding, it's essential to check that you've broken up any flour clumps that might've formed, as these can affect the texture of your final product.
If you're working in a humid environment, you might need to sift the flour mixture to prevent unwanted moisture absorption. The consistency should be light and uniform, with the sugar and yeast particles evenly dispersed throughout.
Don't skip the important step of measuring your ingredients precisely – even small variations can affect the final texture of your wreath.
Once you're satisfied with the mixture's uniformity, you're ready to move on to incorporating the wet ingredients.
Step 2. Adding Warm Butter Mixture
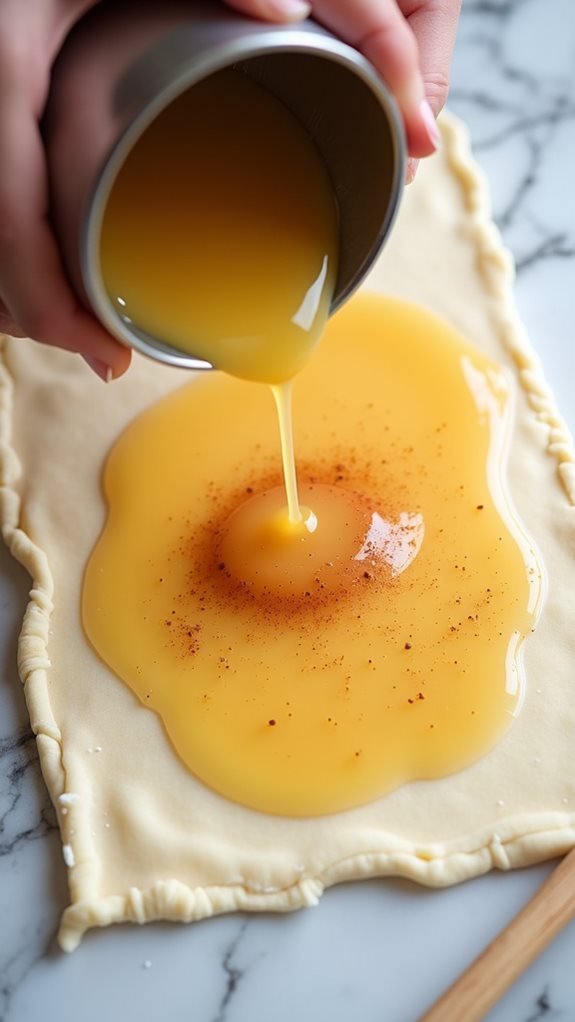
With your dry ingredients thoroughly combined, it's time to prepare the warm butter mixture. In a medium saucepan over low heat, melt 1/2 cup of unsalted butter until it's completely liquid but not browned.
Remove the pan from heat and stir in 1 cup of whole milk and 1/4 cup of honey, ensuring the mixture doesn't exceed 110°F (43°C) to protect the yeast's viability.
Once you've achieved the proper temperature, make a well in the center of your dry ingredients and slowly pour in the warm butter mixture while stirring with a wooden spoon.
You'll notice the dough beginning to come together as you incorporate the liquid components. Don't worry if it seems slightly sticky at first – this is exactly what you want.
As you mix, be sure to scrape down the sides of the bowl to capture any loose flour, ensuring everything's evenly combined. The finished mixture should feel warm to the touch and have a soft, pliable consistency that's ready for the next step of kneading.
Step 3. Kneading Dough Until Smooth
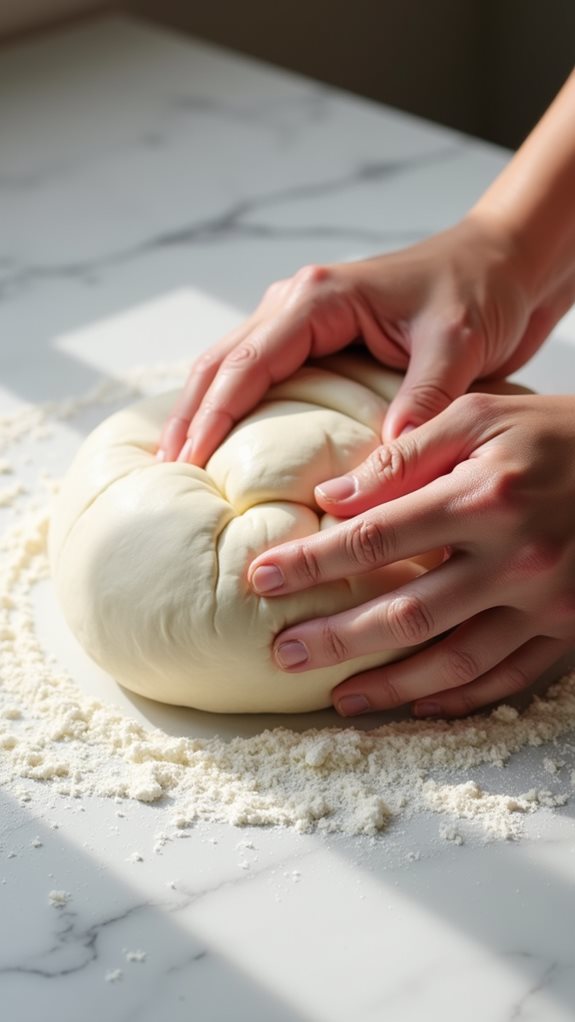
After combining all ingredients, turn the dough onto a lightly floured surface and start kneading with the heels of your hands. Push the dough forward and fold it back toward you, rotating it a quarter turn after each push.
You'll need to continue this rhythmic motion for about 8-10 minutes until the dough becomes smooth and elastic.
As you're kneading, you'll notice the texture gradually changing from sticky and rough to silky and pliable. If the dough feels too sticky, you can add small amounts of flour, but don't add too much or you'll end up with a dense wreath.
You'll know you've kneaded enough when the dough springs back quickly after you press it with your finger, and it's developed a smooth, satiny surface. At this point, you should be able to stretch a small piece of dough thin enough to see light through it without the dough tearing – this is called the "windowpane test."
Once you've achieved this consistency, your dough is ready for the first rise.
Step 4. Let Dough Rise Overnight
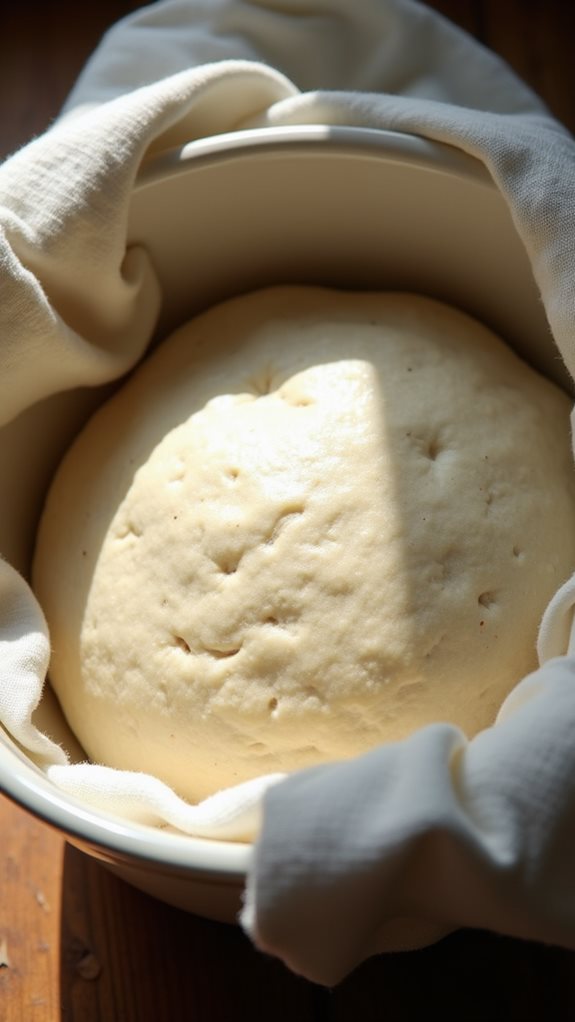
The overnight rise develops deeper, more complex flavors in your Easter cinnamon wreath. After kneading your dough to the proper consistency, you'll need to prepare it for its extended fermentation period.
Place the dough in a large, lightly oiled bowl that allows for significant expansion, as the dough will likely double in size during this process.
Cover the bowl tightly with plastic wrap or a damp kitchen towel, ensuring no dry spots can form on the dough's surface. You'll want to place it in your refrigerator, where the cool temperature will slow down the yeast activity while allowing enzymes to work their magic on the flour proteins and starches.
This slow fermentation not only improves flavor but also makes the dough easier to handle when you're ready to shape it.
The next morning, remove your dough from the refrigerator about 1-2 hours before you plan to work with it. This allows the dough to warm up gradually and become more pliable.
You'll notice it has a more complex aroma and a slightly tangy undertone, indicating that the overnight rise has done its job.
Step 5. Shaping Dough Into Wreath
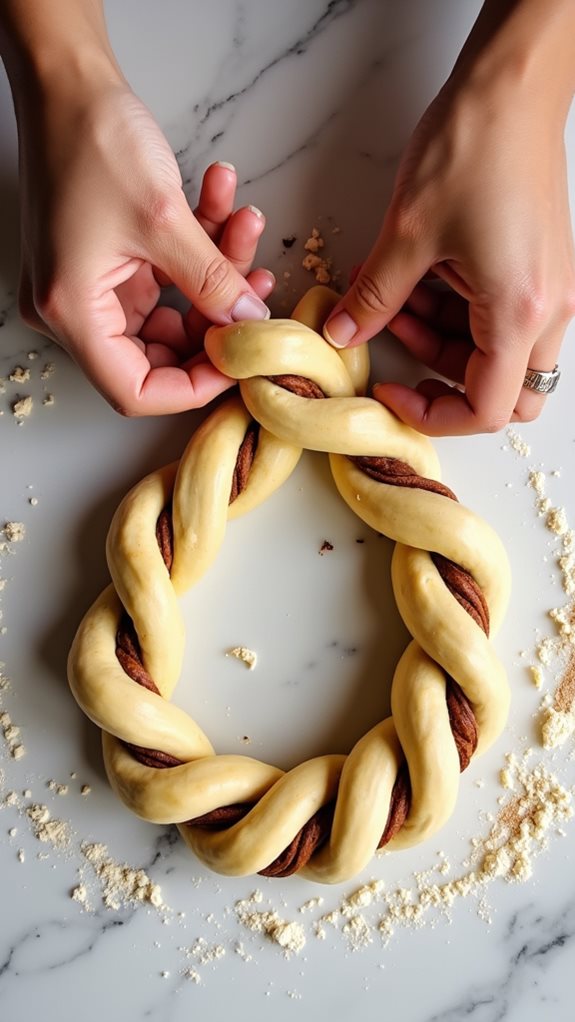
Now that your dough has reached room temperature, you'll start the artistic process of creating your wreath shape.
On a lightly floured surface, roll the dough into a large rectangle approximately 18 inches long and 12 inches wide, keeping the thickness uniform at about 1/4 inch.
Spread your cinnamon filling evenly across the surface, leaving a 1-inch border along the edges.
Starting from the long side, roll the dough tightly into a log, pinching the seam to seal it completely.
Place the log seam-side down and, using a sharp knife, cut it lengthwise down the center, creating two long halves with the layers exposed.
Carefully twist the two halves together, keeping the cut sides facing up to showcase the cinnamon swirls.
Form the twisted rope into a circle, pinching the ends together firmly to create a seamless connection.
Transfer your wreath onto a parchment-lined baking sheet, ensuring you've maintained its circular shape.
You'll want to gently adjust the twist pattern if needed, making sure the filling remains visible throughout the entire wreath.
Final Thoughts
Creating this Easter cinnamon wreath brings a festive touch to your spring celebration while filling your home with an irresistible aroma.
You'll find that this recipe combines the beloved flavors of traditional cinnamon rolls with an elegant presentation that's perfect for holiday brunches or family gatherings.
While the process may seem challenging at first, you'll discover that breaking it down into manageable steps makes it quite achievable.
Don't be discouraged if your first attempt isn't picture-perfect – the rustic, homemade appearance adds to its charm.
You can customize this wreath by adjusting the amount of cinnamon, adding chopped nuts, or experimenting with different glazes to suit your taste preferences.
Remember to store any leftover wreath in an airtight container at room temperature for up to two days, though it's best enjoyed fresh from the oven.
If you're planning ahead, you can prepare the dough the night before and complete the final rise and baking in the morning.
This versatile recipe will likely become a cherished addition to your Easter traditions.