You'll discover that Easter Bunny Pancakes offer more than just a festive breakfast option for your holiday celebrations. These whimsical creations combine the comfort of traditional pancakes with creative shaping techniques that'll transform your morning routine into a memorable experience. While the basic recipe remains familiar, it's the artistic presentation and seasonal charm that set these bunny-shaped treats apart, making them an ideal starting point for exploring holiday-themed breakfast innovations.
Key Takeaways
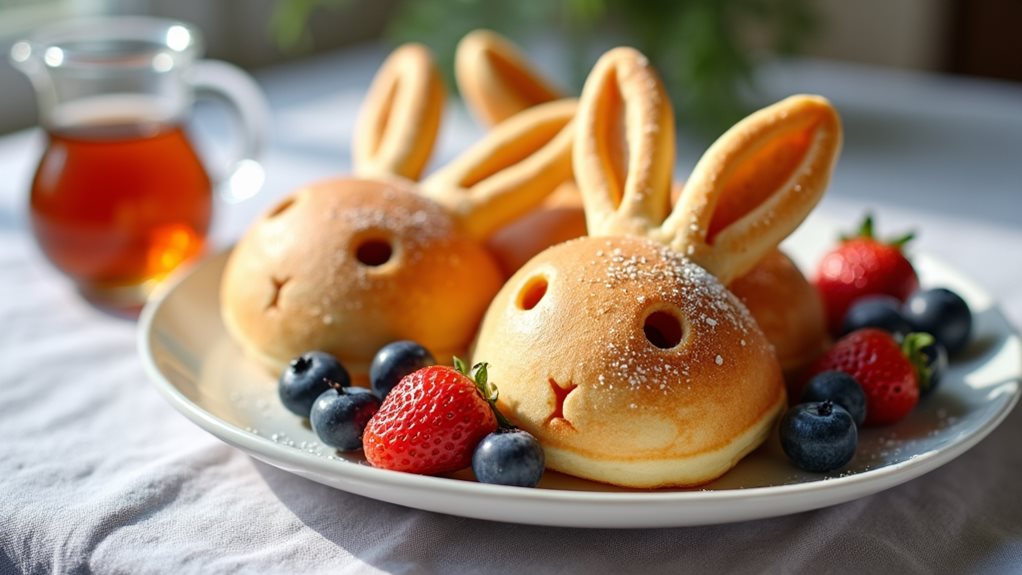
- Easter Bunny Pancakes transform regular pancake batter into bunny shapes using a circle for the face and ovals for ears.
- Basic ingredients include flour, milk, eggs, sugar, baking powder, salt, butter, and vanilla extract for fluffy, delicious results.
- Pour batter carefully to create bunny shapes, then flip when bubbles appear on surface, cooking until golden brown.
- Ideal for Easter celebrations, these pancakes create a festive breakfast atmosphere and encourage family interaction during meal preparation.
- Serve with syrup, fruit toppings, or other breakfast items, allowing for creative decorating options to enhance the bunny design.
History
While the exact origin of Easter Bunny Pancakes isn't well documented, these whimsical breakfast creations emerged from the intersection of traditional pancake-making and the symbolism of the Easter Bunny in Western culture.
You'll find that pancakes themselves date back thousands of years, with variations appearing across numerous civilizations, while the Easter Bunny tradition gained prominence in America during the 1700s through German settlers.
The practice of shaping pancakes into bunny designs likely developed in the mid-20th century, as families sought creative ways to celebrate Easter morning.
You can trace this trend to the rise of home cooking and the growing commercialization of Easter celebrations, when parents began transforming everyday breakfast items into festive holiday treats that would delight their children.
Recipe
Easter Bunny Pancakes transform an ordinary breakfast into a delightful spring celebration. These charming bunny-shaped treats bring whimsy to your breakfast table while maintaining the classic fluffy texture and taste of traditional pancakes.
Creating these adorable pancakes requires minimal extra effort compared to regular pancakes, yet delivers maximum joy to both children and adults. The simple technique of strategic batter placement turns basic pancake ingredients into cute bunny faces complete with perky ears.
- 1½ cups all-purpose flour (180g)
- 1 cup milk (240ml)
- 1 large egg
- 2 tablespoons sugar (30g)
- 2 teaspoons baking powder (10g)
- ¼ teaspoon salt (1g)
- 3 tablespoons melted butter (45ml)
- ½ teaspoon vanilla extract (2.5ml)
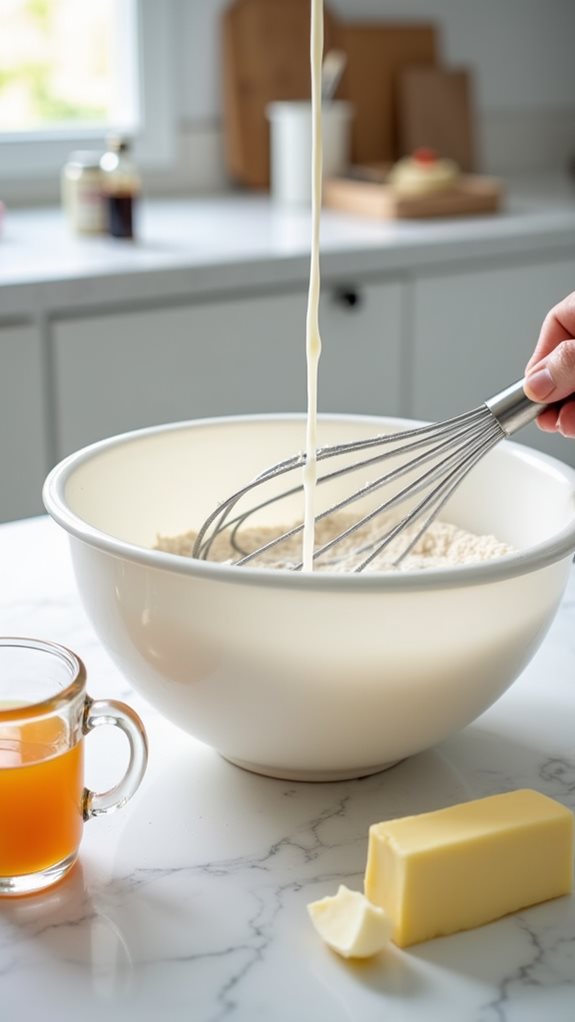
Heat a non-stick griddle or pan over medium heat. In a large bowl, whisk together dry ingredients. In a separate bowl, combine wet ingredients. Add wet mixture to dry ingredients and stir until just combined, leaving some small lumps.
For each bunny, pour a ¼ cup batter in a circle for the face, then add two elongated oval shapes above for ears. Cook until bubbles form on the surface (about 2-3 minutes), then flip carefully and cook for another 1-2 minutes until golden brown.
For perfect bunny shapes, use a squeeze bottle or piping bag to control batter placement precisely. Maintain consistent medium heat throughout cooking, as too high heat will burn the pancakes before they cook through.
Allow the griddle to reheat between batches, and resist pressing down on the pancakes while cooking as this can make them dense. For easier flipping, ensure the ears are connected to the main pancake body by a thin stream of batter.
Cooking Steps
Start your Easter Bunny pancake adventure by heating your griddle and combining the dry ingredients in a bowl, ensuring they're well mixed before gradually incorporating the wet ingredients.
You'll achieve the perfect bunny shape by carefully pouring the batter onto the hot surface – first creating a round circle for the face, then adding two elongated ovals above it for the ears.
When bubbles appear across the pancake's surface and the edges begin to look slightly dry, you'll know it's time to flip your creation for even cooking on both sides.
Step 1. Heat Griddle Before Mixing
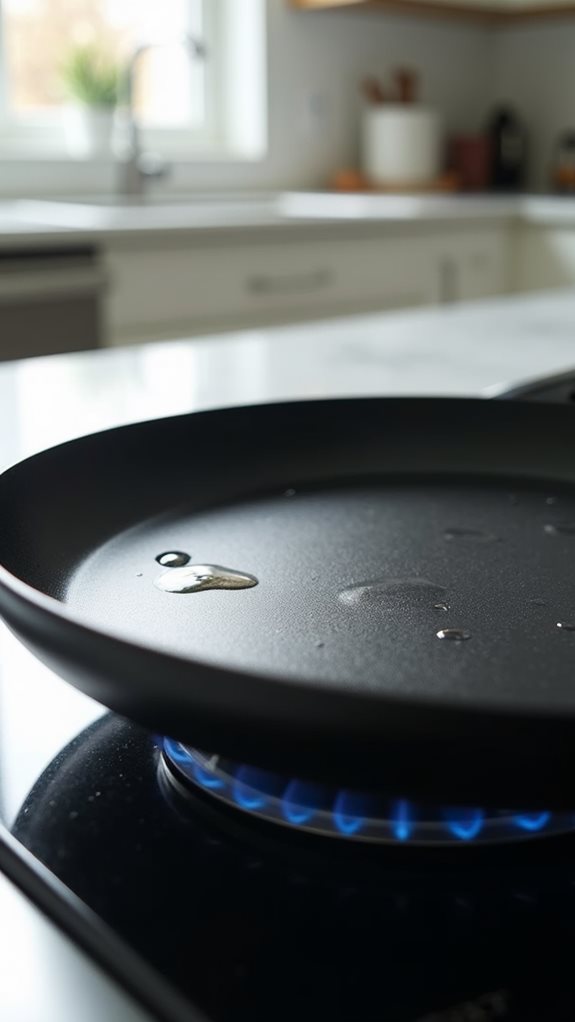
Preheating your griddle represents one of the most crucial initial steps in creating perfect Easter Bunny Pancakes.
You'll want to set your cooking surface to medium heat before you begin mixing your ingredients, allowing it to reach the ideal temperature while you prepare your batter.
To test if your griddle is ready, sprinkle a few drops of water onto the surface – they should dance and sizzle, evaporating within 2-3 seconds.
If the water disappears instantly, your heat's too high; if it sits and bubbles slowly, you'll need to increase the temperature.
While your griddle preheats, you can gather your ingredients and measuring tools, ensuring you're fully prepared when the cooking surface reaches the perfect temperature.
Step 2. Mix Dry Ingredients Together
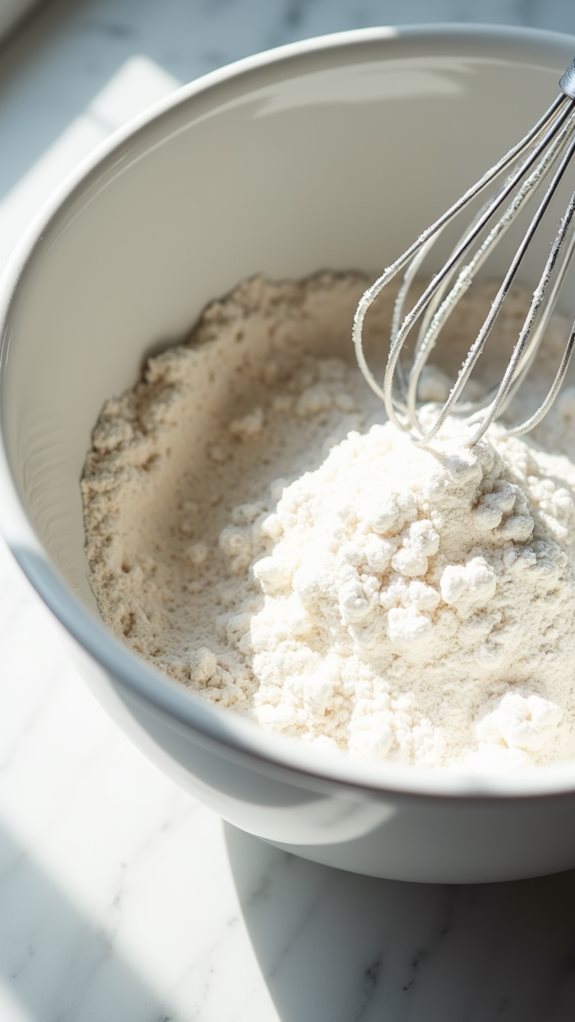
Before diving into the wet ingredients, you'll need to properly combine your dry ingredients to ensure even distribution of the leavening agents and prevent any flour pockets in your finished bunny pancakes.
In a medium mixing bowl, combine the all-purpose flour, sugar, and baking powder. Using a whisk or fork, stir these ingredients together thoroughly, making sure to break up any clumps of flour or baking powder that might be present.
You'll want to pay special attention to incorporating the baking powder evenly throughout the mixture, as this will help your bunny pancakes achieve that perfect, fluffy texture.
Take an extra moment to sift through the mixture with your whisk, ensuring there aren't any hidden pockets of dry ingredients lurking at the bottom of the bowl.
Step 3. Add Wet Ingredients Gradually
Once you've thoroughly mixed the dry ingredients, it's time to incorporate the wet ingredients with precision and care.
Pour the milk slowly into the center of your flour mixture while whisking continuously, ensuring you're creating a smooth consistency without any lumps.
Next, crack your egg into a small separate bowl, check for any shell fragments, then add it to your batter, stirring until it's fully incorporated.
Don't worry if you notice some small lumps remaining in your batter – this is actually preferable for fluffy pancakes.
The key is to mix just until the wet and dry ingredients are combined, as overmixing can lead to tough, dense pancakes.
Your final batter should be thick enough to pour but still maintain its shape when added to the griddle.
Step 4. Pour Batter Into Bunny Shapes
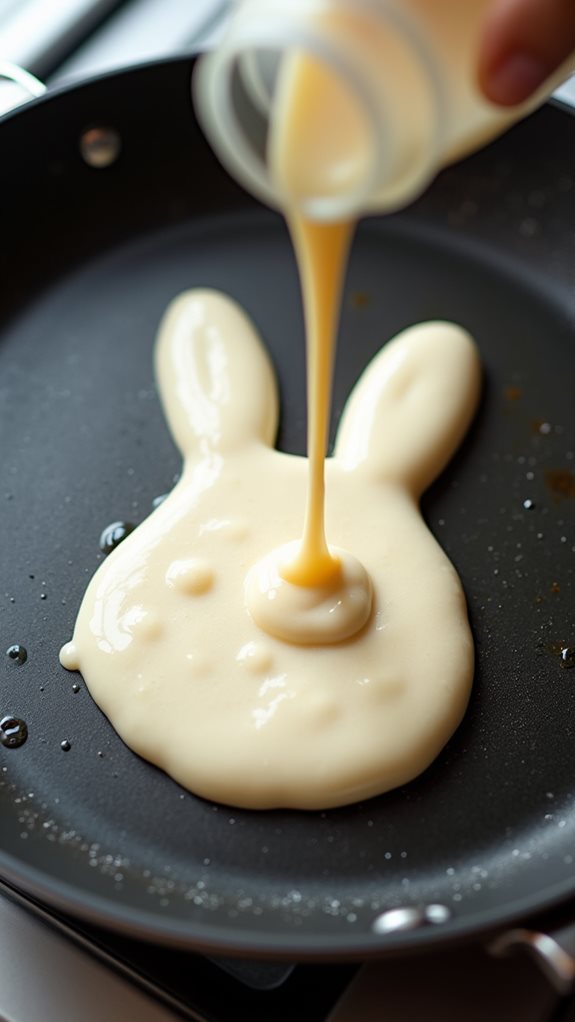
Creating the perfect bunny shape requires three distinct pours of batter onto your preheated griddle or pan.
Begin by pouring a large circle, approximately ¼ cup of batter, for the bunny's face. Once that's in place, add two elongated ovals above the circle, positioning them slightly apart to create the ears. You'll want to make the ears about half the size of the face portion.
Watch for bubbles to form on the surface of your pancake shapes, which typically takes about 2-3 minutes. When the edges start to look slightly dry and bubbles appear throughout, it's time to flip each section carefully.
Cook the other side until it's golden brown, usually another 1-2 minutes. Don't worry if your first attempt isn't perfect; practice makes progress.
Step 5. Flip When Bubbles Appear
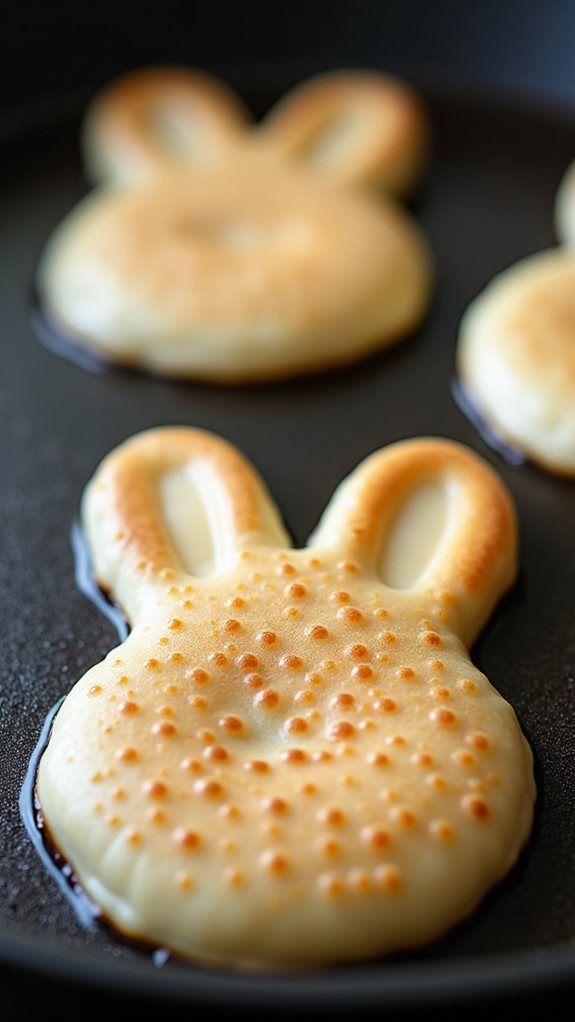
The crucial moment for flipping your bunny pancakes arrives when tiny bubbles begin appearing across the surface of the batter, particularly near the center of each shape.
You'll notice these bubbles start to pop and leave small holes, indicating that the bottom has achieved a golden-brown color and the structure is set enough to turn.
When you're ready to flip, slide your spatula completely under each section of the bunny shape, including both ears and the face.
In one swift, confident motion, turn the pancake over to cook the other side. You'll need about 1-2 minutes more for the second side to reach the perfect doneness.
Don't flip the pancake multiple times, as this can deflate the fluffy texture you've worked to achieve.
Final Thoughts
Whether you're celebrating Easter or simply wanting to add whimsy to your breakfast routine, making Easter Bunny Pancakes provides a delightful way to transform an ordinary morning meal into something magical.
With just a few basic ingredients and some careful attention to batter placement, you'll create memorable breakfast moments that your family will cherish.
Remember to maintain consistent heat throughout the cooking process, and don't rush the flipping stage – patience yields the best results.
You'll know you've mastered the technique when your bunnies emerge golden-brown with perfectly shaped ears and faces.
While these pancakes might take a bit more time than standard rounds, the smiles they'll bring to your breakfast table make the extra effort worthwhile.