Just as hot cross buns grace Good Friday's table, you'll find Easter biscuits carrying their own sacred significance during the spring holiday. These traditional British treats, with roots stretching back to medieval times, aren't your ordinary cookies. They've earned their place in Easter celebrations through a thoughtful blend of symbolic ingredients and time-honored preparation methods. While you might be familiar with their crisp exterior and tender center, there's more to these spiced, currant-filled delicacies than meets the eye. Their fascinating journey from West Country kitchens to Victorian prominence reveals why they're still cherished today.
Key Takeaways
- Easter biscuits are traditional British cookies made with currants, spices, and butter, served during Easter celebrations.
- These lightly spiced biscuits feature a crisp exterior and tender interior, traditionally given as gifts after church on Easter Sunday.
- Key ingredients include flour, butter, sugar, currants, and spices like cinnamon and nutmeg, with all ingredients at room temperature.
- Proper baking requires chilling dough for 2 hours and watching for light golden edges while centers remain pale.
- Store in airtight containers for up to one week, and enhance with variations like orange zest or white chocolate drizzle.
History
While Easter biscuits originated in the West Country of England during medieval times, they didn't become widely popular until the Victorian era. You'll find that these traditional spiced cookies were historically given as gifts on Easter Sunday, when families would gather after church services to break their Lenten fast.
During the 1800s, you'd have seen these biscuits take on greater significance as baking became more sophisticated with the availability of refined sugar and spices. The Victorians enhanced the original recipe by adding candied peel and currants, ingredients that you wouldn't have found in medieval versions. These additions reflected the era's growing access to imported goods through expanded trade routes.
If you'd visited West Country towns like Somerset or Gloucestershire during this period, you'd have noticed that local bakers developed their own variations, often marking the biscuits with crosses or decorative patterns.
The tradition of giving these biscuits continued well into the 20th century, and you can still find many bakeries that maintain these time-honored recipes, particularly during the Easter season.
Recipe
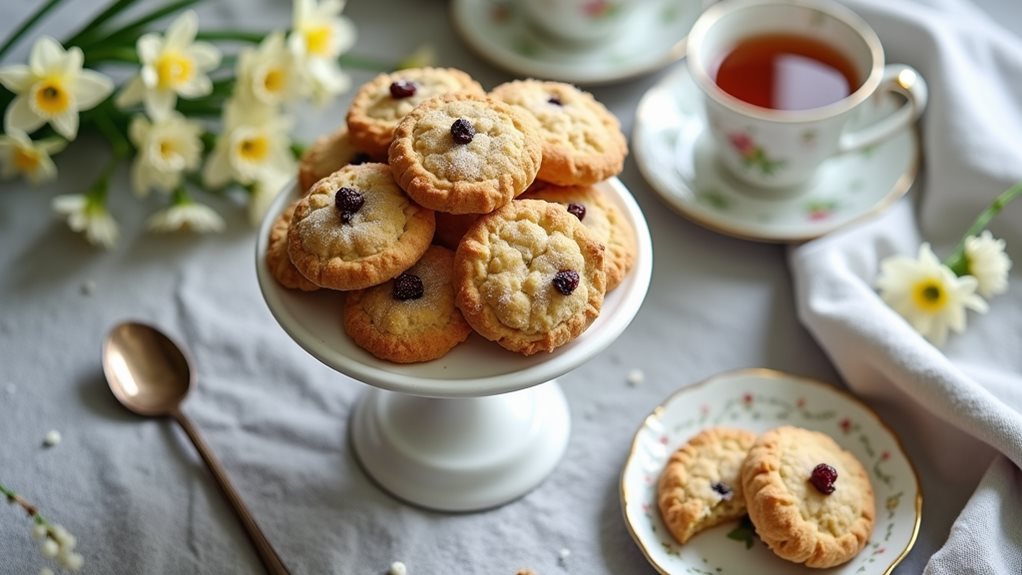
Easter biscuits are a traditional British treat typically enjoyed during the Easter season. These lightly spiced, currant-studded cookies are crisp on the outside yet tender in the middle, offering a delicate balance of sweetness and spice that has made them a holiday favorite for generations.
These biscuits date back to at least the 18th century and were traditionally given as gifts on Easter Sunday. The spices used in these biscuits – particularly cassia or cinnamon – are said to represent the spices used to prepare Christ's body for burial, making them not just delicious but also symbolically significant.
Ingredients:
- 2 cups (250g) all-purpose flour
- 3/4 cup (175g) unsalted butter, softened
- 2/3 cup (150g) caster sugar
- 1 large egg, beaten
- 1/2 cup (75g) currants
- 1/4 teaspoon ground cinnamon
- 1/4 teaspoon mixed spice
- 1/4 teaspoon nutmeg
- 2 tablespoons milk
- Additional caster sugar for sprinkling
Preheat the oven to 375°F (190°C). Cream butter and sugar until light and fluffy. Add beaten egg gradually, then fold in flour and spices. Mix in currants. Roll out dough on a floured surface to 1/4 inch thickness and cut into rounds. Place on lined baking sheets, brush with milk, sprinkle with sugar, and bake for 10-15 minutes until golden. Cool on a wire rack.
For best results, ensure all ingredients are at room temperature before starting. The dough can be made ahead and chilled for up to 24 hours before baking. If the dough becomes too soft while working with it, return it to the refrigerator for 15 minutes.
Store baked biscuits in an airtight container for up to a week, though they're best enjoyed within the first three days.
Cooking Steps
You'll start by combining your flour, baking powder, and spices in a large mixing bowl before cutting in cold butter cubes and sugar until the mixture resembles coarse crumbs.
Next, you'll incorporate beaten eggs and vanilla extract, working the dough just until it comes together, then wrap it tightly and let it chill in the refrigerator for at least two hours.
Once the dough is firm, roll it out on a floured surface, cut your shapes, and bake them in a preheated oven until the edges turn a light golden brown.
Step 1. Mix Dry Ingredients Together
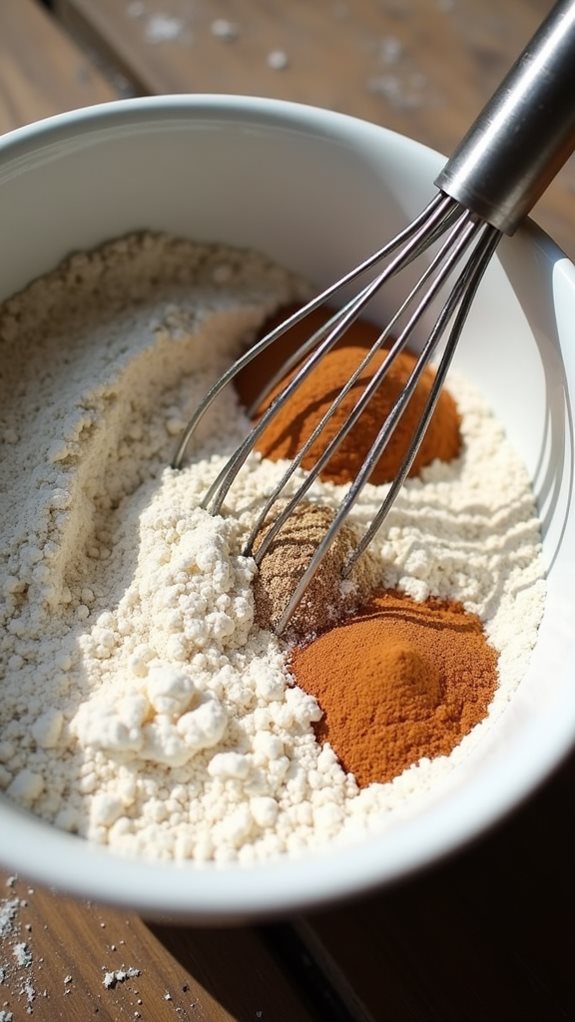
In a large mixing bowl, sift together the flour, baking powder, and salt to ensure there aren't any lumps. You'll want to use a fine-mesh sieve or flour sifter to achieve the best results, as this process helps create a lighter, more evenly textured biscuit.
Next, you'll need to add your dry spices and seasonings, including ground cinnamon, nutmeg, and mixed spice, which give Easter biscuits their distinctive flavor. Using a whisk, blend these ingredients thoroughly to distribute the spices evenly throughout the flour mixture.
Don't forget to break up any small clumps of spices that might've formed. If you're including dried fruit in your recipe, you'll want to coat them lightly in a tablespoon of the flour mixture before adding them to the bowl. This prevents the fruit from sinking to the bottom of your biscuits during baking.
Once you've completed this step, make a well in the center of your dry ingredients – you'll need this space to add your wet ingredients later in the process.
Step 2. Add Butter and Sugar
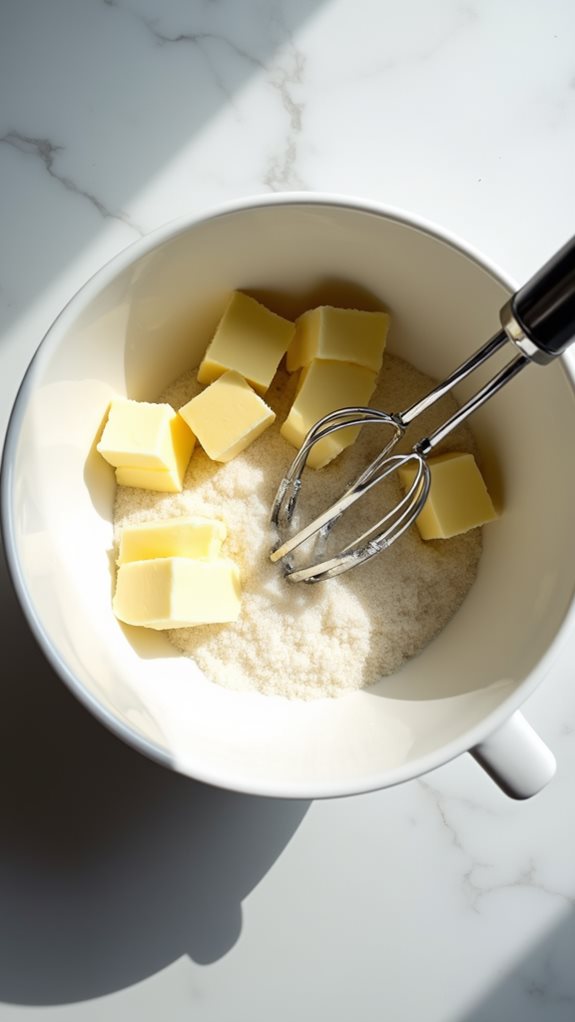
Butter preparation plays a crucial role in this next step. You'll need to ensure your butter has reached room temperature, which typically takes about 30 minutes on your counter.
Once it's properly softened, cut it into small cubes of approximately 1-inch size to make incorporation easier.
Add your cubed butter to the dry ingredients you've already mixed, and using your fingertips, rub the butter into the flour mixture until it resembles fine breadcrumbs.
Don't overwork the mixture, as this can make your biscuits tough. You'll know you're done when the texture is consistent and there aren't any large butter pieces remaining.
Now it's time to add your sugar. You'll want to use caster sugar, as it's finer than granulated and will distribute more evenly throughout your dough.
Gradually incorporate the sugar into your butter-flour mixture, ensuring it's evenly distributed.
If you're using any additional flavoring, such as vanilla extract or mixed spice, you'll want to add it at this stage as well.
Step 3. Add Eggs and Vanilla

Moving on to your eggs, crack two large room-temperature eggs into a small bowl and beat them lightly with a fork.
You'll want to ensure there aren't any shell fragments and that the yolks and whites are well combined before proceeding to the next step.
Add the beaten eggs gradually to your butter-sugar mixture, incorporating about a tablespoon at a time while continuing to mix at medium speed.
This slow addition prevents the mixture from curdling and ensures proper emulsion. As you're adding the eggs, you'll notice the mixture becoming lighter in color and slightly fluffier in texture.
Once you've added all the egg mixture, pour in two teaspoons of pure vanilla extract.
Continue mixing until everything's thoroughly combined, but don't overmix at this stage.
You're looking for a smooth, uniform consistency without any streaks of egg visible in the batter.
If you notice the mixture starting to separate or look curdled, don't worry – this often happens and won't affect your final results.
The dry ingredients you'll add later will bring everything together perfectly.
Step 4. Chill Dough Until Firm
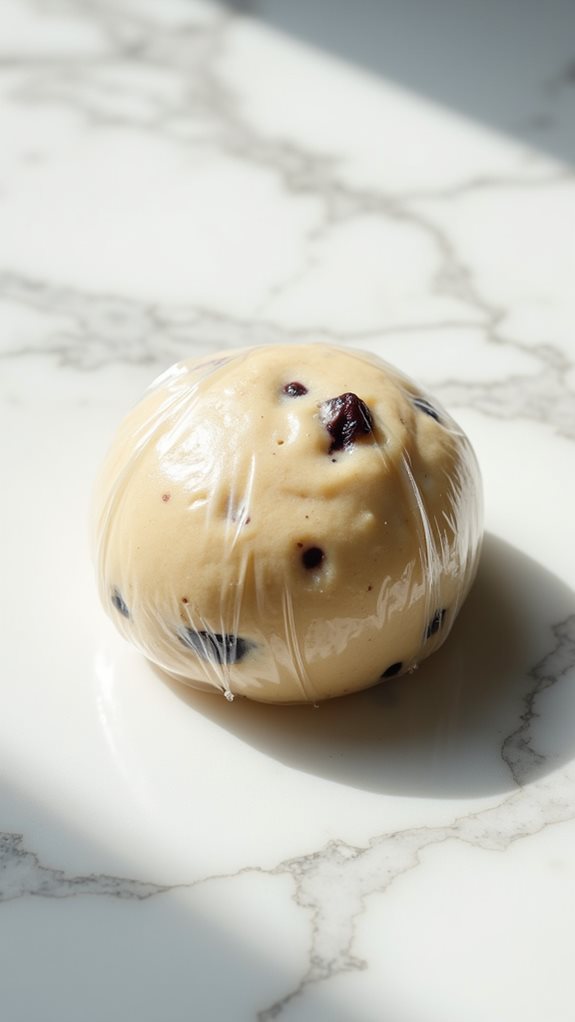
Once your dough comes together, gather it into a ball and wrap it tightly in plastic wrap or wax paper.
You'll need to place the wrapped dough in your refrigerator for at least 2 hours, though chilling it overnight will yield the best results. This crucial step allows the butter to solidify completely and helps the flour absorb the moisture evenly throughout the dough.
While you're waiting, you can prepare your baking sheets by lining them with parchment paper and preheating your oven to 350°F (175°C).
The chilled dough shouldn't be too hard when you're ready to work with it – if it's been in the refrigerator for more than 24 hours, let it sit at room temperature for 10-15 minutes before rolling.
You'll know the dough is properly chilled when it feels firm but pliable, similar to modeling clay.
If you're working in a warm kitchen, you may need to return the dough to the refrigerator between batches to maintain the proper consistency for cutting and shaping your Easter biscuits.
Step 5. Bake Until Edges Brown

After placing your prepared biscuits on the lined baking sheets, slide them into your preheated oven and bake for 12-15 minutes.
You'll want to monitor their progress carefully during this crucial stage, as the edges should turn a light golden brown while the centers remain slightly pale. Don't be tempted to overbake them, as these biscuits will continue to firm up as they cool.
For even browning, rotate your baking sheets halfway through the cooking time, especially if you know your oven has hot spots.
You'll notice the biscuits beginning to develop a subtle sheen on their surface and a gentle rise as they bake. When they're done, the bottoms should be lightly browned, and the tops should feel set but still slightly soft when gently pressed with your finger.
If you're baking multiple batches, make sure to let your baking sheets cool completely between uses, as hot sheets can cause the biscuits to spread too quickly.
Once they've reached the perfect color, remove them from the oven immediately to prevent over-browning.
Final Thoughts
Beyond their delightful taste, these traditional Easter biscuits bring warmth and nostalgia to any holiday celebration. You'll find that they're not just treats but cherished symbols of springtime gatherings, perfect for sharing with family and friends during the Easter season.
When stored in an airtight container, they'll maintain their freshness for up to a week, allowing you to prepare them in advance of your festivities.
Don't hesitate to experiment with the recipe once you've mastered the basic version. You can add orange zest for a citrusy twist, incorporate different spices like nutmeg or cardamom, or even drizzle them with white chocolate for extra indulgence.
If you're baking with children, they'll especially enjoy the decorating process, making it a wonderful opportunity to create lasting memories.
Remember that practice makes perfect, and while your first batch mightn't look exactly like the pictures, they'll still taste delicious. These biscuits aren't just about perfection; they're about continuing a beloved Easter tradition that's been passed down through generations, bringing joy to modern celebrations while honoring time-tested techniques.