You've probably encountered pavlova before, but have you considered making it the star of your Christmas dessert table? This iconic meringue-based treat, with its crisp exterior and pillowy center, takes on a festive flair when adorned with vibrant mixed berries. It's not just a visual stunner; the combination of textures and flavors makes it a crowd-pleaser at holiday gatherings. While its origins are debated, there's no arguing its place in modern celebrations. But what's the secret to achieving that perfect balance of crunch and softness? And how can you elevate this classic to make it truly Christmas-worthy?
Key Takeaways
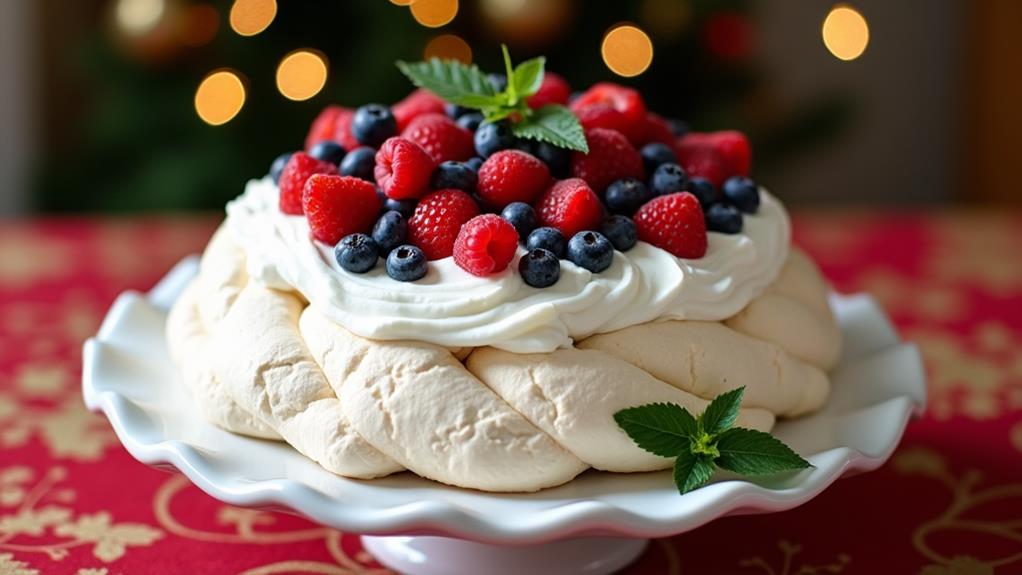
- Christmas Pavlova is a festive dessert featuring a meringue base topped with whipped cream and mixed berries.
- The dish originated in the 1920s and is popular in Australia and New Zealand for Christmas celebrations.
- Key ingredients include egg whites, sugar, vinegar, mixed berries, and heavy cream.
- Prepare the meringue base a day in advance for optimal texture and top with berries just before serving.
- The dessert's white base and colorful berries create a visually stunning centerpiece for holiday gatherings.
History
The Christmas Pavlova's origin story is a subject of friendly debate between Australia and New Zealand, with both countries claiming it as their own.
You'll find that this dessert's history dates back to the 1920s, when it was created in honor of Russian ballerina Anna Pavlova during her tour of the two countries. The exact creator remains unknown, but the dessert quickly became popular in both nations.
As you explore its evolution, you'll discover that the pavlova has become a staple at Christmas celebrations in the Southern Hemisphere. Its light, airy texture and fresh fruit toppings make it perfect for the warm summer holidays.
Over time, it's gained international recognition, with variations popping up around the world. You'll notice that the Christmas Pavlova often features red and green toppings to match the festive season.
While the debate over its origin continues, one thing's certain: the pavlova has cemented its place as a beloved holiday dessert, bringing joy to tables across the globe during the Christmas season.
Recipe
Christmas Pavlova is a delightful dessert that combines a crisp meringue shell with a soft, marshmallow-like interior, topped with whipped cream and fresh berries. This elegant dish is perfect for holiday gatherings, offering a light and refreshing alternative to heavier traditional desserts.
This simplified version of the recipe uses only five ingredients, making it accessible for home cooks of all skill levels. The result is a stunning centerpiece that captures the essence of Christmas with its snowy white base and vibrant red and blue berries.
- 4 large egg whites
- 1 cup (200g) granulated sugar
- 1 teaspoon white vinegar
- 2 cups (300g) mixed berries (strawberries, raspberries, blueberries)
- 1 cup (240ml) heavy whipping cream
Preheat the oven to 300°F (150°C). In a clean, dry bowl, whip the egg whites until soft peaks form. Gradually add sugar while continuing to whip until stiff, glossy peaks form and the mixture feels smooth between your fingers. Fold in the vinegar.
Spread the meringue into an 8-inch circle on a parchment-lined baking sheet, creating a slight depression in the center. Bake for 1 hour, then turn off the oven and let the pavlova cool completely inside with the door closed.
Once cooled, whip the cream until stiff peaks form. Top the pavlova with whipped cream and mixed berries just before serving.
For best results, make the pavlova base a day in advance to allow it to cool and dry completely. Avoid making the pavlova on humid days, as moisture can affect the texture.
If you're short on time, you can use store-bought whipped cream, but freshly whipped cream will yield the best flavor and texture. To prevent the pavlova from cracking, avoid sudden temperature changes and handle it gently when transferring to a serving plate.
Cooking Steps
To create the perfect Christmas Pavlova, you'll need to master a few key steps in preparing the meringue base.
Start by carefully separating your egg whites, ensuring no yolk contamination, then whip them until they're foamy before gradually adding sugar while continuing to whip.
Once you've achieved stiff, glossy peaks, gently fold in the vinegar, shape your meringue, and bake it to perfection.
Step 1. Separate Egg Whites Carefully
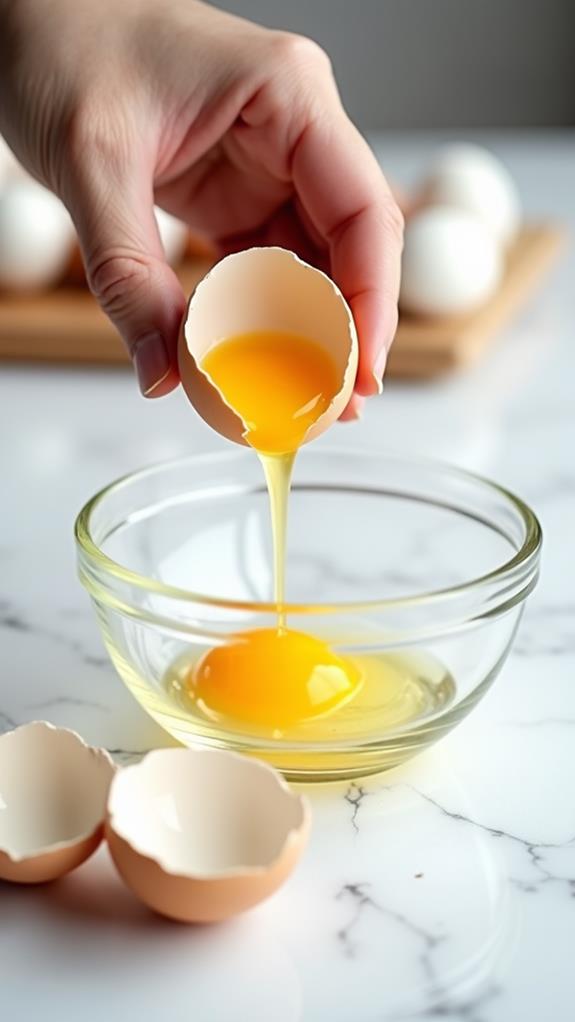
Before you begin whipping up your Christmas Pavlova, it's crucial to separate the egg whites carefully. Start by ensuring your hands, bowls, and utensils are clean and free from any grease or oil, as even a tiny amount can prevent the egg whites from whipping properly.
Crack each egg gently on a flat surface, then hold the egg vertically over a bowl. Carefully split the shell in half, allowing the white to fall into the bowl while keeping the yolk in one half of the shell. Transfer the yolk back and forth between the shell halves, letting any remaining white drop into the bowl. If you're unsure, it's better to leave a bit of white with the yolk than risk contaminating your whites with yolk.
For best results, separate each egg into a small bowl first, then transfer the white to your mixing bowl. This way, if you accidentally break a yolk, you won't ruin the entire batch.
Step 2. Whip Egg Whites Until Foamy
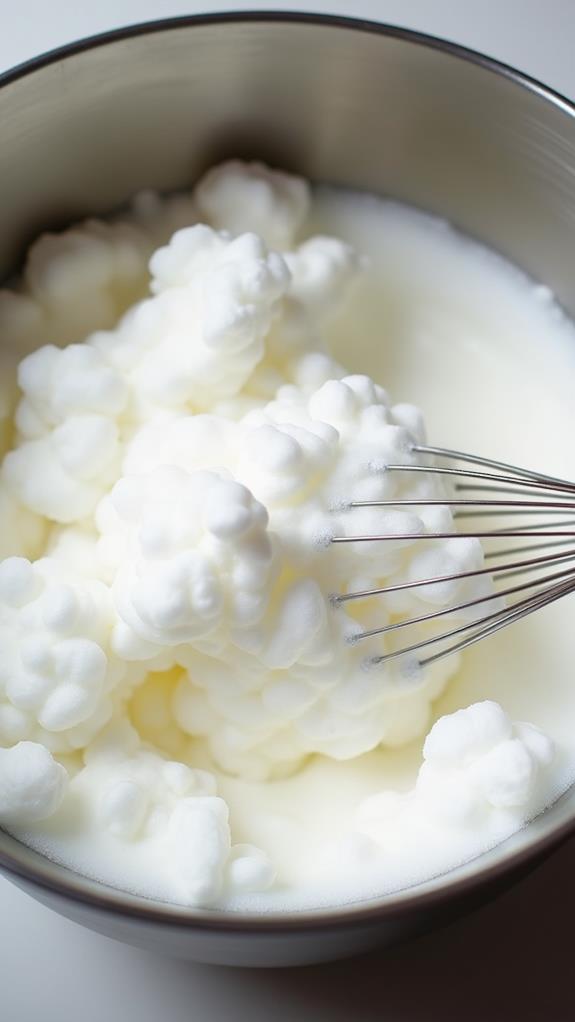
Now that you've carefully separated your egg whites, it's time to start whipping them. Begin by using an electric mixer or stand mixer with a whisk attachment, as these tools will make the process much easier and faster. Set your mixer to medium speed and start beating the egg whites.
As you whip, you'll notice the texture changing from clear and liquid to a foamy, opaque white. Continue whipping until soft peaks form, which means the egg whites will hold their shape briefly when you lift the beater but will quickly slump back down.
This stage is crucial for creating the light, airy texture that pavlova is known for. Be patient, as this process can take several minutes depending on your mixer's power. Avoid overbeating at this stage, as it can make it harder to incorporate the sugar later.
If you're unsure, it's better to err on the side of under-whipping rather than over-whipping. Once you've achieved soft peaks, you're ready to move on to the next step of gradually adding sugar to create stiff, glossy peaks.
Step 3. Gradually Add Sugar While Whipping
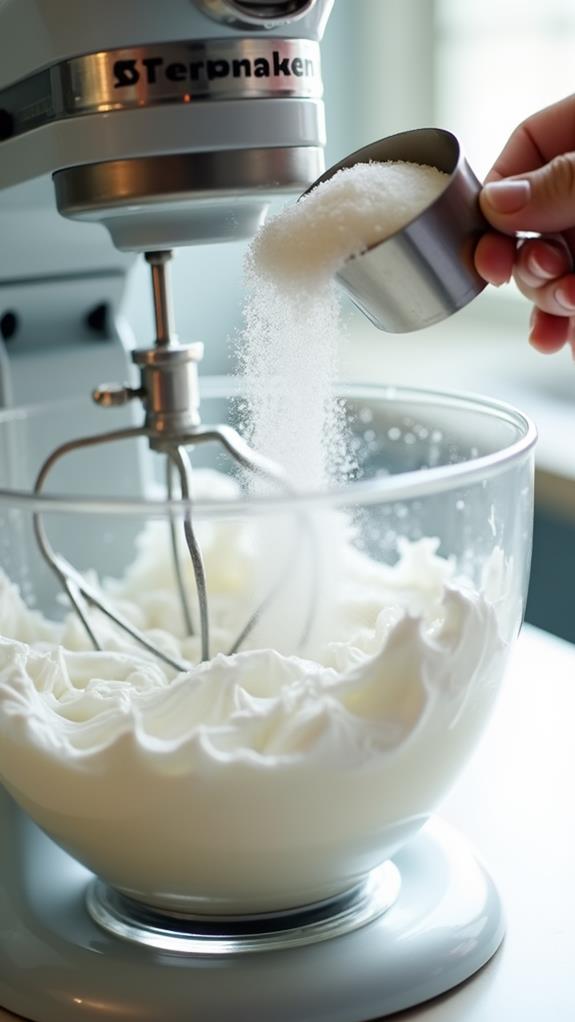
The gradual addition of sugar is a crucial step in creating the perfect pavlova. As you continue whipping the egg whites, slowly pour in the sugar, about a tablespoon at a time. This process allows the sugar to dissolve completely, ensuring a smooth, glossy meringue without any grittiness.
You'll want to add the sugar over the course of about 3-4 minutes, giving each addition time to incorporate fully before adding more.
Keep a close eye on the texture of your mixture as you work. The meringue should become increasingly thick and glossy, with stiff peaks forming when you lift the whisk.
To test if you've added enough sugar, rub a small amount of the mixture between your fingers. If it feels smooth, without any graininess, you're on the right track.
Don't rush this step; patience is key to achieving the perfect consistency. Once all the sugar is incorporated and you've reached stiff, glossy peaks, you're ready to move on to the next step in creating your Christmas pavlova.
Step 4. Add Vinegar, Fold Gently
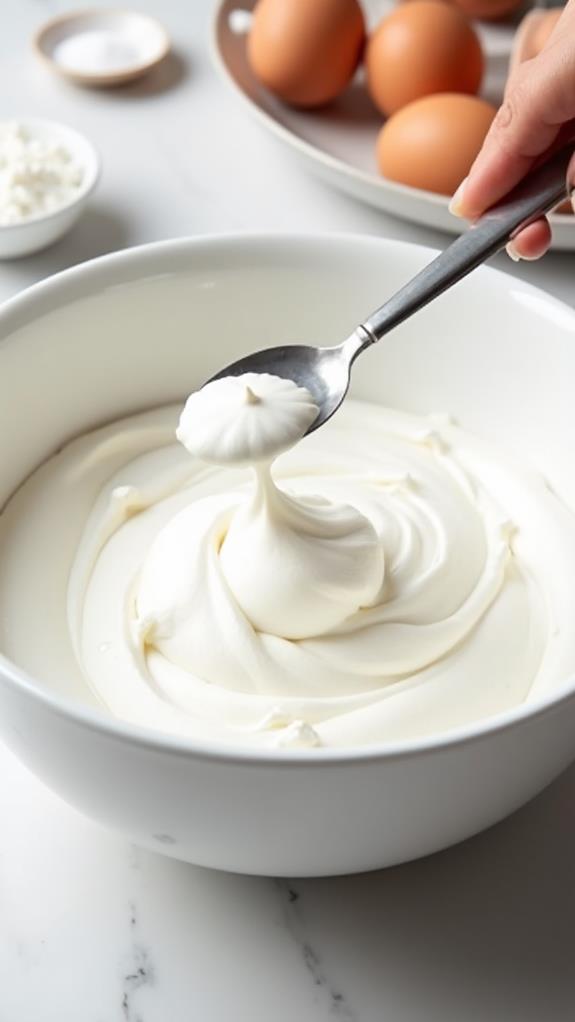
Adding vinegar to your meringue mixture is a crucial step in creating the perfect pavlova. Once you've achieved stiff, glossy peaks, it's time to incorporate the vinegar. Measure out one teaspoon of white vinegar and gently fold it into the meringue. This small amount of acid helps stabilize the egg whites, ensuring your pavlova maintains its structure during baking.
To fold in the vinegar, use a large spatula or a clean, dry hand. Make a cutting motion through the center of the mixture, then sweep around the sides and fold over. Repeat this process a few times until the vinegar is evenly distributed.
Be careful not to overmix, as this can deflate the air you've worked so hard to incorporate. The goal is to maintain the light, airy texture of your meringue while ensuring the vinegar is fully integrated.
Once you've folded in the vinegar, your pavlova mixture is ready to be shaped and baked. Remember, gentle handling is key to preserving the delicate structure of your meringue, so take your time and be patient with this step.
Step 5. Shape and Bake Meringue
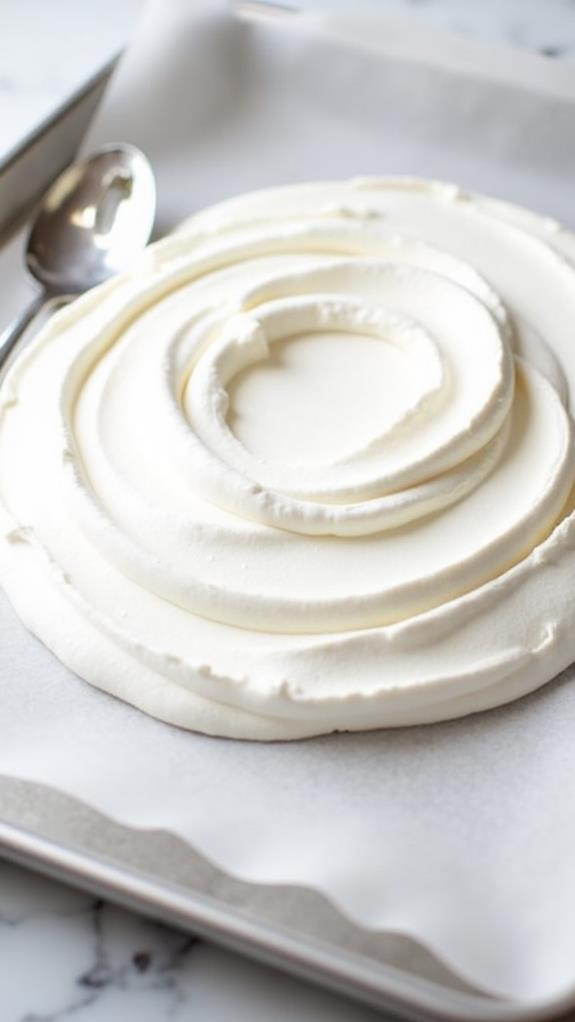
After carefully folding in the vinegar, you're ready to shape and bake your meringue. Line a baking sheet with parchment paper, ensuring it's clean and grease-free. Spoon the meringue mixture onto the center of the sheet, creating an 8-inch circle. Use the back of a spoon to shape the meringue, building up the edges slightly to form a shallow bowl. This depression will hold your cream and berries later.
Preheat your oven to 300°F (150°C). Once it's at temperature, place the meringue on the middle rack. Bake for 1 hour, resisting the urge to open the oven door.
After an hour, turn off the oven but don't remove the pavlova. Let it cool completely inside the closed oven, which can take several hours or overnight. This slow cooling process helps prevent cracking and ensures a crisp exterior with a marshmallow-like interior.
Once cooled, gently transfer the pavlova to a serving plate. It's now ready for you to add the whipped cream and berries just before serving.
Final Thoughts
Creating this Christmas Pavlova is a delightful way to celebrate the holiday season. You'll find that this dessert's stunning appearance and delicious taste make it a perfect centerpiece for your festive table.
Remember, patience is key when making pavlova. Don't rush the process, and you'll be rewarded with a beautiful, light, and airy meringue. If you're worried about cracks, don't fret – they're part of the charm and can easily be covered with whipped cream and berries.
For the best results, make your pavlova base a day in advance. This will give it ample time to cool and dry completely, ensuring that perfect contrast between crisp exterior and marshmallow-like interior.
When it's time to serve, add the whipped cream and berries just before presenting to your guests. This will keep the meringue from becoming soggy.
Don't be afraid to get creative with your berry topping – mix and match different types for a vibrant, festive look. With its simple ingredients and stunning presentation, your Christmas Pavlova is sure to become a holiday tradition.