You've likely encountered chocolate peppermint bark during the holiday season, but have you ever considered making it yourself? This festive treat combines the rich decadence of chocolate with the cool, refreshing crunch of peppermint. It's a relatively simple confection that's become a staple of Christmas gatherings and gift exchanges. While its exact origins aren't clear, it's gained popularity over the past few decades. Whether you're a seasoned baker or a kitchen novice, this versatile dessert offers room for creativity and personalization. But before you rush to the kitchen, there's more to this holiday favorite than meets the eye.
Key Takeaways
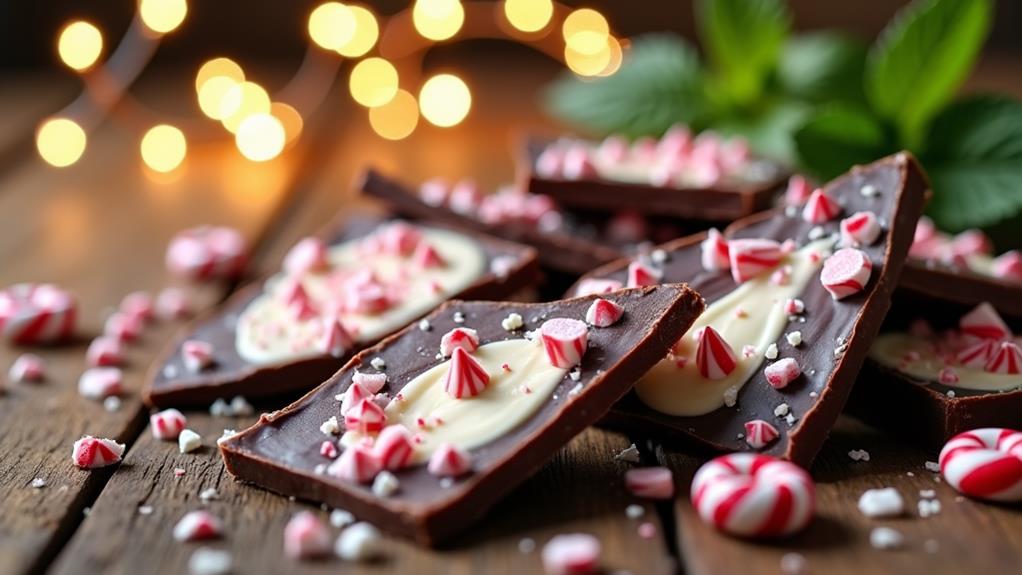
- Chocolate Peppermint Bark combines layers of dark and white chocolate with crushed candy canes for a festive holiday treat.
- The recipe typically involves melting and layering chocolates, then topping with peppermint candies before setting.
- It's a simple, no-bake dessert that's ideal for gifting, parties, or as a special festive indulgence.
- Key ingredients include dark chocolate chips, white chocolate chips, peppermint extract, and crushed candy canes.
- The bark can be customized with different chocolate ratios, add-ins like nuts, or varying intensities of peppermint flavor.
History
Tracing the origins of Chocolate Peppermint Bark reveals a relatively recent addition to the holiday treat lineup. While chocolate and peppermint have been popular flavor combinations for centuries, the specific form of layered bark didn't emerge until the late 20th century.
You'll find that this confection gained popularity in the 1960s and 1970s, coinciding with the rise of home candy-making and the increasing availability of quality chocolate for consumers.
The inspiration for Chocolate Peppermint Bark likely came from traditional bark candies, which were simply sheets of chocolate studded with nuts or dried fruits. Innovative home cooks and confectioners began experimenting with layering different types of chocolate and incorporating seasonal flavors like peppermint.
As the treat gained traction, it quickly became associated with the winter holidays, thanks to its festive appearance and refreshing taste.
You'll notice that Chocolate Peppermint Bark has evolved over the years, with variations including dark, milk, and white chocolate combinations, as well as different types of peppermint candy toppings.
Today, it's a beloved holiday staple, frequently given as gifts and featured in many Christmas cookie platters and dessert tables.
Recipe
Chocolate Peppermint Bark is a beloved holiday treat that combines the rich, indulgent flavor of chocolate with the refreshing coolness of peppermint. This simple yet elegant confection is perfect for gifting, serving at parties, or enjoying as a special treat during the festive season.
With its layers of dark and white chocolate, adorned with crushed candy canes, Chocolate Peppermint Bark creates a visually stunning dessert that's sure to impress. The contrasting textures of smooth chocolate and crunchy peppermint pieces provide a satisfying bite that will keep you coming back for more.
- 12 oz (340g) dark chocolate chips
- 12 oz (340g) white chocolate chips
- 1/2 teaspoon peppermint extract
- 1/4 cup (60ml) vegetable oil
- 1 cup (120g) crushed candy canes
Line a baking sheet with parchment paper. Melt the dark chocolate chips with half of the vegetable oil in a double boiler or microwave, stirring until smooth. Spread the melted dark chocolate evenly on the prepared baking sheet and refrigerate until set, about 15 minutes.
In the meantime, melt the white chocolate chips with the remaining oil and peppermint extract. Pour the white chocolate mixture over the set dark chocolate layer and quickly sprinkle the crushed candy canes on top. Refrigerate again until fully set, about 30 minutes.
Once hardened, break or cut the bark into pieces and serve. For best results, use high-quality chocolate chips and avoid overheating the chocolate to prevent it from seizing. If you prefer a thinner bark, use a larger baking sheet to spread the chocolate more thinly.
To create a marbled effect, swirl the white chocolate layer into the dark chocolate before it sets completely. Store the finished bark in an airtight container in a cool, dry place for up to two weeks, or refrigerate for longer freshness.
Cooking Steps
To create your Chocolate Peppermint Bark, you'll begin by lining a baking sheet with parchment paper and melting the dark chocolate chips with half of the vegetable oil.
Once melted, you'll spread this dark chocolate layer evenly on the prepared baking sheet and refrigerate it until set.
After the dark layer is firm, you'll melt the white chocolate mixture, pour it over the set dark chocolate, and quickly sprinkle crushed candy canes on top before refrigerating again.
Step 1. Line Baking Sheet
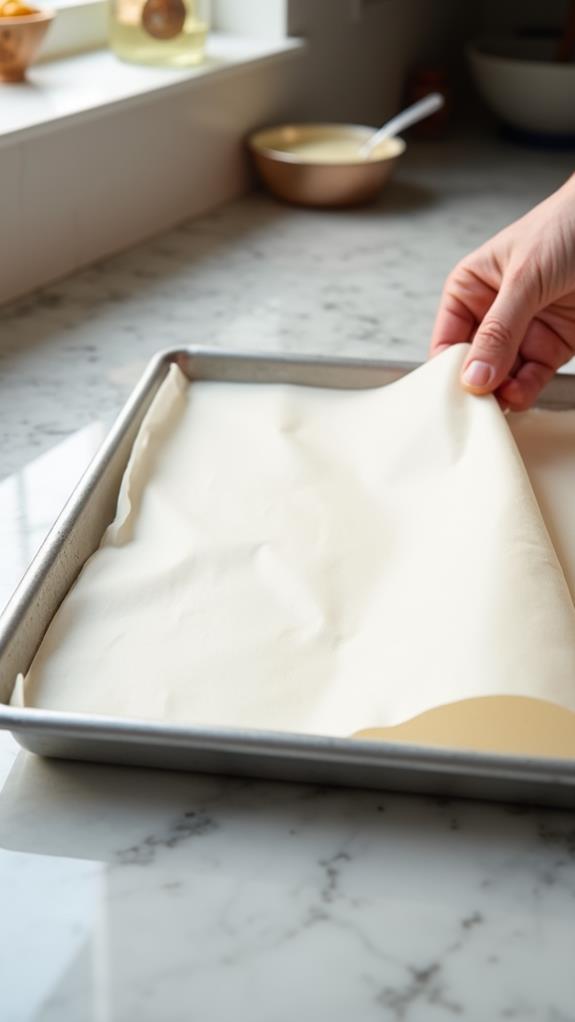
The initial step in creating your chocolate peppermint bark is to properly prepare your baking surface. You'll need a baking sheet that's large enough to accommodate the amount of bark you're making. Choose a sheet with raised edges to prevent any chocolate from spilling over during the process.
Next, you'll want to line your baking sheet with parchment paper. This step is crucial as it ensures easy removal of the bark once it's set. Cut a piece of parchment paper slightly larger than your baking sheet, allowing for some overhang on all sides. Press the paper into the corners and smooth it out to eliminate any wrinkles or air bubbles.
The overhang will serve as handles, making it simple to lift the finished bark from the sheet.
If you don't have parchment paper, you can use wax paper or aluminum foil as alternatives. However, parchment paper is the best option as it won't stick to the chocolate and provides a non-greasy surface.
With your baking sheet properly lined, you're now ready to move on to the next step in creating your delicious chocolate peppermint bark.
Step 2. Melt Dark Chocolate Chips
With your baking sheet prepared, it's time to focus on the star ingredient: dark chocolate. You'll need 12 ounces of dark chocolate chips and 2 tablespoons of vegetable oil to create the base layer of your bark.
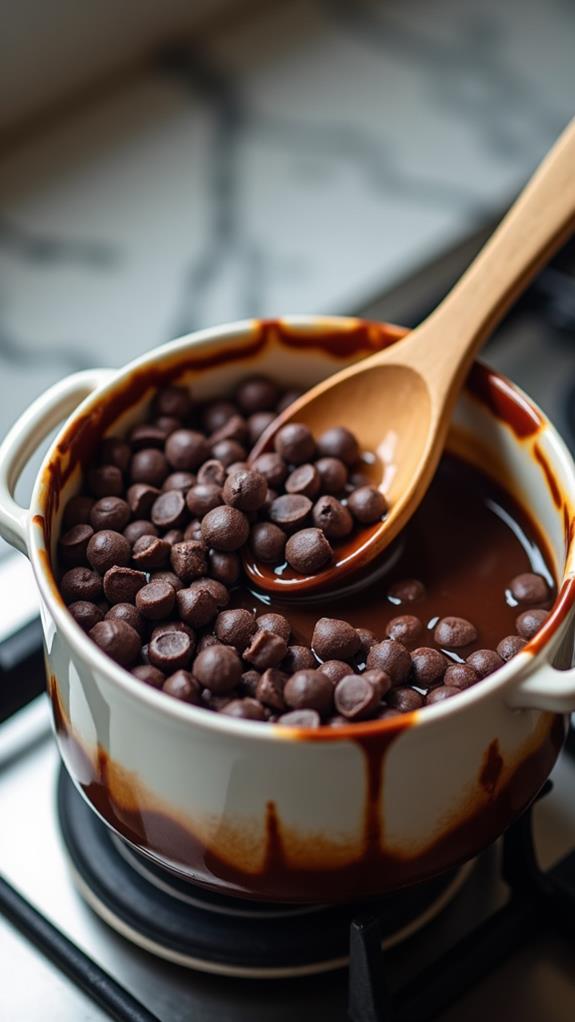
Begin by setting up a double boiler, which consists of a heatproof bowl placed over a pot of simmering water. Alternatively, you can use a microwave if you prefer.
Add the dark chocolate chips and vegetable oil to your chosen melting vessel. If using a double boiler, stir the mixture frequently as it melts to ensure even heating.
For the microwave method, heat the chocolate in 30-second intervals, stirring between each burst. Regardless of your chosen method, it's crucial to avoid overheating the chocolate, as this can cause it to seize or burn.
The ideal consistency is smooth and glossy, with no lumps remaining. Once fully melted, remove the chocolate from the heat source immediately.
You're now ready to pour this decadent mixture onto your prepared baking sheet, creating the foundation for your peppermint bark.
Step 3. Spread Dark Chocolate Layer Evenly
Once you've melted the dark chocolate, it's time to create the base layer of your peppermint bark.
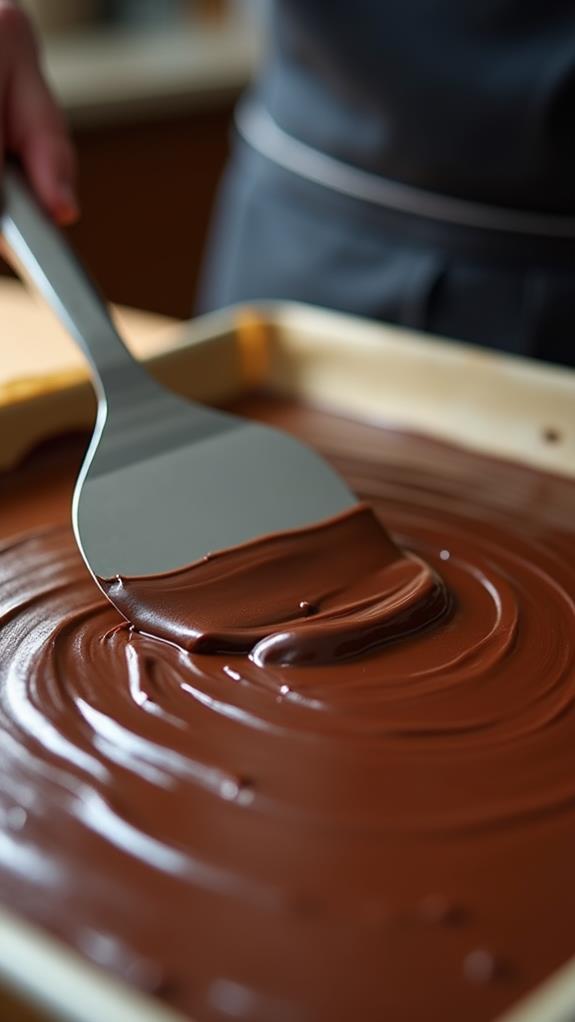
Carefully pour the smooth, liquid chocolate onto your prepared baking sheet, ensuring it's lined with parchment paper for easy removal later. Using a spatula or the back of a spoon, gently spread the chocolate outward from the center, working it into an even layer across the sheet. Aim for a thickness of about 1/8 inch, which will provide a sturdy foundation for your bark.
As you spread, pay attention to the edges, making sure they're not too thin or uneven. If needed, tilt the baking sheet slightly to help the chocolate flow into any bare spots.
Don't worry if it's not perfectly rectangular; the rustic edges add charm to the final product. Once you're satisfied with the coverage, gently tap the baking sheet on the counter a few times to release any air bubbles and create a smooth surface.
This step is crucial for achieving that professional-looking finish and ensuring your layers adhere properly. Now, it's time to let the dark chocolate set before moving on to the next step.
Step 4. Melt White Chocolate Mixture
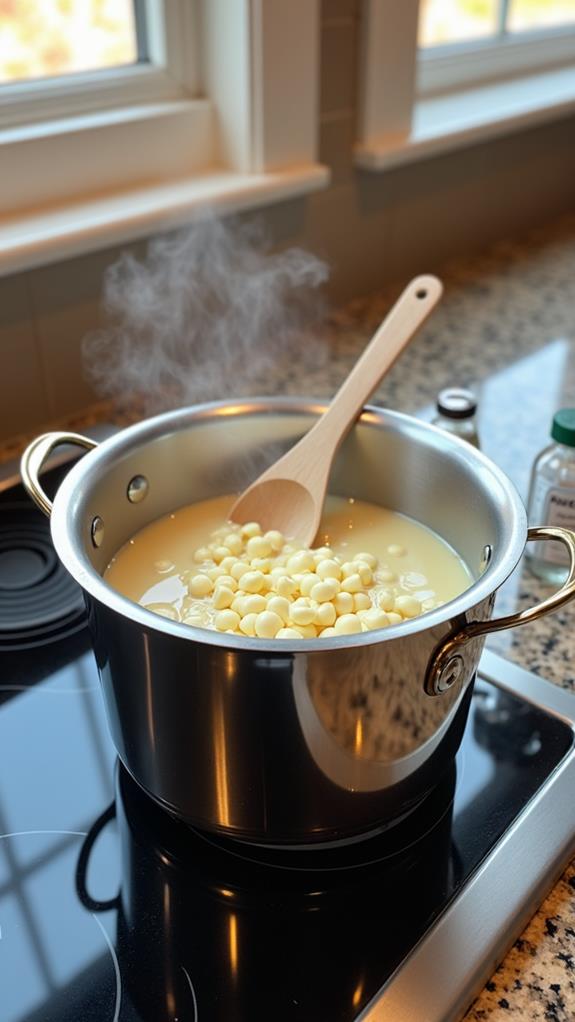
While your dark chocolate layer sets in the refrigerator, it's time to prepare the white chocolate mixture. Begin by placing your white chocolate chips in a clean, dry bowl.
If you're using a double boiler, fill the bottom pot with about an inch of water and bring it to a simmer. Place the bowl with white chocolate on top, ensuring it doesn't touch the water. For microwave melting, use 50% power in 30-second intervals, stirring between each.
As the chocolate begins to melt, add the remaining vegetable oil and peppermint extract. This will enhance the chocolate's smoothness and infuse it with a delightful minty flavor.
Stir the mixture gently but thoroughly, ensuring all ingredients are well combined. Be careful not to overheat or agitate the chocolate excessively, as this can cause it to seize or become grainy.
Once your white chocolate mixture is completely smooth and has a glossy appearance, it's ready to be poured over the set dark chocolate layer.
Work quickly but carefully to achieve an even distribution, as the white chocolate will begin to set upon contact with the cooler surface.
Step 5. Sprinkle Crushed Candy Canes
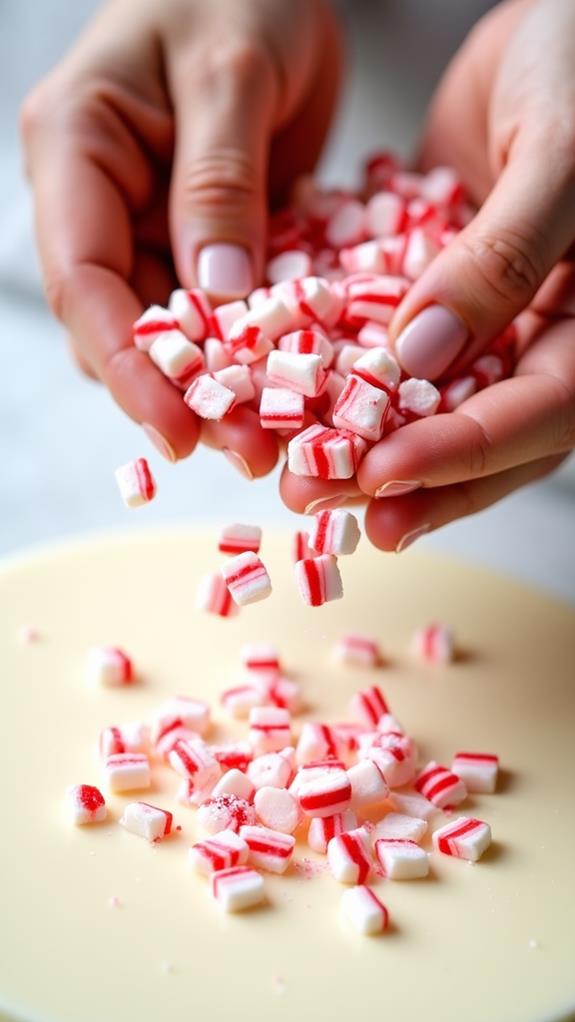
The candy cane sprinkle step is crucial for adding festive flair and crunch to your chocolate peppermint bark. Once you've poured the white chocolate mixture over the set dark chocolate layer, you'll need to act quickly.
Grab your crushed candy canes and evenly sprinkle them across the entire surface of the white chocolate. Don't hesitate, as the chocolate will begin to set rapidly.
Ensure you cover the entire surface, paying special attention to the edges. You can gently press the candy pieces into the chocolate to help them adhere better. If you notice any bare spots, simply add more crushed candy canes to those areas.
The goal is to create a uniform distribution of peppermint pieces across the bark. This step not only enhances the visual appeal of your treat but also provides that signature peppermint crunch in every bite.
Remember, the amount of candy cane you use can be adjusted to your preference. For a more subtle peppermint flavor, use less; for a more intense taste, add more.
Once you're satisfied with the coverage, it's time to let the bark set completely.
Final Thoughts
Chocolate Peppermint Bark is a delightful treat that's sure to impress your family and friends during the holiday season. This simple yet elegant dessert combines the rich flavors of dark and white chocolate with the refreshing taste of peppermint, creating a perfect balance of sweetness and coolness.
As you've learned, making this festive confection is straightforward and doesn't require advanced culinary skills. Remember to use high-quality chocolate for the best results, and be patient when allowing each layer to set properly.
Don't hesitate to experiment with different chocolate ratios or add your own twist, such as incorporating nuts or dried fruits. You can also adjust the amount of peppermint extract to suit your taste preferences.
When presenting your Chocolate Peppermint Bark, consider packaging it in decorative tins or cellophane bags tied with festive ribbons for a personalized touch. Whether you're serving it at a holiday gathering or giving it as a homemade gift, this treat is sure to bring joy and satisfaction to all who indulge.
With practice, you'll perfect your technique and create a signature version that'll become a cherished holiday tradition.