You'll discover that Chocolate Nest Cupcakes with Mini Eggs offer more than just a charming Easter dessert—they're a creative canvas for your baking skills. These treats combine the richness of chocolate cupcakes with the whimsical appeal of edible nests, creating an experience that's both visually stunning and delectable. While the concept might seem intricate, you'll find that mastering these festive cupcakes opens up possibilities for year-round celebrations and memorable gatherings.
Key Takeaways
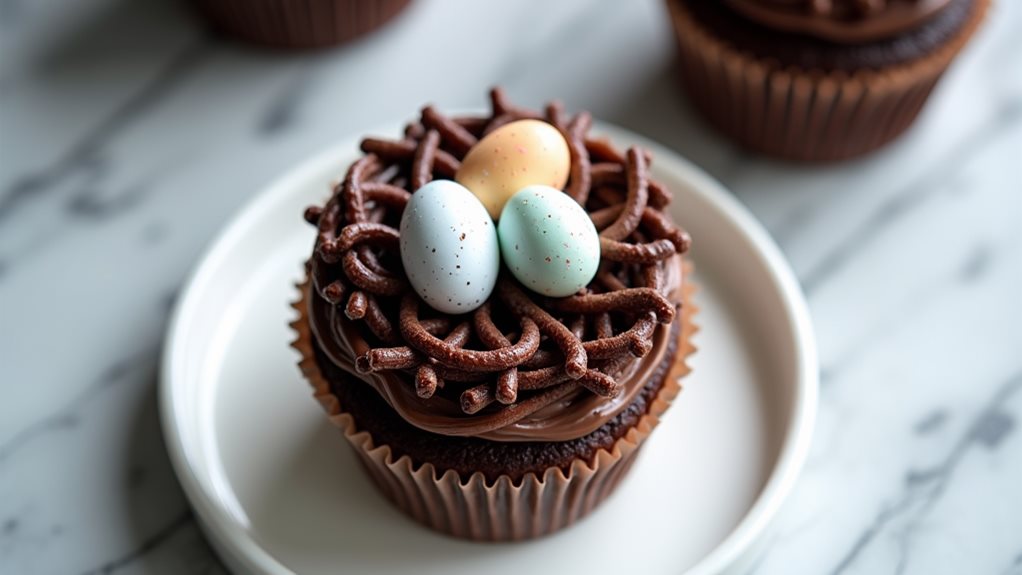
- Chocolate Nest Cupcakes combine chocolate cake base with crispy nests made from melted chocolate and chow mein noodles, topped with mini eggs.
- Bake chocolate cupcakes at 350°F for 20 minutes, cool completely before decorating with nests and candy eggs.
- Store finished cupcakes in an airtight container to maintain freshness and protect decorative nests from moisture.
- Mini eggs add essential visual appeal and texture, becoming popular after Cadbury's introduction of them in 1967.
- Perfect for Easter celebrations and spring gatherings, offering both attractive presentation and delicious taste combination.
History
While the exact origin of chocolate nest cupcakes isn't precisely documented, these whimsical treats emerged as a popular Easter dessert during the mid-20th century when home baking saw a significant rise in popularity.
You'll find that their development coincided with the introduction of boxed cake mixes in the 1940s, which made baking more accessible to home cooks.
The iconic nest design draws inspiration from both nature and traditional Easter symbolism, combining chocolate's growing availability with creative presentation techniques.
When Cadbury introduced their signature mini eggs in 1967, they quickly became the perfect finishing touch for these celebratory cupcakes.
Today, you'll see countless variations of chocolate nest cupcakes, but the core concept remains unchanged: a chocolate base topped with a textured nest and colorful egg-shaped candies.
Recipe
Chocolate Nest Cupcakes deliver a perfect blend of rich chocolate cake topped with crispy chocolate nests, making them an ideal treat for Easter celebrations or spring gatherings. These decorative cupcakes combine the convenience of boxed cake mix with homemade chocolate nests for a stunning presentation that will impress both kids and adults alike.
The beauty of these cupcakes lies in their simplicity and visual appeal. The chocolate nests, created from melted chocolate and crispy chow mein noodles, rest atop moist chocolate cupcakes and are adorned with colorful mini chocolate eggs, creating an eye-catching dessert that's perfect for any spring celebration.
- 1 box (15.25 oz / 432g) chocolate cake mix
- 3 large eggs
- 1/2 cup (120ml) vegetable oil
- 2 cups (12 oz / 340g) semi-sweet chocolate chips
- 1 package (3 oz / 85g) crispy chow mein noodles
- 1 bag mini chocolate eggs
- Water (as directed on cake mix box)
Preheat oven according to cake mix instructions and line a muffin tin with paper liners. Prepare cake mix following box directions using eggs, oil, and water. Fill cupcake liners 2/3 full and bake until a toothpick inserted comes out clean. Cool completely.
Melt chocolate chips in 30-second microwave intervals, stirring between each, until smooth. Mix in chow mein noodles until coated. Spoon chocolate mixture onto cooled cupcakes, creating nest-like shapes. Place 2-3 mini eggs in each nest and refrigerate for 15 minutes until set.
For best results, ensure chocolate chips are melted slowly to prevent burning, and work quickly when forming the nests as the chocolate will begin to set. Allow cupcakes to cool completely before adding nests, as residual heat can cause the chocolate to become streaky or bloom.
Store in an airtight container at room temperature for up to 3 days, or refrigerate for up to a week, bringing to room temperature before serving.
Cooking Steps
You'll start your cupcake-making journey by preheating the oven to 350°F and mixing the cake ingredients until they're thoroughly combined.
Next, pour your cupcake batter into lined muffin tins and bake for twenty minutes, or until a toothpick inserted into the center comes out clean.
Once the cupcakes have completely cooled, you'll create and attach the chocolate nests before adding the decorative mini eggs as a finishing touch.
Step 1. Preheat Oven to 350F
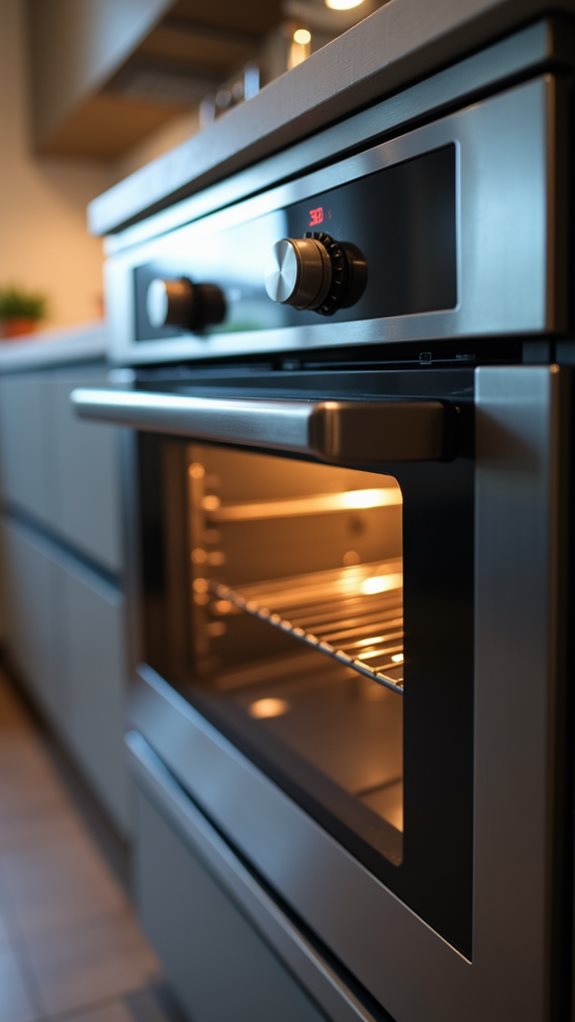
Before diving into any mixing or preparation, the first crucial step is preheating your oven to 350°F (175°C), as this temperature ensures the perfect environment for your chocolate cupcakes to rise evenly and develop a tender crumb.
While your oven's heating up, you'll want to gather all your ingredients and equipment, making sure they're ready at room temperature.
It's essential to give your oven at least 10-15 minutes to reach the proper temperature, even if it signals it's ready sooner. If you're using a dark or nonstick pan, you'll want to reduce the temperature by 25 degrees to prevent over-browning.
Don't forget to position your oven rack in the center, as this placement promotes even heat distribution throughout your cupcakes.
Step 2. Mix Ingredients Until Combined
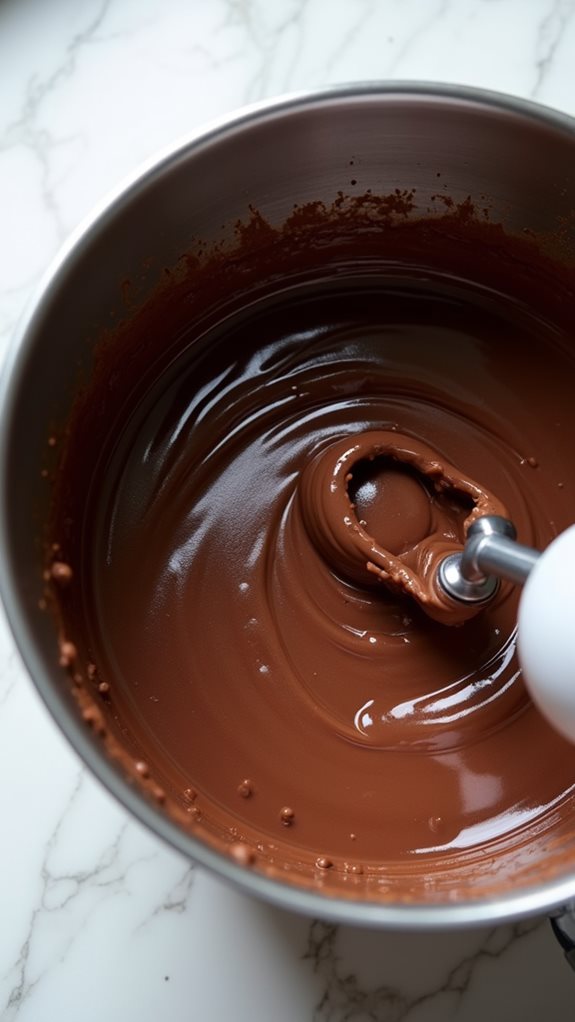
Starting with your cake mix base, combine it in a large mixing bowl with the three eggs and vegetable oil, ensuring you're following the specific quantities listed in your recipe rather than those on the box.
Using an electric mixer set to medium speed, beat the ingredients for about two minutes until you've achieved a smooth, well-blended batter without any dry spots or lumps.
You'll want to scrape down the sides of the bowl with a rubber spatula as you mix to incorporate all ingredients thoroughly. The final batter should have a silky consistency and be easily pourable.
If you notice any stubborn clumps of dry mix, continue beating for another 30 seconds, being careful not to overmix, which could lead to dense cupcakes.
Step 3. Pour Batter Into Liners
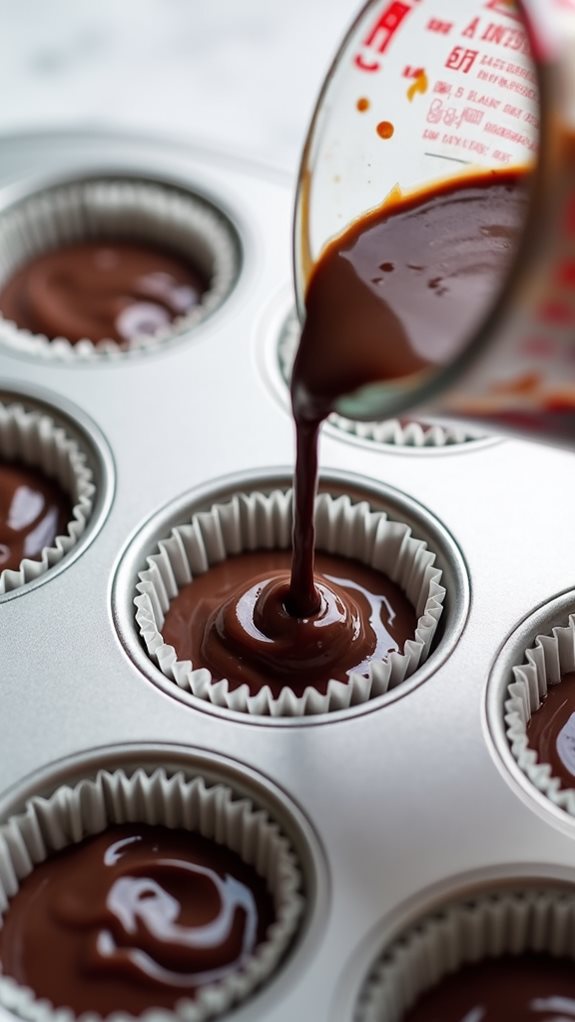
Line standard-size muffin tins with paper cupcake liners, ensuring each cup is properly fitted with a liner that sits flush against the tin's walls.
Using a large spoon or ice cream scoop, fill each liner about two-thirds full with your prepared chocolate cake batter, being careful not to overfill.
You'll want to distribute the batter evenly among all liners to ensure consistent baking and uniform cupcake sizes. If you're using a standard ice cream scoop, one level scoop per liner typically provides the perfect amount.
Gently tap the filled muffin tin against your counter a few times to release any air bubbles trapped in the batter, which will help prevent holes from forming in your finished cupcakes.
Step 4. Bake for Twenty Minutes
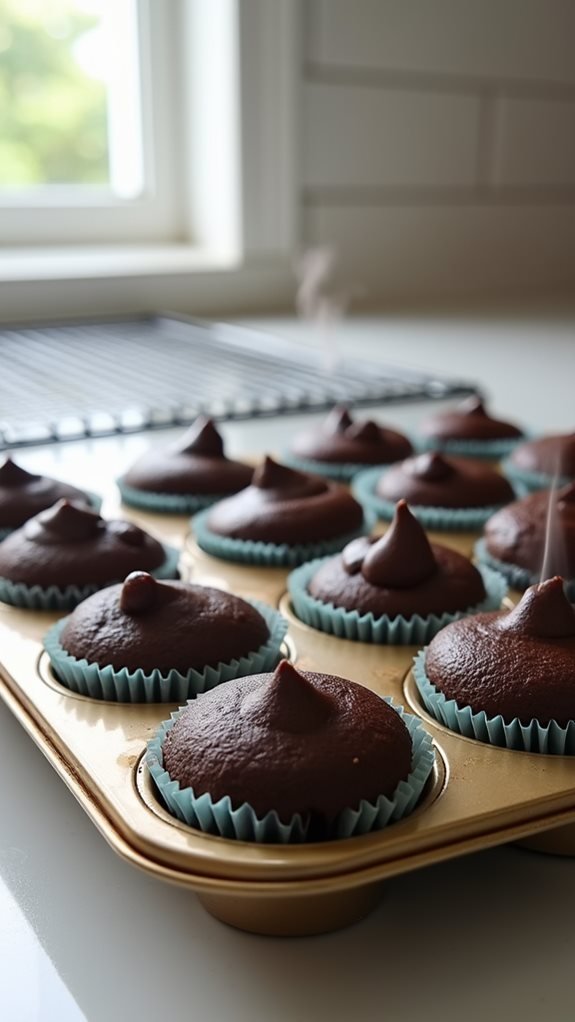
Place your filled muffin tin in a preheated 350°F (175°C) oven, positioning it on the center rack for optimal heat distribution.
Set your timer for 20 minutes, and don't open the oven door during the first 15 minutes of baking, as this can cause uneven rising.
You'll know your cupcakes are done when they spring back lightly when touched and a toothpick inserted into the center comes out clean with just a few moist crumbs.
If you notice any wet batter on the toothpick, continue baking for 2-minute intervals until done.
Once baked, remove the tin from the oven and let the cupcakes cool in the pan for 5 minutes before transferring them to a wire rack.
They'll need to cool completely before you can add the chocolate nest topping.
Step 5. Add Nests And Decorate
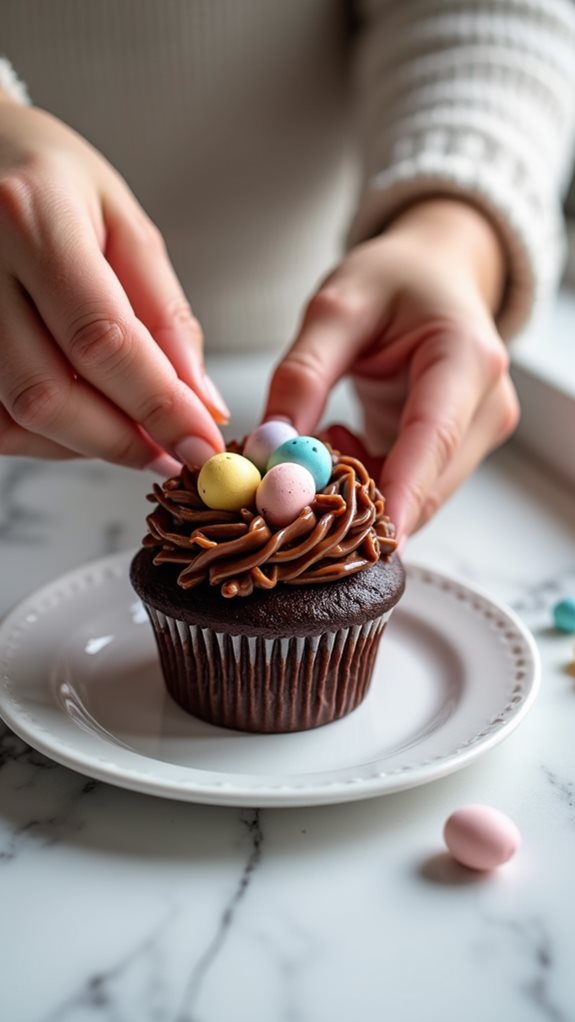
With your cupcakes now cooled completely, you'll move on to creating the decorative chocolate nests that make these treats truly special.
Melt your chocolate chips in the microwave, working in 30-second intervals and stirring between each one until you achieve a smooth consistency.
Mix the crispy chow mein noodles into your melted chocolate, ensuring they're evenly coated.
Using a spoon, carefully place a portion of the chocolate-noodle mixture on top of each cupcake, shaping it into a nest-like formation with a slight depression in the center.
Place 2-3 mini chocolate eggs in each nest, gently pressing them into position.
Transfer your decorated cupcakes to the refrigerator for 15 minutes, allowing the chocolate to set firmly before serving.
Final Thoughts
These charming chocolate nest cupcakes offer a perfect blend of whimsy and sophistication that's guaranteed to impress at any spring gathering or Easter celebration.
You'll find they're not only visually stunning but also surprisingly simple to create, making them an ideal project for bakers of all skill levels.
Don't be afraid to experiment with different types of chocolate or decorative elements to make these cupcakes your own.
While dark chocolate provides a rich, sophisticated flavor, milk chocolate might appeal more to younger guests.
Remember that proper storage is key to maintaining their freshness and appearance.
If you're planning to make these ahead of time, they'll keep beautifully in an airtight container, ready to delight your guests whenever you need them.