You might be surprised to learn that chocolate-dipped strawberries weren't created in a French patisserie but rather by a Chicago candy shop owner named Lorraine Lorusso in 1960. While you've probably enjoyed this elegant dessert at weddings or romantic dinners, you won't find its earliest versions adorned with the intricate drizzles and toppings we see today. The simple combination of fresh berries and pure chocolate has evolved into an art form that's both accessible and sophisticated. If you're ready to master this timeless treat, there's more to the technique than meets the eye.
Key Takeaways
- Fresh strawberries must be completely dry before dipping to prevent chocolate from seizing and ensure proper coating adhesion.
- Melt chocolate slowly in 30-second intervals at 50% microwave power, stirring between each interval until smooth.
- Dip strawberries at a slight angle while holding leaves, then let excess chocolate drip off naturally.
- Refrigerate dipped strawberries for 15-20 minutes at 35-40°F until chocolate appears matte and feels firm.
- Consume within 24 hours for best quality, allowing strawberries to reach room temperature 15 minutes before serving.
History
Throughout history, chocolate-dipped strawberries have captivated dessert lovers since their creation in the 1960s. You'll find their origins traced back to Lorraine Lorusso, who first introduced them while working at Stop & Shop in Chicago. She pioneered the idea of combining fresh strawberries with melted chocolate, creating an instant sensation that would soon become a romantic dessert staple.
During the 1970s and 1980s, you'd notice chocolate-dipped strawberries gaining prominence in upscale restaurants and special occasions. They've particularly become synonymous with Valentine's Day celebrations, where they're often paired with champagne.
The trend expanded globally, with variations emerging across different cultures – some adding nuts, others incorporating white chocolate drizzles, and many experimenting with different chocolate varieties.
You'll see their popularity hasn't waned since their inception, as they've maintained their status as a luxury treat despite their simple preparation.
Today, you can find them everywhere from high-end chocolatiers to local grocery stores, and they've inspired countless variations in modern dessert making, including chocolate-dipped fruit bouquets and gourmet gift arrangements.
Recipe
Chocolate-Dipped Strawberries
Fresh strawberries dipped in rich chocolate create an elegant dessert that's surprisingly simple to prepare at home. The combination of juicy fruit and smooth chocolate coating offers a perfect balance of flavors and textures that's ideal for special occasions or as a luxurious treat.
This classic recipe requires minimal ingredients but demands attention to detail, particularly in the preparation of both the strawberries and chocolate. The key to success lies in properly tempering the chocolate and ensuring the strawberries are completely dry before dipping, resulting in a professional-looking finish with a satisfying snap to the chocolate coating.
- Fresh strawberries (1 pound / 450g)
- Semi-sweet chocolate chips (1 cup / 170g)
- White chocolate chips (1/4 cup / 43g)
- Coconut oil (1 tablespoon / 15ml)
- Sea salt (1/4 teaspoon / 1g)
Begin by washing strawberries and drying them thoroughly with paper towels. Line a baking sheet with parchment paper. Combine chocolate chips and coconut oil in a microwave-safe bowl, heating in 30-second intervals while stirring between each until completely melted and smooth.
Hold each strawberry by its leaves and dip into the melted chocolate, gently shaking off excess. Place dipped strawberries on the prepared baking sheet. If desired, melt white chocolate separately and drizzle over the dipped strawberries. Sprinkle with sea salt if using, then refrigerate for 15-20 minutes until set.
For optimal results, bring strawberries to room temperature before dipping, as cold fruit can cause chocolate to seize and become grainy. The addition of coconut oil helps achieve a smoother consistency and creates a thinner chocolate shell that's easier to bite into.
Store finished strawberries in the refrigerator, but serve at room temperature for the best taste and texture. While they can last up to 48 hours when refrigerated, they're best enjoyed within 24 hours of preparation for peak freshness and appearance.
Cooking Steps
To create perfect chocolate-dipped strawberries, you'll need to start by melting your chocolate slowly in 30-second microwave intervals while stirring between each round to achieve a smooth consistency.
Once you've thoroughly dried your strawberries, dip each one into the melted chocolate mixture, letting excess chocolate drip off before placing them on a parchment-lined baking sheet where you can quickly add any optional toppings like sea salt or white chocolate drizzle.
After you've dipped and decorated all your strawberries, place them in the refrigerator for 15-20 minutes until the chocolate coating has completely hardened.
Step 1. Melt Chocolate Slowly
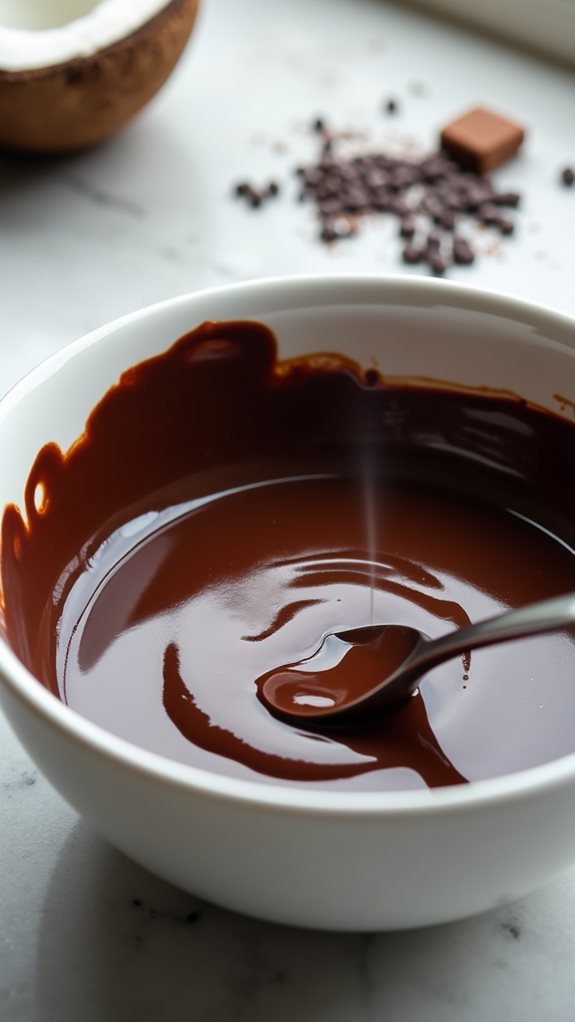
Successfully melting chocolate requires patience and careful attention to prevent scorching or seizing. You'll need to break down the process into controlled steps, starting with chopping your chocolate into uniform pieces if you're not using chips.
Place the chocolate and coconut oil in a microwave-safe bowl, ensuring it's completely dry, as any water droplets can cause the chocolate to seize.
Set your microwave to 50% power and heat the chocolate in 30-second intervals. You'll need to stop and stir thoroughly between each interval, making sure to scrape the sides of the bowl.
Don't rush this process – even when the chocolate appears mostly melted, you might find a few stubborn pieces that haven't quite softened. Continue heating in shorter 15-second bursts if needed, as overheating can quickly turn your smooth chocolate into a grainy mess.
The final temperature shouldn't exceed 90°F (32°C) for dark chocolate or 85°F (29°C) for milk or white chocolate. You'll know your chocolate is perfectly melted when it's glossy and streams smoothly off your spoon without any lumps or thickness.
Step 2. Dry Strawberries Completely
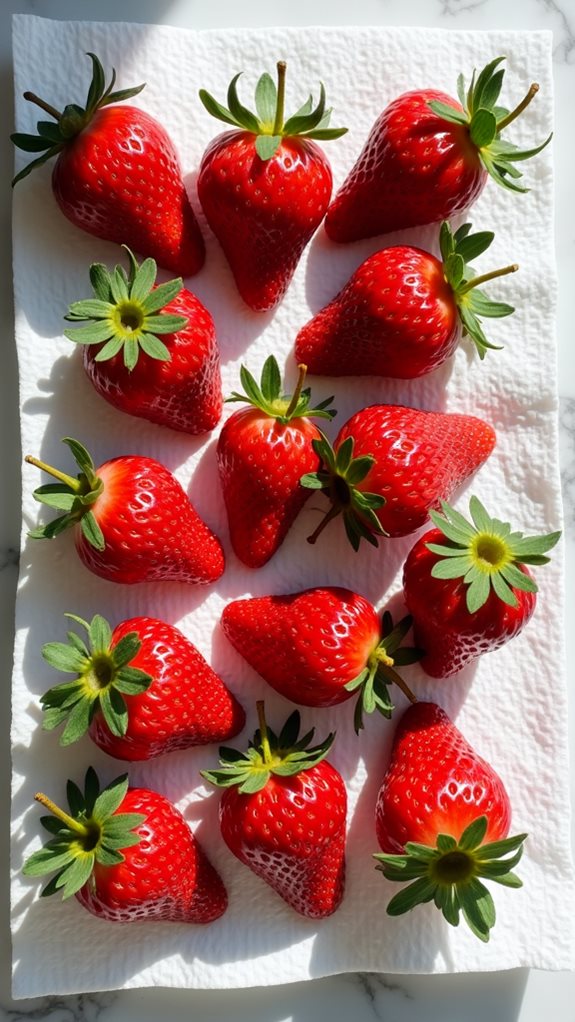
With your chocolate melted to perfection, proper strawberry preparation becomes your next priority. You'll need to ensure your strawberries are completely dry before dipping them, as even the smallest drops of water can cause your chocolate to seize and become grainy.
Begin by gently washing your strawberries under cool running water to remove any dirt or debris.
Once you've washed them, lay your strawberries on several layers of paper towels and pat them thoroughly dry, paying special attention to the areas around the leaves and any crevices.
You'll want to let them air dry for an additional 30 minutes to ensure any remaining moisture evaporates. If you're working in a humid environment, you might consider using a small fan to speed up the drying process.
Before dipping, inspect each strawberry carefully, running your fingers over the surface to check for any remaining dampness. If you find wet spots, use a fresh paper towel to dab them dry.
Step 3. Dip Strawberries Into Chocolate

Once your strawberries are completely dry, grasping them by their leaves becomes your gateway to chocolate-dipping success. Hold each berry firmly while dipping it into the melted chocolate mixture at a slight angle, ensuring complete coverage up to the stem.
You'll want to gently rotate the strawberry as you lift it from the chocolate, allowing excess coating to drip back into the bowl. As you work with each strawberry, maintain a steady hand and avoid tapping the fruit against the bowl's edge, which can create uneven chocolate coverage.
Instead, let gravity naturally remove the excess chocolate while giving the strawberry a gentle twist. When the dripping slows to nearly a stop, carefully transfer your chocolate-coated creation to the parchment-lined baking sheet.
If you're adding any toppings like sea salt or nuts, sprinkle them on immediately while the chocolate's still wet. Don't worry if your first few attempts aren't perfect – you'll develop a rhythm as you continue.
Remember to work efficiently but not hastily, as the temperature of your melted chocolate will affect its consistency throughout the dipping process.
Step 4. Add Optional Toppings Quickly

The art of adding toppings to chocolate-dipped strawberries requires quick action before the chocolate sets. Once you've dipped your strawberries in melted chocolate, you'll need to work efficiently to apply your chosen toppings while the coating is still wet and receptive to additional ingredients.
Start by preparing all your toppings in advance, arranging them in small bowls within easy reach of your workspace. You can choose from classic options like crushed nuts, coconut flakes, or colorful sprinkles, or experiment with more sophisticated additions such as sea salt, crushed freeze-dried fruit, or finely chopped toffee pieces.
As you place each chocolate-coated strawberry on the parchment-lined baking sheet, immediately sprinkle your chosen topping over the wet chocolate, ensuring even coverage. If you're planning to add multiple toppings, section your baking sheet beforehand to keep different variations organized.
For a professional touch, you can drizzle melted white chocolate over the strawberries using a piping bag or fork, creating elegant patterns that will set beautifully. Remember that you don't need to cover the entire strawberry with toppings – sometimes a light dusting creates the most appealing presentation.
Step 5. Refrigerate Until Chocolate Hardens

After adding your chosen toppings, properly setting the chocolate requires careful attention to temperature and timing.
You'll need to place your dipped strawberries in the refrigerator for 15-20 minutes, ensuring they're arranged on the parchment-lined baking sheet with enough space between each piece to prevent sticking.
While refrigerating, maintain a consistent temperature between 35-40°F (2-4°C) for optimal results.
You'll know the chocolate has properly set when it appears completely matte and feels firm to a gentle touch.
Don't leave the strawberries in the refrigerator for longer than necessary, as extended cold storage can cause condensation to form on the chocolate's surface when returned to room temperature.
If you've added white chocolate drizzle or other decorative elements, you'll want to ensure these have also completely hardened before handling or serving.
Once the chocolate has fully set, you can transfer your strawberries to a serving plate.
Remember to serve them at room temperature for the best taste and texture, removing them from the refrigerator about 15 minutes before enjoying.
They'll maintain their best quality within 24 hours of preparation.
Final Thoughts
Making chocolate-dipped strawberries provides three key rewards: they're significantly cheaper than store-bought versions, you'll impress friends and family with minimal effort, and you can customize them to your exact taste preferences.
Once you've mastered the basic technique, you'll discover endless possibilities for creative variations. You can experiment with different chocolate types, from dark to milk to white, or try adding crushed nuts, coconut flakes, or colorful sprinkles.
Don't hesitate to mix chocolates or create elegant drizzle patterns that'll make your strawberries look professionally made.
Remember that practice makes perfect, and even if your first batch isn't Instagram-worthy, they'll still taste delicious. The key to success lies in using quality ingredients and following the crucial steps: ensuring completely dry strawberries, properly tempered chocolate, and correct storage.
You'll find that this simple dessert becomes a go-to option for special occasions, dinner parties, or whenever you're craving something both elegant and indulgent. With these techniques in your culinary repertoire, you're well-equipped to create these beloved treats whenever the mood strikes.