You've probably encountered Chocolate Butterscotch Haystacks at potlucks or holiday gatherings, but have you ever considered their origins? These no-bake treats have been a staple of American kitchens for decades, combining the irresistible flavors of chocolate and butterscotch with the surprising crunch of chow mein noodles. While they may seem like a simple confection, there's more to these sweet stacks than meets the eye. From their mid-century roots to their modern-day variations, these haystacks have a story to tell – and it might just change the way you think about this beloved snack.
Key Takeaways
- Chocolate Butterscotch Haystacks are no-bake treats combining melted chocolate and butterscotch chips with crunchy chow mein noodles.
- The recipe originated in the mid-20th century during the rise of convenience foods and quick, easy-to-make desserts.
- Core ingredients include chocolate chips, butterscotch chips, chow mein noodles, and optional nuts or vanilla extract.
- Preparation involves melting chips, folding in noodles, adding optional ingredients, spooning onto wax paper, and allowing to set.
- The recipe is highly customizable, allowing for additions like dried fruits, sprinkles, or coconut to suit personal tastes.
History
Chocolate Butterscotch Haystacks' origins are somewhat murky, but they likely emerged in the mid-20th century as part of the no-bake dessert trend.
You'll find that these treats gained popularity during a time when convenience foods were on the rise. As homemakers sought quick and easy recipes, no-bake desserts became a staple in many households.
The combination of chocolate and butterscotch wasn't new, but adding chow mein noodles for texture was an innovative twist. This unique ingredient choice may have been influenced by the growing interest in Asian cuisine in America during the 1950s and 60s.
You'll notice that the recipe's simplicity aligns with the era's focus on time-saving kitchen techniques.
As the recipe spread through community cookbooks and word of mouth, variations began to appear. Some cooks added peanut butter, while others experimented with different types of noodles or cereals.
Today, you'll find countless adaptations of the original recipe, but the core concept remains the same: a delicious, easy-to-make treat that doesn't require an oven.
Recipe
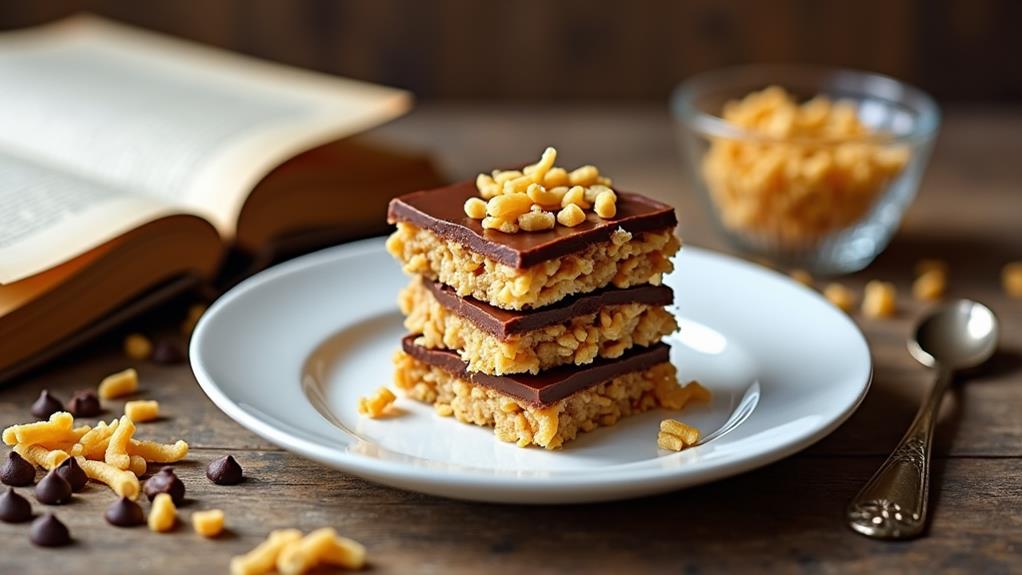
Chocolate Butterscotch Haystacks are a delightful no-bake treat that combines the rich flavors of chocolate and butterscotch with the crunchiness of chow mein noodles. This easy-to-make dessert is perfect for parties, gatherings, or just a sweet indulgence on a quiet afternoon.
With only five simple ingredients, this recipe is both quick and accessible for even the most novice of cooks. The best part? These haystacks are highly customizable to suit your tastes and dietary preferences, allowing you to experiment with different types of chips, nuts, or even dried fruits.
- 1 cup (170g) chocolate chips
- 1 cup (170g) butterscotch chips
- 2 cups (120g) chow mein noodles
- ½ cup (50g) chopped nuts (optional)
- 1 teaspoon (5ml) vanilla extract (optional)
In a medium saucepan over low heat, melt together the chocolate chips and butterscotch chips, stirring frequently until smooth and combined. Remove the mixture from heat and gently fold in the chow mein noodles, ensuring they're evenly coated.
If using, incorporate the chopped nuts and vanilla extract. Using a tablespoon, scoop the mixture onto a baking sheet lined with wax paper, forming small haystack shapes. Allow them to cool at room temperature or refrigerate until fully set.
For best results, ensure the melted chocolate mixture doesn't overheat; this can cause the chocolate to seize or become grainy. Feel free to experiment with different types of chips—white chocolate or peanut butter chips work wonderfully too.
If you're looking to make them healthier, consider adding in dried fruit or seeds. Store any leftovers in an airtight container at room temperature or in the fridge for longer freshness.
Cooking Steps
You'll begin by melting the chocolate and butterscotch chips over low heat, stirring frequently to achieve a smooth consistency.
Once melted, you'll gently fold in the chow mein noodles, ensuring they're evenly coated with the chocolate mixture.
Step 1. Melt Chips Over Low Heat
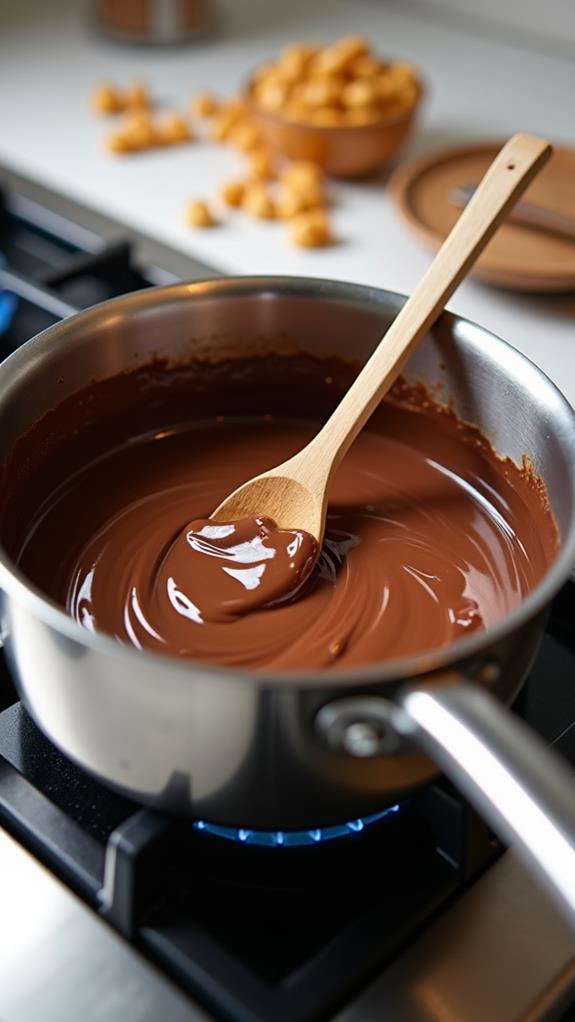
To begin the cooking process, you'll need to melt the chocolate and butterscotch chips together. Start by selecting a medium-sized saucepan that will comfortably hold both types of chips. Place the saucepan on your stovetop and set the heat to low. It's crucial to use low heat to prevent the chocolate from burning or seizing.
Pour the chocolate and butterscotch chips into the saucepan, ensuring they're evenly distributed. As the chips begin to melt, you'll need to stir them frequently. Use a heat-resistant spatula or wooden spoon to gently fold the chips, combining them as they soften.
Continue this process until you achieve a smooth, uniform mixture with no visible lumps. Be patient during this step, as rushing can lead to uneven melting or scorched chocolate.
If you notice the mixture becoming too thick or difficult to stir, you can remove the saucepan from heat briefly to prevent overheating. Once your chocolate-butterscotch blend is completely melted and silky smooth, you're ready to proceed to the next step in creating your delicious haystacks.
Step 2. Fold in Chow Mein Noodles
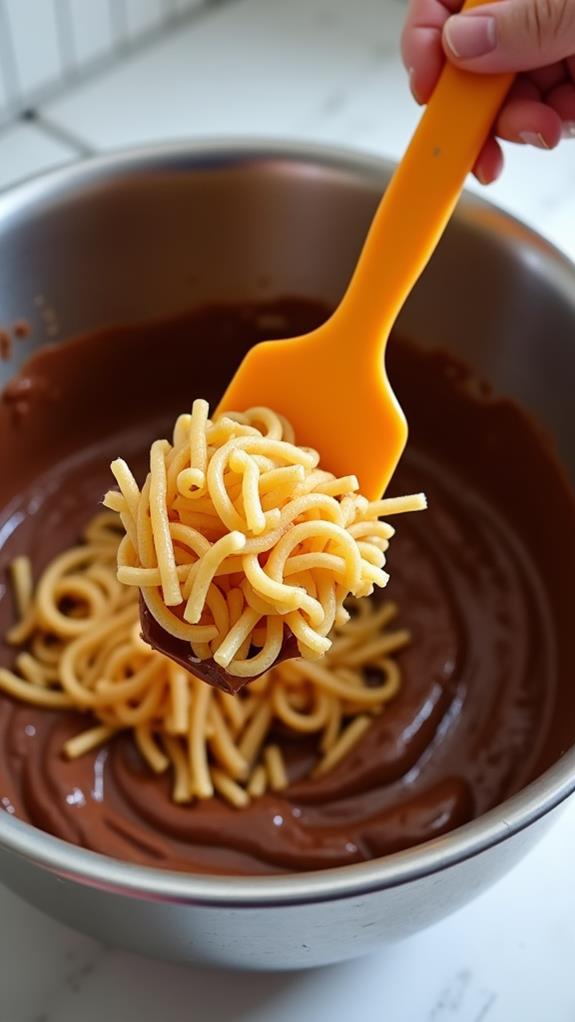
After melting the chocolate and butterscotch chips, it's time to incorporate the star ingredient – chow mein noodles. Remove the saucepan from the heat and let it cool for a minute. This brief cooling period will prevent the noodles from becoming soggy.
Gently fold the chow mein noodles into the melted mixture using a rubber spatula or wooden spoon. Be sure to coat every noodle evenly with the chocolate-butterscotch blend, ensuring a consistent flavor throughout your haystacks.
As you fold, take care not to crush the noodles. Their crunchiness is essential for the signature texture of this treat.
If you're adding optional ingredients like chopped nuts or vanilla extract, now's the time to mix them in. Continue folding until all components are well combined, creating a cohesive mixture that will hold its shape when cooled.
The result should be a glossy, chocolate-covered tangle of noodles that resembles miniature haystacks. Once you're satisfied with the consistency, you're ready to move on to the next step: shaping your haystacks on a prepared baking sheet.
Step 3. Add Optional Ingredients
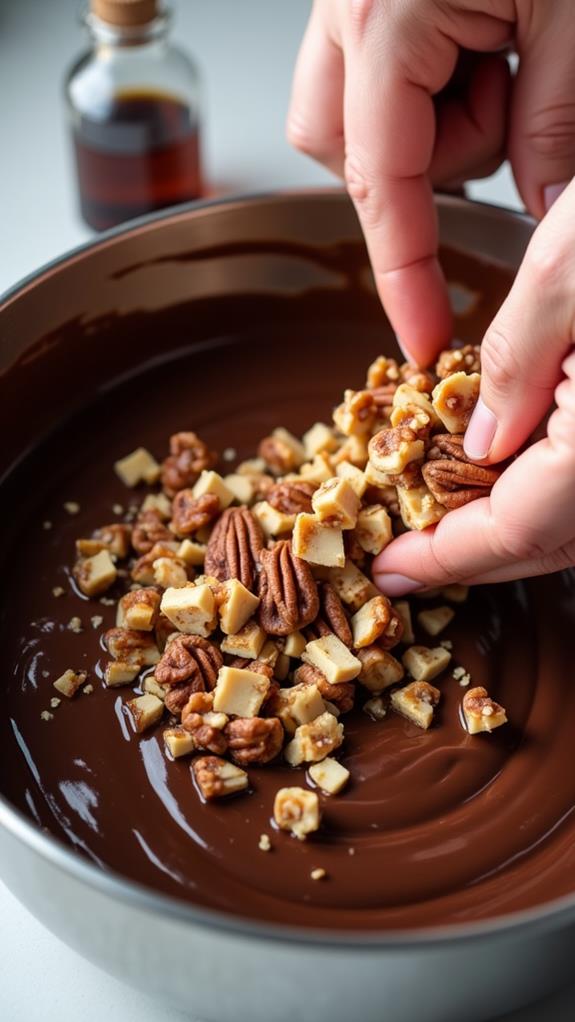
Now that your chow mein noodles are coated in the chocolate-butterscotch mixture, it's time to personalize your haystacks. If you're looking to add some extra flavor and texture, consider incorporating optional ingredients.
Chopped nuts are a popular choice, providing a delightful crunch and nutty taste. You can use almonds, pecans, or walnuts, depending on your preference. For a subtle flavor enhancement, add a teaspoon of vanilla extract to the mixture. This will give your haystacks a richer, more complex taste profile.
If you're feeling adventurous, you can experiment with other add-ins. Dried fruits like cranberries or raisins can add a chewy texture and a hint of tartness. For a salty-sweet combination, try adding a handful of pretzel pieces or potato chips.
Remember to fold these ingredients gently into the mixture to avoid breaking the chow mein noodles. As you add each optional ingredient, taste the mixture to ensure the flavors are balanced. Don't be afraid to adjust the amounts to suit your taste preferences.
Once you're satisfied with your customized haystack mixture, you're ready to move on to the next step.
Step 4. Spoon Onto Wax Paper
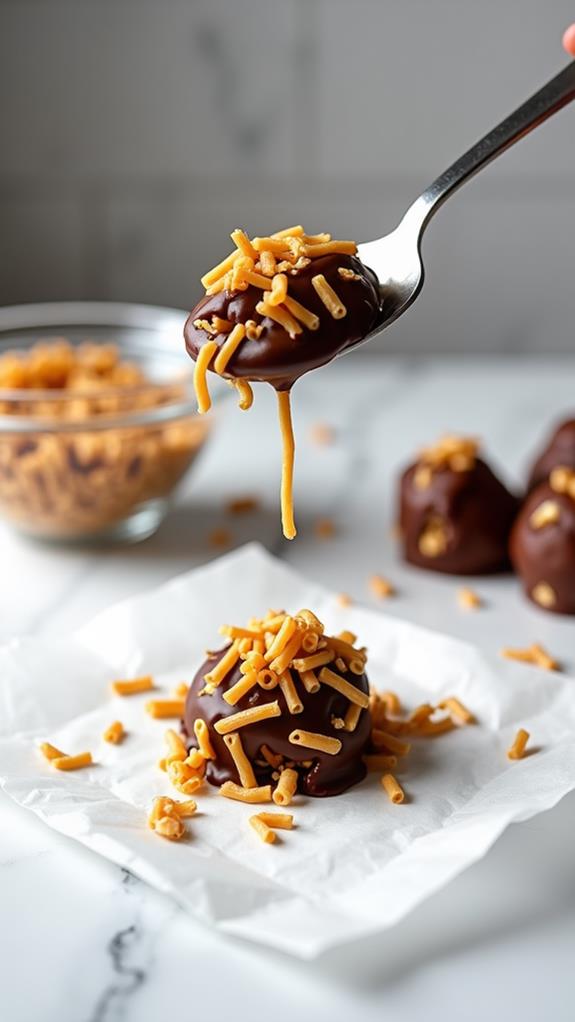
With your customized haystack mixture ready, it's time to shape these delectable treats. Line a baking sheet with wax paper, ensuring you have enough space for all your haystacks. Using a tablespoon or cookie scoop, carefully drop spoonfuls of the mixture onto the prepared surface. Aim for consistent sizing to ensure even cooling and a uniform appearance.
As you work, leave about an inch of space between each haystack to prevent them from sticking together. If you find the mixture becoming too firm, gently reheat it for a few seconds to maintain a workable consistency.
Don't worry about creating perfect shapes; the irregular, nest-like appearance is part of their charm. Once you've spooned out all the mixture, you can use the back of the spoon to gently shape the haystacks if desired. For a finishing touch, you might consider sprinkling a few extra chopped nuts or a pinch of sea salt on top of each haystack before they set.
This step not only enhances their appearance but also adds an extra layer of flavor and texture to your homemade treats.
Step 5. Allow to Set Completely
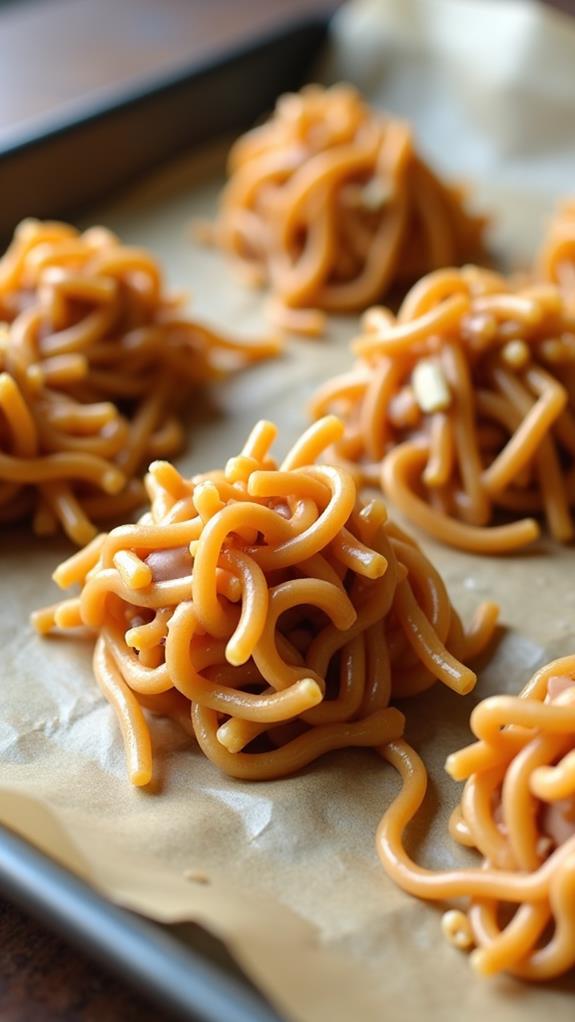
The final step in creating your Chocolate Butterscotch Haystacks is crucial for achieving the perfect texture and stability. After spooning the mixture onto wax paper, you'll need to allow the haystacks to set completely. This process ensures that the chocolate and butterscotch mixture solidifies, binding the chow mein noodles together into a cohesive treat.
You have two options for setting your haystacks. First, you can let them cool at room temperature, which typically takes about 30 to 45 minutes. This method works well if you're not in a rush and prefer a slightly softer texture.
Alternatively, you can speed up the process by placing the baking sheet in the refrigerator. Refrigeration usually takes about 15 to 20 minutes and results in a firmer consistency. Whichever method you choose, it's essential to resist the temptation to move or eat the haystacks before they're fully set.
Patience is key here, as premature handling can cause them to fall apart or lose their shape. Once set, you'll be rewarded with delightfully crunchy, perfectly formed Chocolate Butterscotch Haystacks that are ready to enjoy.
Final Thoughts
As you savor these delightful Chocolate Butterscotch Haystacks, you'll appreciate how such a simple recipe can yield such satisfying results.
The combination of rich chocolate, sweet butterscotch, and crunchy noodles creates a perfect balance of flavors and textures that's hard to resist.
You'll find that these treats aren't only easy to make but also versatile, allowing you to customize them to your liking.