You'll discover that chocolate bark with pretzels isn't just another candy recipe—it's a testament to how simple ingredients can create an extraordinary treat. As you explore this beloved American creation, you'll find that its popularity stems from the perfect marriage of smooth chocolate and crunchy pretzels, delivering that irresistible sweet-and-salty combination that keeps you coming back for more. Whether you're an experienced baker or a novice in the kitchen, this versatile confection offers endless possibilities for customization and has an interesting story behind its rise to becoming a holiday staple.
Key Takeaways
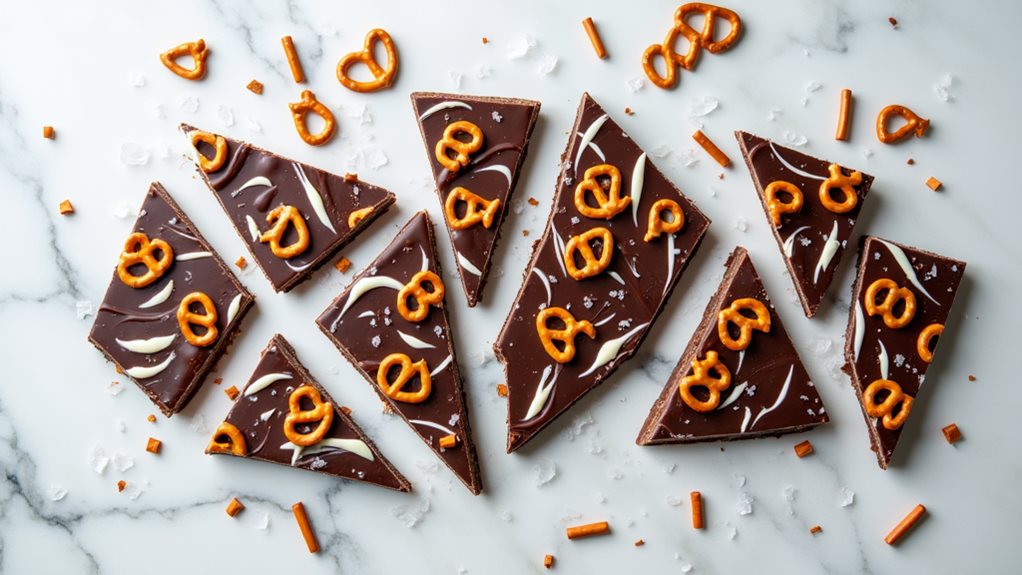
- Chocolate bark with pretzels combines melted dark and white chocolate with mini pretzel twists, creating a sweet-salty dessert treat.
- Melt chocolates separately using a double boiler or microwave, spread dark layer first, then drizzle white chocolate on top.
- Press pretzels gently into warm chocolate and sprinkle with sea salt before refrigerating for one hour until firm.
- Store in an airtight container at room temperature for up to two weeks, or refrigerate in warm climates.
- Perfect for homemade gifts when packaged in cellophane bags or decorative tins lined with parchment paper.
History
Nearly every culture has its own version of chocolate bark, though the combination with pretzels emerged in American kitchens during the mid-20th century.
You'll find that this sweet-and-salty innovation gained popularity alongside the rise of home baking and candy-making, as American households embraced more creative dessert combinations after World War II.
Before pretzels became a popular addition, chocolate bark traditionally featured nuts, dried fruits, or simple spices.
The introduction of pretzels as a topping coincided with the commercial success of mass-produced pretzels in the United States, where Pennsylvania Dutch pretzel makers had established a thriving industry.
You'll notice that the marriage of chocolate and pretzels wasn't just a random pairing – it was part of a broader trend toward combining contrasting flavors and textures in confectionery.
During the 1960s and 1970s, chocolate bark with pretzels became a staple at holiday gatherings and bake sales.
The recipe's simplicity and adaptability made it particularly appealing to home cooks, while its attractive appearance and crowd-pleasing taste ensured its place in American dessert tradition.
Recipe
Sweet and Salty Chocolate Bark with Pretzels
The combination of smooth melted chocolate and crunchy pretzels creates an irresistible treat that's both sophisticated and simple. This chocolate bark strikes the perfect balance between sweet and salty flavors, making it an ideal homemade gift or party dessert.
This versatile recipe requires minimal effort but delivers impressive results. The contrast of dark and white chocolate creates a marbled effect that's visually striking, while the scattered pretzels add both texture and a satisfying salty crunch that complements the rich chocolate base.
- 2 cups (340g) dark chocolate chips
- 1 cup (170g) white chocolate chips
- 2 cups (120g) mini pretzel twists
- 1/4 teaspoon (1g) sea salt
- 1 tablespoon (15ml) vegetable oil
Line a baking sheet with parchment paper. Combine dark chocolate with 2 teaspoons vegetable oil in a double boiler or microwave-safe bowl, stirring frequently until completely melted and smooth. Spread the melted chocolate on the prepared sheet in a rectangular shape approximately 1/4 inch thick.
Melt white chocolate with remaining oil and drizzle over dark chocolate. Working quickly, arrange pretzels over the chocolate surface, pressing gently to secure them. Sprinkle sea salt evenly across the top. Refrigerate for 1 hour or until fully set, then break into irregular pieces.
For optimal results, maintain chocolate temperature between 88-90°F (31-32°C) for dark chocolate and 84-86°F (29-30°C) for white chocolate during melting. Avoid any contact with water, as this will cause the chocolate to seize.
Store finished bark in an airtight container at room temperature for up to two weeks, or refrigerate in warm climates. Allow refrigerated bark to come to room temperature before serving for best flavor and texture.
Cooking Steps
Begin by carefully lining your baking sheet with parchment paper and melting both dark and white chocolate separately in a double boiler or microwave, ensuring you stir frequently to achieve smooth, glossy results.
Pour the dark chocolate first, creating an even layer, then artfully drizzle the melted white chocolate on top before arranging your pretzels in a pleasing pattern.
Finally, you'll sprinkle sea salt across the surface and refrigerate your creation for an hour until it's perfectly set and ready to break into pieces.
Step 1. Line Baking Sheet Carefully
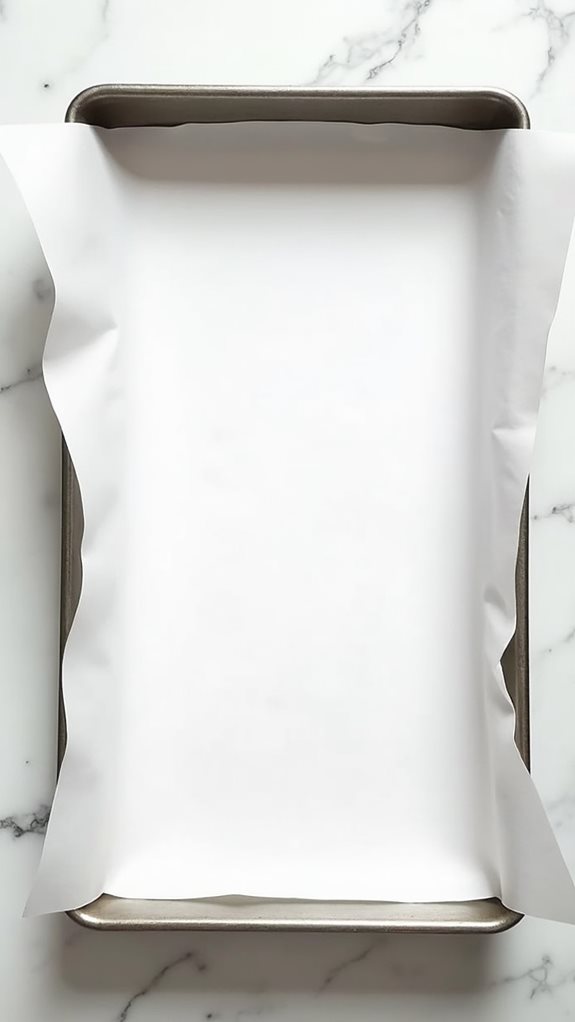
Properly lining your baking sheet sets the foundation for successful chocolate bark. You'll need a clean, rimmed baking sheet and a piece of parchment paper that's slightly larger than your pan. Ensure you're working with a flat surface, as any wrinkles or creases in the paper will show up in your finished bark.
Position the parchment paper so it extends about an inch over the edges of your baking sheet, which will make removal easier later. If the paper won't lay flat, create small tears along the corners where it meets the pan's edges.
Don't use wax paper as a substitute, as it can melt and stick to your chocolate. If you're working in a humid environment, wipe down your baking sheet with a clean, dry cloth before laying the parchment paper to prevent moisture from affecting the chocolate's setting process.
For extra security, you can lightly grease the baking sheet before placing the parchment paper, which helps it stay in place while you're spreading the melted chocolate. This step isn't strictly necessary but can make the process smoother, especially if you're new to making bark.
Step 2. Melt Chocolate Carefully
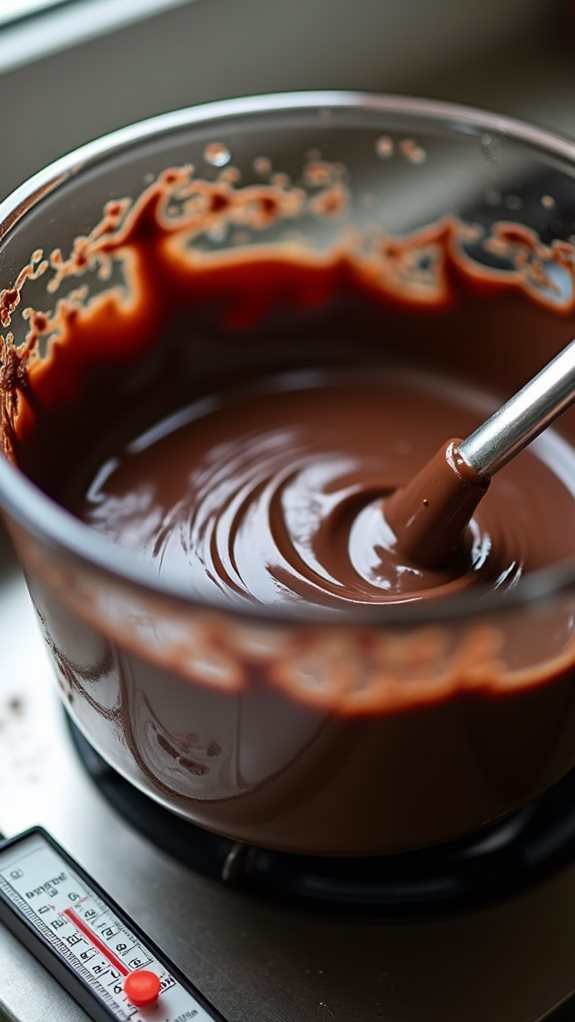
With your baking sheet prepared, the next step focuses on melting the chocolate correctly. You'll need to melt both dark and white chocolate separately, starting with the dark chocolate chips combined with two teaspoons of vegetable oil.
Choose either a double boiler method or microwave approach, but remember that careful attention prevents burning.
If you're using a double boiler, fill the bottom pan with about an inch of water and place your chocolate in the top pan. Heat the water until it's simmering, not boiling, and stir the chocolate consistently until it's smooth.
For the microwave method, place your chocolate and oil in a microwave-safe bowl, then heat at 50% power in 30-second intervals, stirring between each round. You'll notice the chocolate becoming glossy and fluid as it melts.
Once your dark chocolate reaches a smooth consistency, immediately pour it onto your lined baking sheet and spread it evenly to about 1/4 inch thickness.
Repeat the melting process with your white chocolate and remaining oil, being equally careful to achieve the right consistency for drizzling.
Step 3. Layer Melted White Chocolate
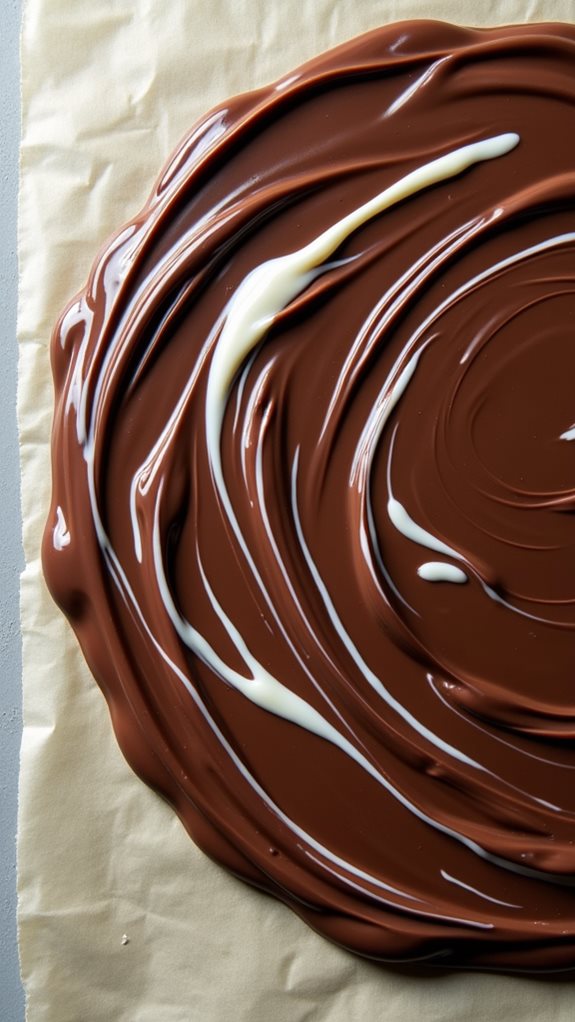
Once your dark chocolate base is spread evenly, drizzle the melted white chocolate in a zigzag pattern across the surface.
You'll want to work quickly while both chocolates are still warm, as this allows them to bond properly and creates an attractive marbled effect. Using a spoon or piping bag, make thin streams of white chocolate across the dark layer, spacing them about an inch apart.
For a more intricate design, you can use the tip of a butter knife or toothpick to draw lines perpendicular to your white chocolate drizzles. This technique creates an elegant feathered pattern that'll make your bark look professionally crafted.
Don't worry if your lines aren't perfect – the rustic appearance adds to the charm of homemade candy. If you notice the white chocolate becoming too thick, reheat it briefly at 50% power in the microwave, stirring every 15 seconds until it reaches the right consistency.
Remember that proper temperature control is crucial; if the white chocolate is too hot, it'll sink into the dark chocolate instead of creating distinct layers. Work methodically but efficiently to achieve the best results before moving on to adding your pretzel layer.
Step 4. Add Pretzel Layer Evenly
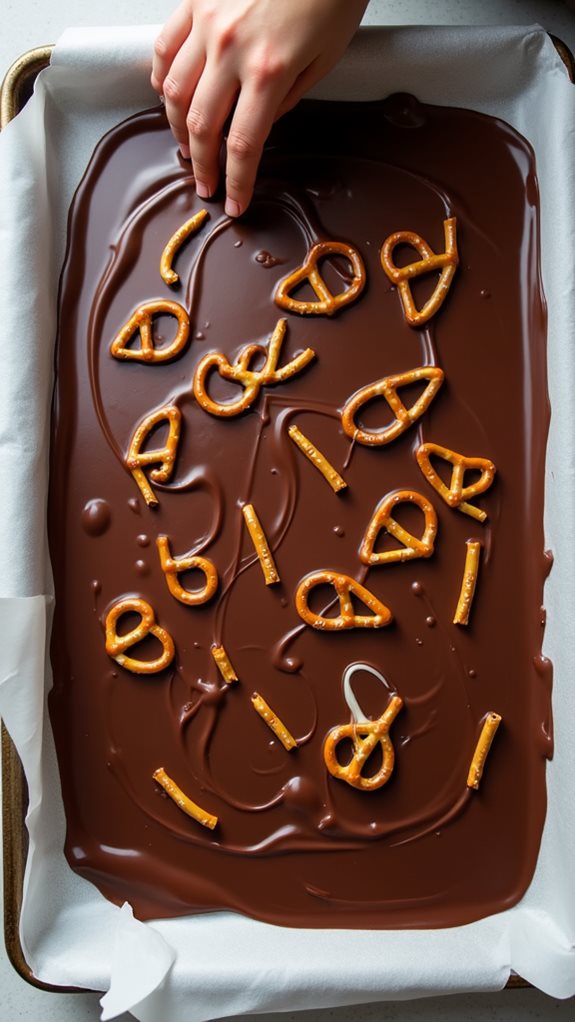
After drizzling your white chocolate, arrange the pretzel twists across the surface while both chocolate layers remain warm and workable.
You'll want to gently press each pretzel into the chocolate, ensuring they're secured but not completely submerged. Work systematically from one corner to the other, creating neat rows that'll give your bark an appealing, professional appearance.
As you position the pretzels, you'll notice the chocolate beginning to set around the edges. Don't worry if you need to adjust a few pieces – the chocolate should still be pliable enough to work with.
Make sure you're distributing the pretzels evenly, leaving small gaps between them to allow for clean breaks when you portion the bark later. If you find some areas have more pretzels than others, now's the time to redistribute them for balanced texture in every bite.
For added stability, press down slightly on each pretzel one final time before the chocolate sets completely. This extra step ensures they won't pop off when you break the bark into pieces.
Step 5. Sprinkle Salt and Chill
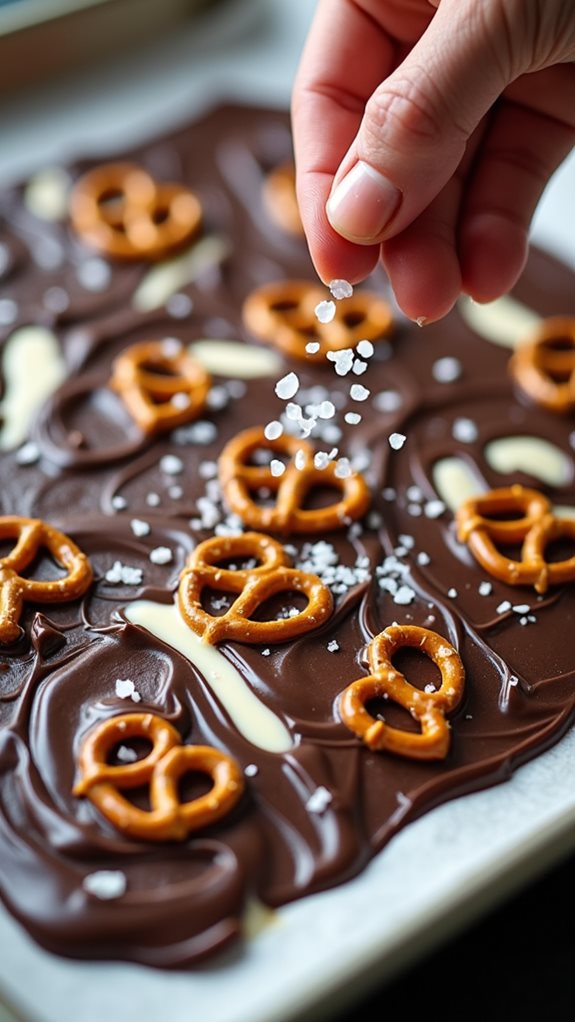
The finishing touch of sea salt goes on right before your chocolate bark heads into the refrigerator. You'll want to sprinkle approximately 1/4 teaspoon of sea salt evenly across the surface, being careful not to oversalt any particular area. The salt crystals should distribute naturally between and around the pretzels, creating a balanced sweet-and-salty flavor profile in every bite.
Once you've added the salt, it's crucial to move your bark to the refrigerator promptly while the chocolate is still wet. Place the entire baking sheet on a flat, level surface in your refrigerator, ensuring it doesn't tilt or rest at an angle that might cause the chocolate to pool unevenly.
You'll need to let it chill for a full hour, during which time the chocolate will set completely and develop the proper texture. Don't be tempted to remove it early – proper cooling ensures your bark will have that satisfying snap when broken.
After an hour, test the chocolate by touching it lightly; it should feel completely firm and cool to the touch, with no soft spots remaining.
Final Thoughts
Simplicity shines through in this classic chocolate bark recipe, proving that you don't need fancy techniques or equipment to create an impressive homemade treat. The combination of dark and white chocolate creates a stunning marbled effect, while the pretzels add both visual appeal and a satisfying crunch that'll keep everyone coming back for more.
You'll find this recipe particularly versatile, as you can easily adapt it to suit different occasions or preferences. Don't hesitate to experiment with milk chocolate instead of dark, or try adding different toppings like crushed candy canes during holidays or toasted nuts for extra texture.
If you're planning to give this as a gift, consider packaging pieces in cellophane bags tied with festive ribbons, or arrange them in decorative tins lined with parchment paper. Remember that proper storage is crucial for maintaining freshness – keep your bark in an airtight container away from heat and humidity.
With its perfect balance of sweet and salty flavors, this chocolate bark recipe is bound to become one of your go-to treats for both casual snacking and special occasions.