You might not think much of spring onions, often relegated to garnishes or quick stir-fries. But when braised and paired with feta and peas, they transform into a dish that's both comforting and sophisticated. This Mediterranean-inspired recipe elevates humble ingredients into a vibrant, flavorful meal that's perfect for the changing seasons. As you consider your next springtime menu, you'll want to explore how these simple elements come together to create a dish that's greater than the sum of its parts. There's more to this recipe than meets the eye, and you're about to discover why it's worth your attention.
Key Takeaways
- This Mediterranean-inspired dish combines tender braised spring onions, sweet peas, and salty feta cheese.
- The recipe involves browning spring onions, simmering them in broth, adding peas, and topping with crumbled feta.
- Key ingredients include spring onions, olive oil, vegetable broth, frozen peas, and feta cheese.
- The dish offers a balance of flavors with sweet onions, creamy feta, and fresh peas, enhanced by black pepper or mint.
- It can be served as a vegetarian main course or as a side dish alongside grilled meats or roasted fish.
History
The dish's origins can be traced to Mediterranean cuisine, where spring onions and feta cheese have long been staples.
You'll find that these ingredients have been used together for centuries, with variations appearing in Greek, Italian, and Middle Eastern cooking. The combination of braised vegetables with cheese is a time-honored tradition in these regions, reflecting the abundance of fresh produce and dairy products.
As you explore the history of this dish, you'll discover that it's evolved over time. Originally, it might've been a simple pairing of wild onions and locally-produced cheese.
With the introduction of cultivated peas in the 16th century, the recipe likely expanded to include this sweet, tender vegetable. The method of braising, which involves cooking ingredients slowly in a small amount of liquid, has been used for generations to bring out the best flavors in vegetables.
Today's version of Braised Spring Onions with Feta and Peas is a modern interpretation of these traditional ingredients and techniques.
It's a testament to the enduring appeal of simple, flavorful combinations that have stood the test of time.
Recipe
Braised Spring Onions with Feta and Peas is a delightful spring dish that combines the sweetness of young onions with the salty tang of feta cheese and the fresh pop of green peas. This simple yet elegant recipe highlights the natural flavors of seasonal produce, making it a perfect side dish for a variety of meals.
With only five ingredients, this recipe is easy to prepare and allows each component to shine. The spring onions are gently braised to bring out their natural sweetness, while the feta adds a creamy texture and savory depth. The peas provide a burst of freshness and color, rounding out this harmonious dish.
- 1 pound (450g) spring onions, trimmed
- 2 tablespoons (30ml) olive oil
- 1/2 cup (120ml) vegetable broth
- 1 cup (150g) frozen peas, thawed
- 1/2 cup (75g) crumbled feta cheese
Heat olive oil in a large skillet over medium heat. Add the trimmed spring onions and cook for 2-3 minutes until lightly browned. Pour in the vegetable broth, reduce heat to low, cover, and simmer for 10-12 minutes until the onions are tender.
Remove the lid, add the thawed peas, and cook for an additional 2-3 minutes until the peas are heated through. Remove from heat and sprinkle crumbled feta cheese over the top. Serve immediately.
For best results, choose young, tender spring onions with bright green tops. If using larger onions, cut them in half lengthwise before cooking.
To add extra flavor, consider seasoning with salt and freshly ground black pepper to taste. For a variation, you can substitute the feta with goat cheese or add a splash of lemon juice for brightness.
This dish is best enjoyed fresh, but leftovers can be gently reheated in a skillet or microwave.
Cooking Steps
You'll begin by trimming and cleaning the spring onions before browning them in olive oil.
Next, you'll add vegetable broth and simmer the onions until tender, then introduce the thawed peas to heat through.
Step 1. Trim and Clean Onions
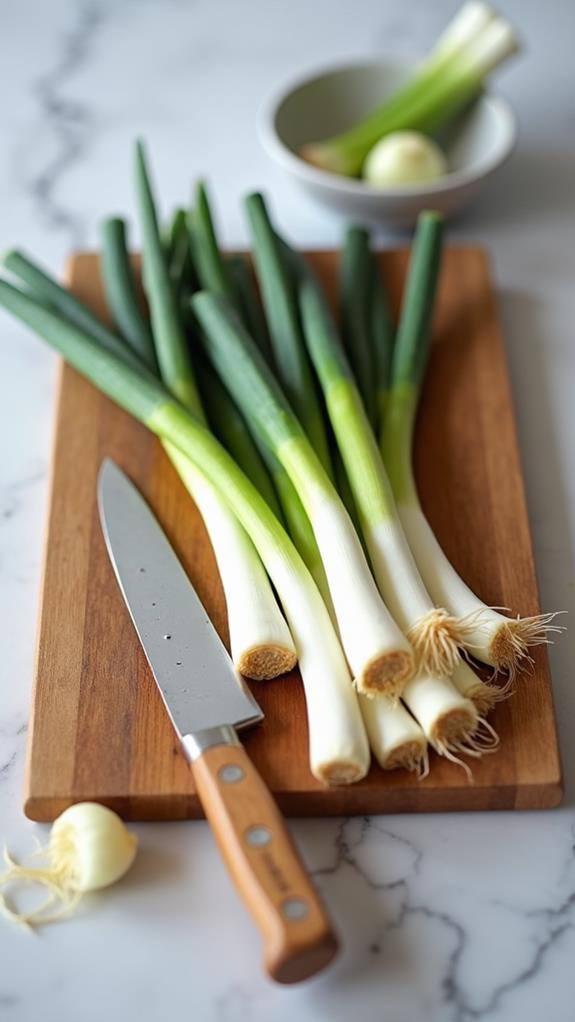
Before diving into the braising process, you'll need to properly prepare your spring onions. Start by rinsing them thoroughly under cool running water to remove any dirt or debris.
Next, trim off the root ends, leaving about an inch of the white part intact. If the green tops are wilted or discolored, remove them as well. For larger spring onions, you may want to cut them in half lengthwise to ensure even cooking.
Once trimmed, pat the onions dry with a clean kitchen towel or paper towels. This step is crucial as excess moisture can interfere with the browning process.
If you're working with particularly large spring onions, consider scoring the base with a shallow X-cut to help them cook more evenly. As you prepare the onions, set them aside on a clean cutting board or plate.
Don't forget to inspect each onion for any blemishes or soft spots, discarding any that appear questionable. By taking the time to properly trim and clean your spring onions, you'll ensure the best flavor and texture in your final dish.
Step 2. Brown Onions in Oil

With your spring onions trimmed and ready, it's time to begin the cooking process. Heat 2 tablespoons of olive oil in a large skillet over medium heat. Once the oil is shimmering, carefully add the spring onions to the pan. Allow them to cook for 2-3 minutes, turning them gently to ensure even browning on all sides.
As the onions cook, you'll notice their color changing from bright green to a golden brown. This browning process, known as the Maillard reaction, creates complex flavors that will enhance the overall taste of your dish.
Be patient and resist the urge to move the onions too frequently, as this can prevent proper caramelization. If your skillet isn't large enough to accommodate all the onions in a single layer, you may need to cook them in batches. This ensures each onion has direct contact with the hot oil, promoting even browning.
Once your onions have developed a light golden color and are slightly softened, you're ready to move on to the next step of braising them in vegetable broth.
Step 3. Add Broth and Simmer

The next step in creating this delicious dish involves adding liquid and gently cooking the onions. Once you've browned the spring onions in oil, it's time to introduce the vegetable broth. Carefully pour half a cup of broth into the skillet, making sure it doesn't splatter. As the liquid hits the hot pan, you'll hear a satisfying sizzle.
Now, reduce the heat to low and cover the skillet with a tight-fitting lid. This will trap the steam and create the perfect environment for braising. Let the onions simmer gently for 10 to 12 minutes, allowing them to become tender and absorb the flavorful broth. During this time, the onions will soften and develop a rich, mellow taste.
Keep an eye on the skillet, checking occasionally to ensure the liquid hasn't completely evaporated. If needed, you can add a splash more broth to prevent the onions from sticking or burning.
As the onions simmer, their natural sugars will caramelize slightly, enhancing their sweetness and creating a delicious base for the rest of the dish.
Step 4. Add Peas and Heat Through
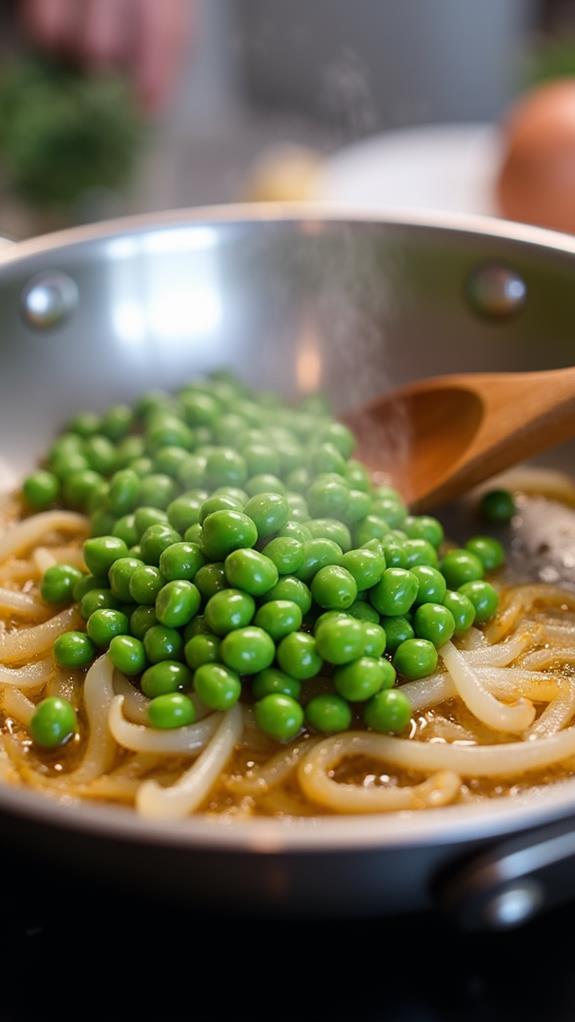
After the spring onions have become tender and absorbed the flavorful broth, it's time to introduce the peas. Remove the lid from your skillet and add the thawed peas to the pan. Gently stir them into the onions, ensuring they're evenly distributed throughout the dish.
You'll want to cook the peas for about 2-3 minutes, just long enough to heat them through without overcooking. This brief cooking time will help preserve their bright green color and fresh, sweet flavor.
As the peas warm up, they'll release a subtle sweetness that complements the caramelized notes of the braised onions. Keep a close eye on the skillet during this stage, as you don't want the liquid to evaporate completely. If needed, you can add a splash more broth to keep everything moist.
Once the peas are heated through and have melded with the onions, you're ready for the final step. Remove the skillet from the heat, as you'll be adding the feta cheese next. This careful timing ensures that all components of the dish come together harmoniously, creating a perfect balance of flavors and textures.
Step 5. Sprinkle Feta and Serve

Now that your peas are heated through, it's time to finish off the dish with a flourish. Remove the skillet from the heat and grab your crumbled feta cheese. Sprinkle the feta evenly over the top of the braised spring onions and peas, allowing the residual heat to slightly soften the cheese without melting it completely. The feta's salty, tangy flavor will complement the sweetness of the onions and the freshness of the peas perfectly.
Once you've added the feta, it's time to serve your creation. Using a large spoon or spatula, carefully transfer the braised spring onions, peas, and feta to individual plates or a serving platter.
Be sure to distribute the ingredients evenly, ensuring each portion gets a good mix of onions, peas, and cheese. If desired, you can garnish the dish with a sprinkle of freshly ground black pepper or a few torn mint leaves for added flavor and visual appeal. Serve the dish immediately while it's still warm, allowing your diners to enjoy the contrast between the tender onions, the pop of the peas, and the creamy feta.
Final Thoughts
Occasionally, simple dishes like Braised Spring Onions with Feta and Peas can surprise you with their depth of flavor and versatility. This recipe showcases the beauty of seasonal ingredients, allowing their natural flavors to shine through.
You'll find that the combination of sweet spring onions, salty feta, and fresh peas creates a harmonious balance that's both satisfying and refreshing.
Don't be afraid to experiment with this dish. You can easily adapt it to suit your tastes or make use of what's in your pantry. Try substituting goat cheese for feta, or add a squeeze of lemon juice for brightness. If you can't find spring onions, young leeks or scallions can work well too.
Remember, the key to this dish's success lies in the quality of your ingredients, so opt for the freshest produce you can find.
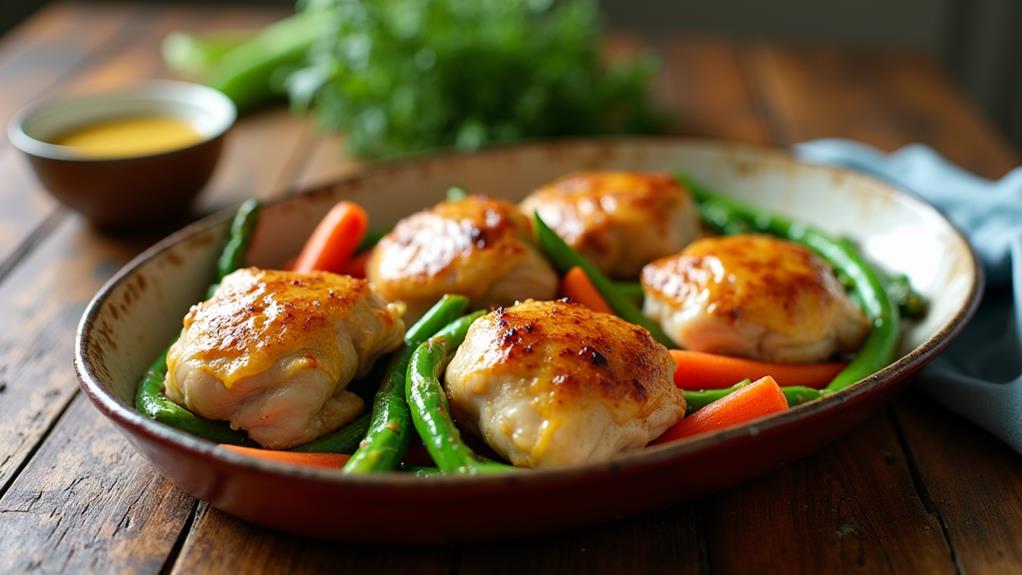
While it's best served immediately, leftovers can be gently reheated. This versatile side dish pairs wonderfully with grilled meats, roasted fish, or even as a light vegetarian main course.
With its simplicity and flavor, it's sure to become a springtime favorite in your culinary repertoire.