Like Romeo and Juliet, braised short ribs and red wine sauce are a match made in culinary heaven. You'll find this dish on menus at upscale restaurants and in home kitchens alike, beloved for its rich flavors and melt-in-your-mouth texture. While it may seem intimidating at first, mastering this classic comfort food is easier than you might think. The key lies in understanding the slow-cooking process and selecting the right ingredients. If you're ready to elevate your dinner game and impress your guests, there's more to discover about this sumptuous dish.
Key Takeaways
- Short ribs are slowly cooked in red wine and beef broth until tender, creating a rich, flavorful sauce.
- Key ingredients include beef short ribs, full-bodied red wine, beef broth, onions, and garlic.
- Brown the ribs before braising to develop a flavorful crust and enhance the depth of the dish.
- Simmer covered for 2.5 to 3 hours until the meat is fork-tender and nearly falling off the bone.
- Serve with reduced sauce over mashed potatoes or polenta, accompanied by roasted vegetables for a complete meal.
History
Braised short ribs' history dates back centuries, with roots in peasant cooking across various cultures. You'll find variations of this hearty dish in European, Asian, and American cuisines, each adapting it to local ingredients and tastes. The technique of braising tough cuts of meat in liquid over low heat was born out of necessity, as poorer communities sought ways to tenderize less desirable cuts.
In medieval Europe, you'd often see similar dishes prepared in large cauldrons over open fires, where tough meats would simmer for hours in wine or ale. The French refined this method, developing dishes like "daube" and "boeuf bourguignon," which share similarities with modern braised short ribs.
As European settlers arrived in America, they brought these cooking traditions with them, adapting them to new ingredients and conditions. The dish gained popularity in American cuisine during the 20th century, particularly in fine dining establishments.
Chefs recognized the potential of transforming an inexpensive cut into a luxurious meal through slow cooking. Today, you'll find braised short ribs on menus worldwide, from homestyle diners to high-end restaurants, testament to its enduring appeal and versatility.
Recipe
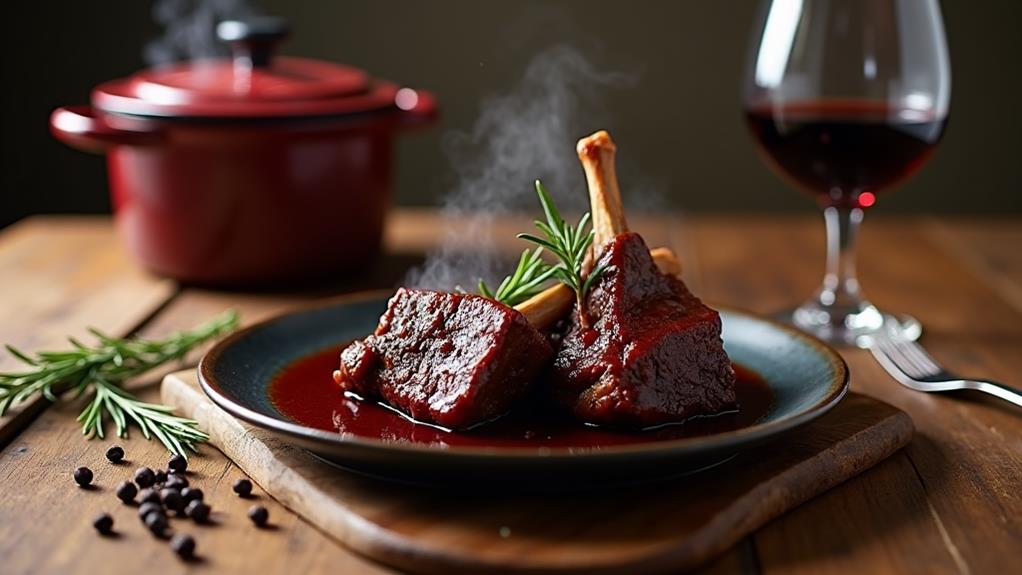
Braised short ribs with red wine sauce is a classic comfort dish that transforms tough beef into tender, flavorful morsels. This hearty meal is perfect for chilly evenings or when you want to impress dinner guests with minimal effort.
By simplifying the recipe to just five key ingredients, we focus on the essential flavors that make this dish shine. The combination of beef short ribs, red wine, beef broth, onions, and garlic creates a rich, complex taste that belies the simplicity of its preparation.
- 3 lbs (1.4 kg) beef short ribs
- 2 cups (480 ml) dry red wine
- 2 cups (480 ml) beef broth
- 1 large onion, chopped
- 4 cloves garlic, minced
- Salt and pepper to taste
Season the short ribs with salt and pepper. In a large Dutch oven, brown the ribs on all sides over medium-high heat. Remove the ribs and set aside. In the same pot, sauté the onions and garlic until softened.
Return the ribs to the pot and add the red wine and beef broth. Bring to a boil, then reduce heat to low, cover, and simmer for 2.5 to 3 hours, or until the meat is tender and falling off the bone. Remove the ribs and simmer the sauce uncovered for an additional 10-15 minutes to reduce and thicken. Serve the ribs with the red wine sauce spooned over the top.
For best results, choose a full-bodied red wine like Cabernet Sauvignon or Merlot, as it will contribute significantly to the flavor of the dish. If possible, prepare this meal a day in advance and reheat before serving, as the flavors will deepen overnight.
Don't rush the cooking process; low and slow is key to achieving tender, succulent meat that practically melts in your mouth.
Cooking Steps
To begin cooking your braised short ribs, you'll need to season the meat generously with salt and pepper before browning it in a Dutch oven.
Once the ribs are browned, set them aside and sauté the onions and garlic in the same pot until softened.
Step 1. Season Ribs With Salt/Pepper
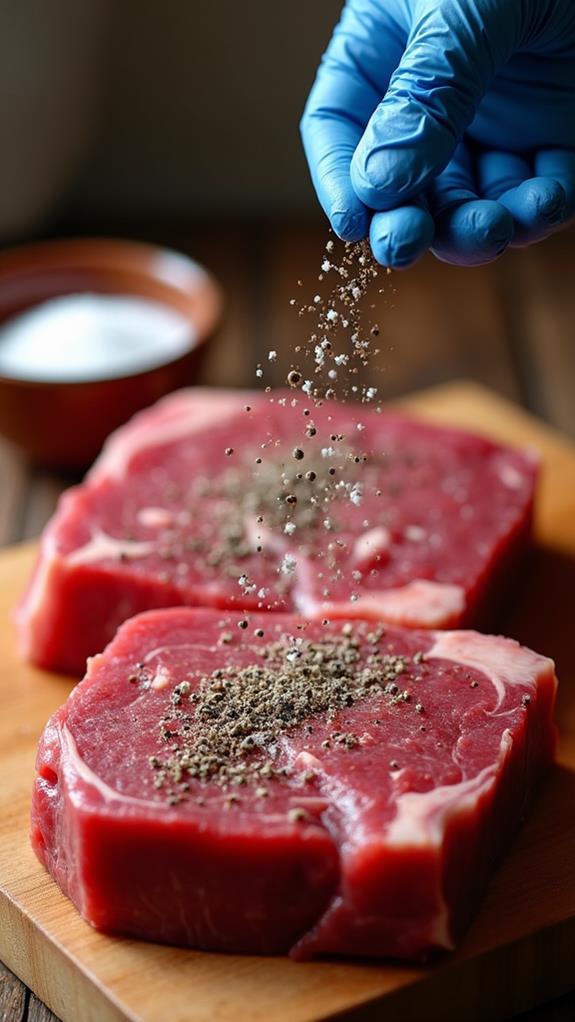
The initial step in preparing these succulent short ribs is seasoning. You'll want to generously coat each rib with salt and freshly ground black pepper. Don't be shy with the seasoning; these are large cuts of meat that can handle a good amount of flavor. Make sure you're covering all sides of the ribs, including the edges.
As you season, you're not just adding taste, you're also helping to create a flavorful crust when you brown the meat. The salt will draw out some moisture from the surface of the ribs, which will help them achieve a better sear. This process, known as dry brining, also helps the seasoning penetrate deeper into the meat.
For best results, season your ribs about 30 minutes before you plan to cook them. This gives the salt time to work its magic. If you're short on time, it's okay to season them right before cooking, but allowing that extra time will enhance the flavor and texture of your finished dish.
Step 2. Brown Ribs in Dutch Oven
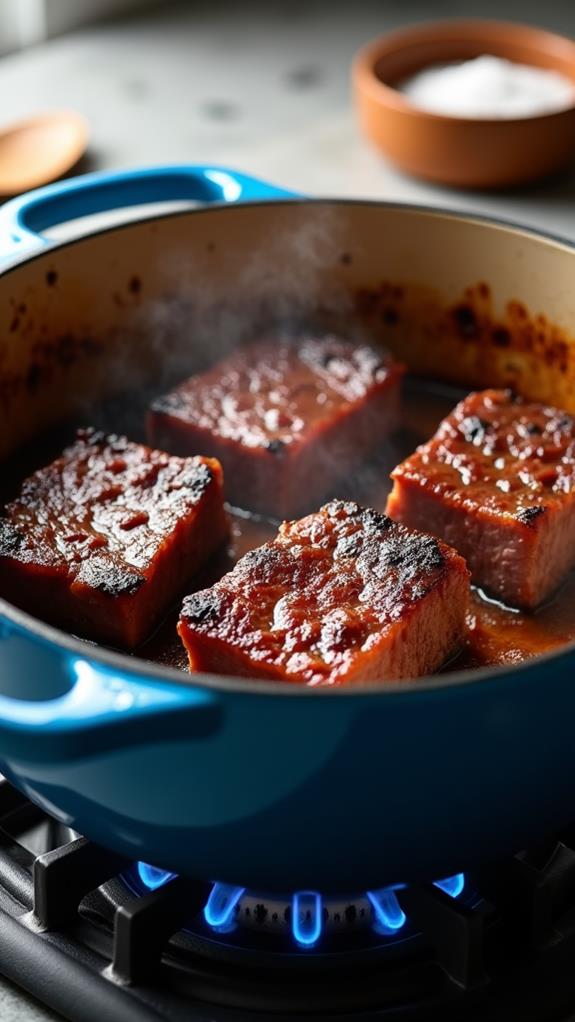
After seasoning, it's time to brown the short ribs in your Dutch oven. Place your Dutch oven on the stovetop and heat it over medium-high heat. Add a small amount of oil to the pot, just enough to coat the bottom.
Once the oil is hot and shimmering, carefully place the seasoned short ribs into the pot. Don't overcrowd the pan; work in batches if necessary to ensure each rib has enough space.
Allow the ribs to cook undisturbed for about 3-4 minutes on each side. You're looking for a deep, golden-brown crust to form. This browning process, known as the Maillard reaction, is crucial for developing rich flavors in your final dish.
Use tongs to turn the ribs, making sure to brown all sides evenly. As you work, you'll notice a layer of flavorful browned bits forming on the bottom of the pot. Don't worry about this; it'll contribute to the sauce later.
Once all the ribs are browned, remove them from the pot and set them aside on a plate. You're now ready for the next step in creating your delicious braised short ribs.
Step 3. Sauté Onions and Garlic
With the ribs browned and set aside, it's time to build the flavor base for your sauce. In the same Dutch oven, you'll find a layer of flavorful browned bits left behind by the meat. These bits, known as fond, are packed with rich taste that you'll want to incorporate into your dish.
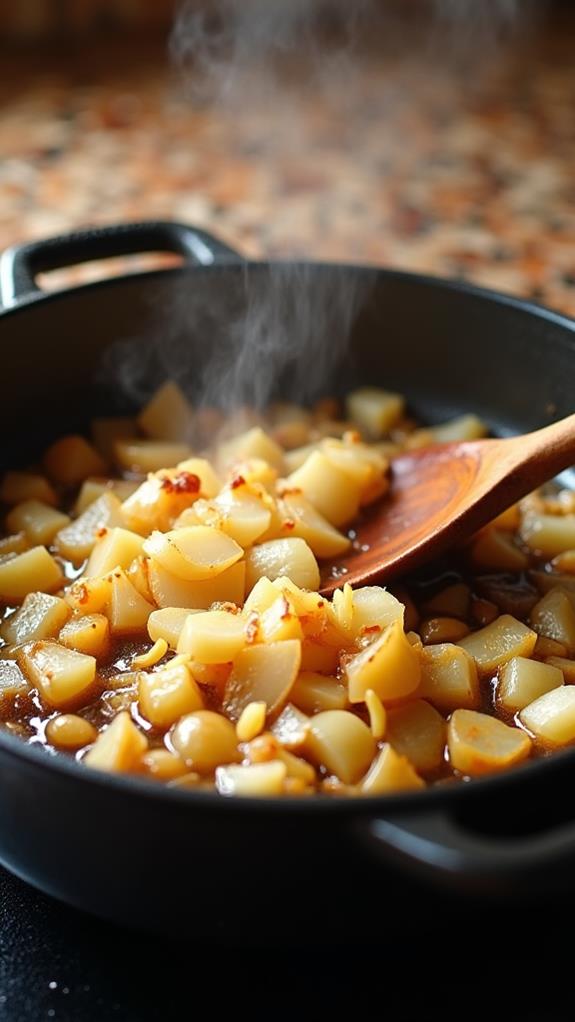
First, lower the heat to medium and add your chopped onions to the pot. As they cook, they'll release moisture that will help loosen the fond from the bottom of the pan. Use a wooden spoon to scrape up these bits, stirring them into the onions.
After about 3-4 minutes, when the onions have softened and become translucent, it's time to add the minced garlic. Stir the garlic in with the onions and cook for another minute or two, until it's fragrant but not browned. Garlic can burn quickly, so keep a close eye on it.
This aromatic base will infuse your sauce with depth and complexity, complementing the rich flavors of the beef and wine. Once your onions and garlic are sautéed to perfection, you're ready for the next step in creating your braised short ribs.
Step 4. Add Wine and Broth
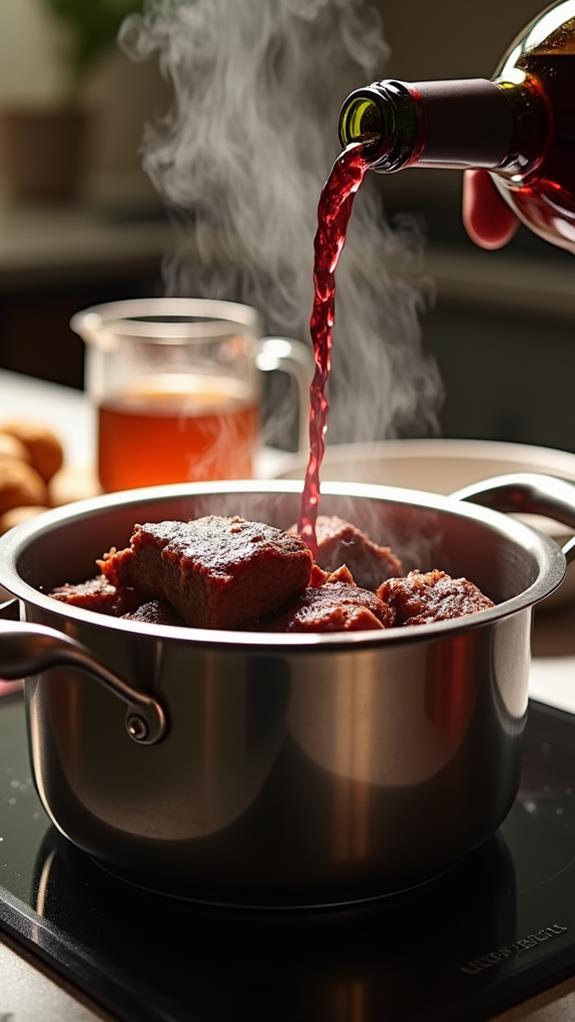
Once your aromatics are ready, it's time to deglaze the pot with red wine. Pour in the 2 cups of dry red wine, making sure to scrape the bottom of the pot with a wooden spoon to release any browned bits. These flavorful morsels will enhance the overall taste of your sauce.
Allow the wine to simmer for a few minutes, letting the alcohol evaporate and the flavors concentrate.
Next, add the 2 cups of beef broth to the pot. This will provide additional depth and richness to your braising liquid. Stir the mixture gently to combine the wine and broth, creating a harmonious base for your short ribs.
At this point, you'll notice the enticing aroma of the wine and beef mingling together, promising a delicious meal to come.
Carefully return the browned short ribs to the pot, nestling them into the liquid. Make sure they're evenly distributed and partially submerged. The braising liquid should come about halfway up the sides of the ribs.
If needed, add a bit more broth or wine to achieve the right level.
Step 5. Simmer Covered Until Tender
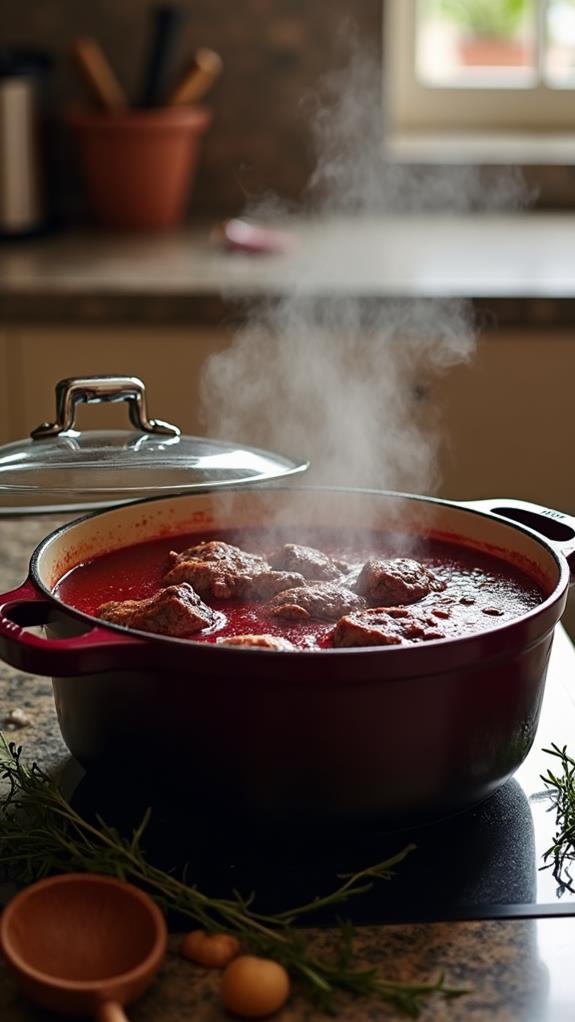
The magic of braising begins as you cover the pot and let time work its wonders. You'll want to reduce the heat to low, ensuring a gentle simmer that won't scorch your ingredients.
As the liquid bubbles softly, it's slowly breaking down the tough connective tissues in the short ribs, transforming them into tender, succulent meat.
Keep the pot covered tightly to trap the steam and flavors inside. You'll need to let the ribs simmer for about 2.5 to 3 hours, depending on their size and thickness.
During this time, resist the urge to peek too often, as each lift of the lid releases precious heat and steam. Instead, trust the process and let the low, steady heat do its job.
You'll know the ribs are ready when they're fork-tender and nearly falling off the bone. If you're not sure, give them a gentle prod with a fork. It should slide in easily with little resistance.
Once they've reached this stage, you've successfully transformed those tough cuts into a mouthwatering delicacy that's sure to impress.
Final Thoughts
Braised short ribs are a testament to the magic of slow cooking. This method transforms tough cuts of meat into tender, flavorful morsels that'll impress your dinner guests. As you've seen, the recipe is straightforward, focusing on just five key ingredients to create a rich, complex dish.
Remember, patience is key when braising. Don't rush the process; allow the meat to simmer slowly, absorbing the flavors of the wine and aromatics.
For the best results, consider making this dish a day ahead. The flavors will deepen overnight, resulting in an even more delicious meal when reheated.
When serving, don't forget to spoon the reduced sauce over the ribs. This sauce, concentrated with the essence of beef and wine, is what elevates the dish from good to exceptional.
Pair your braised short ribs with creamy mashed potatoes or polenta to soak up the savory sauce. A side of roasted vegetables can add color and balance to the plate.
With these tips in mind, you're well-equipped to create a memorable, restaurant-quality meal in your own kitchen.