You've probably tasted apple crisp before, but have you ever made it yourself? This classic dessert combines the warmth of baked apples with a crunchy oat topping that's simply irresistible. It's a dish that's been gracing family tables for generations, and for good reason. Not only is it delicious, but it's also surprisingly simple to prepare. Whether you're a seasoned baker or a novice in the kitchen, you'll find that this recipe is both approachable and rewarding. But there's more to apple crisp than just its taste and ease of preparation. Let's explore what makes this dessert a timeless favorite.
Key Takeaways
- Apple crisp with oat topping requires only five ingredients: apples, oats, brown sugar, butter, and cinnamon.
- The oat topping is made by combining rolled oats, brown sugar, cinnamon, and cold butter until crumbly.
- Bake the apple crisp at 350°F (175°C) for 35-40 minutes until the topping is golden brown and apples are tender.
- Choosing a mix of sweet and tart apple varieties enhances the overall flavor of the dessert.
- Allow the apple crisp to cool for 10-15 minutes after baking to let the juices thicken and flavors meld.
History
The humble apple crisp has its roots in early American cuisine, dating back to the colonial era. You'll find that this dessert evolved from earlier fruit pies and cobblers, which were popular among settlers who needed to preserve their harvests.
As colonists adapted to their new environment, they created simpler versions of traditional European desserts, often using locally available ingredients.
In the late 19th and early 20th centuries, you'd see apple crisp recipes appearing in cookbooks across America. The dish gained popularity during the World War II era when rationing made traditional pie crusts less accessible.
Cooks turned to oats as a readily available and nutritious alternative for toppings. You'll notice that the addition of oats not only enhanced the texture but also boosted the nutritional value of the dessert.
Today, you can find countless variations of apple crisp, but the basic concept remains the same: tender, spiced apples beneath a crumbly, sweet topping.
Whether you're making it for a family gathering or a cozy night in, you're continuing a tradition that's been cherished for generations.
Recipe
Apple crisp is a delightful dessert that combines the comforting warmth of baked apples with a crunchy, sweet oat topping. This simple recipe requires only five ingredients, making it an easy and accessible treat for cooks of all skill levels.
The beauty of this apple crisp lies in its simplicity, allowing the natural flavors of the apples to shine through. The buttery oat topping provides a perfect contrast in texture and taste, creating a balanced and satisfying dessert that's ideal for autumn evenings or as a year-round comfort food.
- 6 medium apples (mixed varieties)
- 1 cup rolled oats
- 1/2 cup brown sugar
- 1/2 cup cold butter
- 1 teaspoon ground cinnamon
Preheat the oven to 350°F (175°C). Core and slice the apples, placing them in a 9×13-inch baking dish. In a separate bowl, mix rolled oats, brown sugar, and cinnamon. Cut the cold butter into small pieces and work it into the oat mixture using your fingers or a pastry cutter until crumbly.
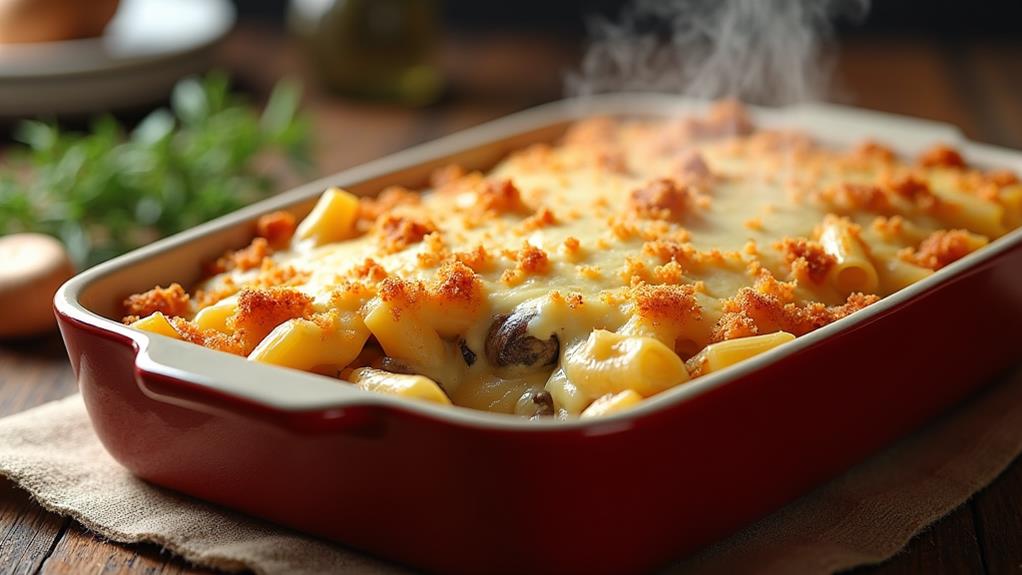
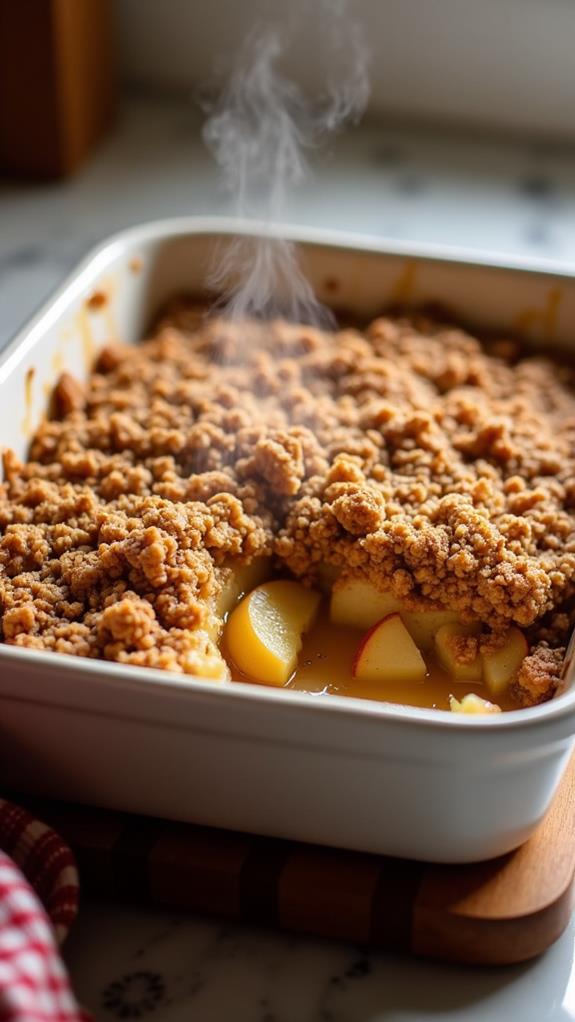
Spread this topping evenly over the apples. Bake for 35-40 minutes, or until the topping is golden brown and the apples are tender.
For best results, choose a mix of sweet and tart apples such as Granny Smith and Honeycrisp for a balanced flavor profile. If the topping begins to brown too quickly during baking, cover the dish with aluminum foil for the remaining time.
Allow the crisp to cool for 10-15 minutes before serving to let the juices settle and the flavors meld. This dessert can be served on its own or with a scoop of vanilla ice cream for added indulgence.
Cooking Steps
To create this simple apple crisp, you'll start by preheating your oven to 350°F and preparing the apples.
Next, you'll mix the oat topping ingredients in a separate bowl, combining rolled oats, brown sugar, cinnamon, and butter until crumbly.
Step 1. Preheat Oven to 350°F
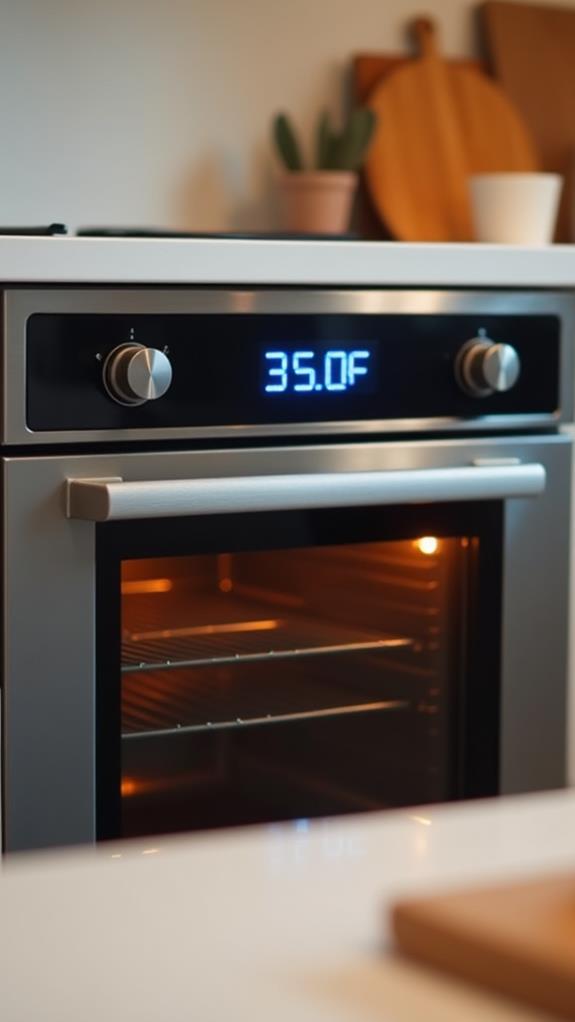
Before you dive into preparing your apple crisp, it's crucial to preheat your oven to 350°F (175°C). This step ensures that your oven reaches the optimal temperature for baking your dessert to perfection.
While the oven heats up, you'll have time to prepare the other components of your apple crisp.
Turn on your oven and set it to 350°F. If you have an older oven, it might take 10-15 minutes to reach the desired temperature. Newer models may heat up more quickly.
Some ovens have a preheat indicator light or sound that will alert you when it's ready. If yours doesn't, you can use an oven thermometer to check the temperature accurately.
While waiting for the oven to preheat, gather your ingredients and begin preparing the apples and topping. This efficient use of time will streamline your cooking process.
Step 2. Core and Slice Apples
The next crucial step in preparing your apple crisp is coring and slicing the apples.
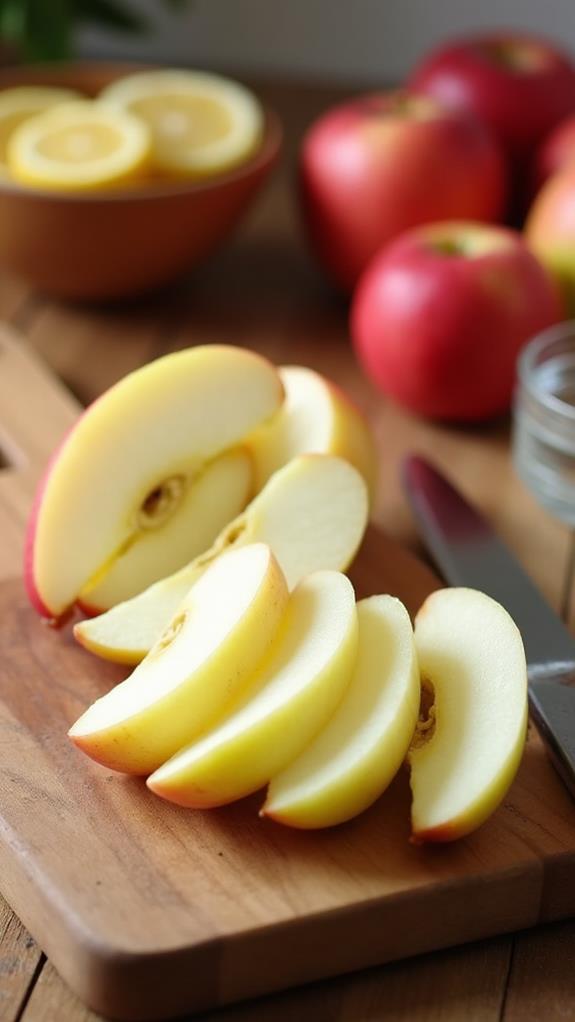
Begin by washing the apples thoroughly under cool running water to remove any dirt or residue. Once clean, use an apple corer to remove the core and seeds from each apple. If you don't have a corer, you can carefully cut the apple into quarters and remove the core with a sharp knife.
After coring, it's time to slice the apples. Aim for uniform slices about 1/4 inch thick, which will ensure even cooking and a consistent texture in your crisp. You can leave the skin on for added flavor and nutrients, or peel the apples if you prefer a smoother texture.
As you slice, place the apple pieces directly into your baking dish. Don't worry if some of the slices brown slightly; this won't affect the final taste. If you're using a mix of apple varieties, try to distribute them evenly throughout the dish for a balanced flavor profile.
Once you've sliced all your apples, give them a gentle toss in the baking dish to ensure they're evenly distributed.
Step 3. Mix Oat Topping Ingredients

After preparing the apples, it's time to create the crisp's signature oat topping. In a medium-sized bowl, combine the rolled oats, brown sugar, and cinnamon. The oats provide a hearty texture, while the brown sugar adds sweetness and a hint of molasses flavor. Cinnamon brings warmth and depth to the mixture, enhancing the apple's natural sweetness.
Next, you'll need to incorporate the butter into the dry ingredients. Take cold butter and cut it into small cubes or thin slices. Add these pieces to the oat mixture and use your fingers or a pastry cutter to work the butter in.
You're aiming for a crumbly texture, where the butter is evenly distributed throughout the dry ingredients. The mixture should resemble coarse sand with some larger clumps. This process, known as "cutting in" the butter, ensures that the topping will become crisp and golden during baking.
Don't overmix; some small, pea-sized pieces of butter should remain visible. This combination of ingredients will create a deliciously crunchy contrast to the tender baked apples beneath.
Step 4. Spread Topping Over Apples
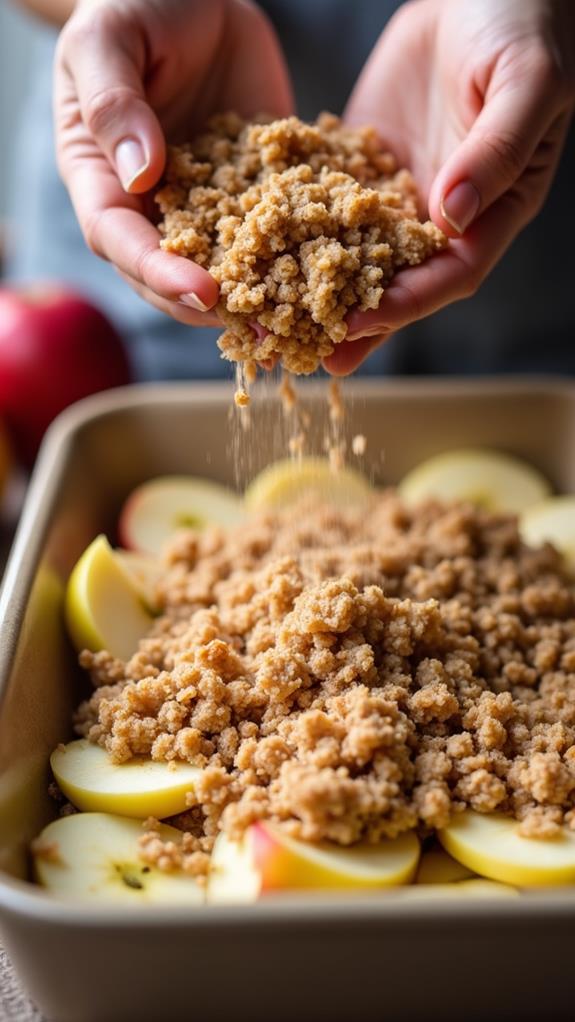
With your oat topping prepared, it's time to transform your sliced apples into a delectable dessert. Take the bowl of crumbly oat mixture and begin sprinkling it evenly over the apples in your baking dish. As you spread the topping, ensure that you're covering the entire surface area of the apples, creating a uniform layer.
Don't worry about making it perfectly smooth; the rustic, uneven texture will add to the charm of your apple crisp. Use your fingers or the back of a spoon to gently press the topping into place, helping it adhere to the apples beneath. This will prevent the topping from sliding off during baking and ensure that each bite contains a perfect balance of tender fruit and crunchy oats.
If you notice any bare spots, simply redistribute some of the topping to achieve full coverage. Be careful not to pack the topping too tightly, as this could result in a dense, less crispy texture. Instead, aim for a light, even distribution that will allow the topping to crisp up beautifully in the oven, creating that signature contrast of textures that makes apple crisp so irresistible.
Step 5. Bake for 35-40 Minutes
Now that your apple crisp is assembled, it's time to bake it to perfection. Place the baking dish in your preheated 350°F (175°C) oven and set a timer for 35 minutes.
During this time, the magic happens as the apples soften and release their juices, while the oat topping turns golden brown and crispy.
Keep an eye on your crisp as it bakes. If you notice the topping browning too quickly, don't panic. Simply cover the dish with aluminum foil to prevent further browning while allowing the apples to continue cooking.
After 35 minutes, check for doneness by inserting a knife into the apples; they should be tender but not mushy. If needed, bake for an additional 5 minutes.
Once your apple crisp is perfectly baked, remove it from the oven and let it cool for 10-15 minutes.
This cooling period is crucial as it allows the apple juices to thicken slightly and the flavors to meld together. The result will be a deliciously warm, fragrant dessert with a perfect balance of soft, spiced apples and a crunchy, sweet topping.
Final Thoughts
This simple apple crisp recipe proves that sometimes less is more in the kitchen. You'll find that with just five ingredients, you can create a dessert that's both comforting and impressive.
The key to success lies in selecting the right apples and perfecting the topping's texture.
Remember, you're not just making a dessert; you're creating an experience. The aroma of cinnamon and baked apples will fill your home, evoking memories of cozy autumn evenings.
As you serve this warm, golden-brown crisp, you'll see smiles spread across your guests' faces. Don't forget to add a scoop of vanilla ice cream or a dollop of whipped cream for an extra touch of indulgence.
This recipe is versatile, too. You can easily adjust the sweetness to your liking or experiment with different apple varieties.
It's a perfect dessert for beginners and experienced bakers alike. With practice, you'll develop your own signature twist on this classic dish, making it a go-to recipe for family gatherings and impromptu dinner parties.
[DIRECTIONS]: