Like delicate clouds with a citrus soul, Lemon Meringue Nest Cookies offer you a perfect balance of textures and flavors. You'll discover that these elegant treats combine crispy meringue shells with silky lemon curd, creating a dessert that's both sophisticated and approachable. Whether you're an experienced baker or just starting out, mastering these dual-textured delights will enhance your culinary repertoire and impress your guests—but first, you'll need to understand the crucial techniques that make them shine.
Key Takeaways
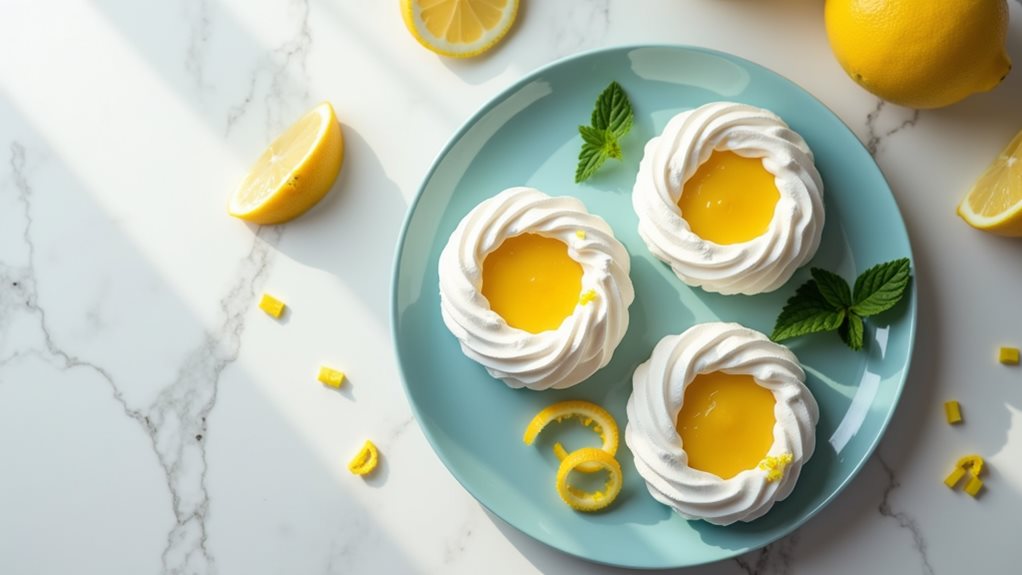
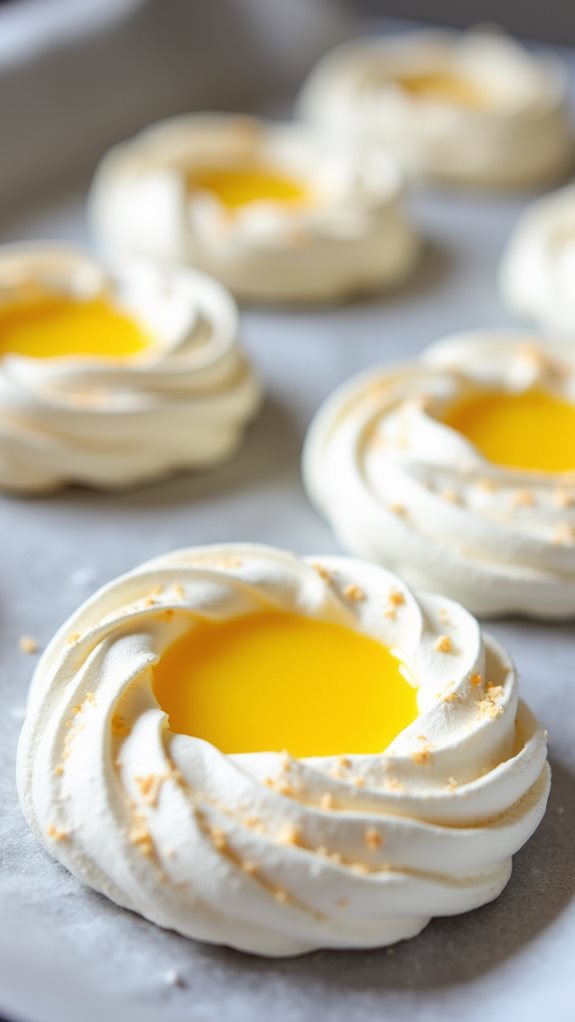
- Delicate meringue nests filled with tangy lemon curd combine crispy shells and creamy filling for an elegant dessert cookie.
- Made with just five ingredients: egg whites, sugar, lemons, egg yolks, and butter.
- Bake meringue nests at 225°F for 1.5 hours, then cool in oven for 2 hours to prevent collapse.
- Store unfilled meringue nests in an airtight container for up to 5 days; fill with lemon curd just before serving.
- Ensure bowls and utensils are grease-free and avoid making on humid days for best meringue results.
History
While the exact origin of meringue nests remains somewhat unclear, these delicate cookie shells emerged as a variation of traditional meringue cookies during the late 18th century in Switzerland and France.
You'll find their evolution closely tied to the development of French patisserie, where chefs began experimenting with different meringue shapes and presentations.
The addition of lemon curd to these nests didn't become popular until the Victorian era, when citrus fruits became more readily available throughout Europe.
During this time, you'd often see these treats served at afternoon tea gatherings, where they quickly became a symbol of refined taste.
The combination proved so successful that pastry chefs across Europe began incorporating various fruit curds and creams into their meringue creations.
Recipe
Lemon Meringue Nest Cookies are a delightful combination of crispy meringue shells filled with tangy lemon curd. These elegant cookies feature a light, airy texture that melts in your mouth while delivering a perfect balance of sweet and citrus flavors.
These impressive-looking treats are surprisingly simple to create, requiring just five basic ingredients. The meringue nests can be baked ahead of time, and the lemon curd filling can be prepared separately, making them ideal for entertaining or special occasions.
- 4 large egg whites (120g)
- 1 cup granulated sugar (200g)
- 2 large lemons
- 2 egg yolks
- 2 tablespoons butter (30g)
Preheat oven to 225°F (107°C). In a clean, grease-free bowl, beat egg whites until foamy, then gradually add sugar while continuing to beat until stiff peaks form. Pipe or spoon the meringue mixture into 3-inch circular nests on parchment-lined baking sheets, creating a depression in the center of each. Bake for 1.5 hours, then turn off the oven and let meringues cool inside for 2 hours without opening the door.
For the lemon curd, combine lemon juice, zest, egg yolks, and butter in a double boiler, stirring constantly until thickened. Allow both components to cool completely before assembling.
For best results, avoid making meringues on humid days as moisture can affect their texture and crispness. Ensure all bowls and utensils are completely grease-free when preparing the meringues, as any trace of fat can prevent proper egg white whipping.
Unfilled meringue nests can be stored in an airtight container in a cool, dry place for up to 5 days, while the lemon curd can be refrigerated for up to 3 days. Fill the nests just before serving to maintain their crispy texture.
Cooking Steps
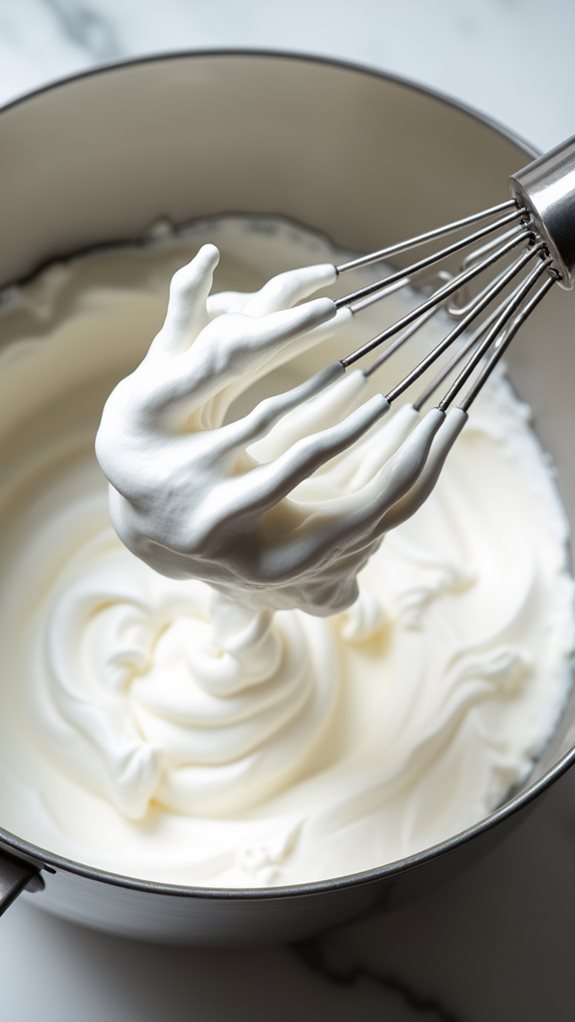
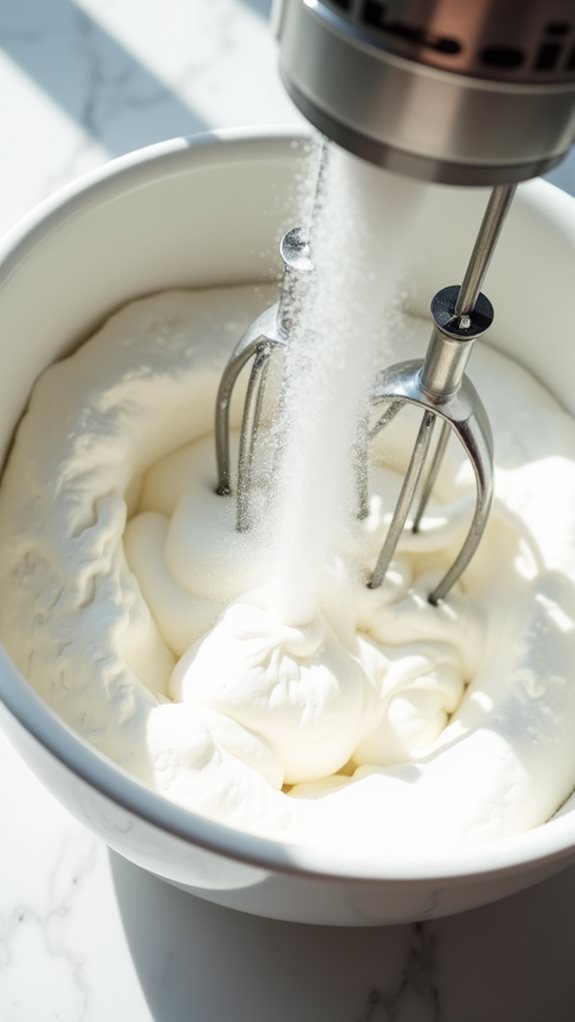
You'll start by beating the egg whites in a clean bowl until foamy, gradually incorporating sugar until stiff peaks form and the mixture becomes glossy.
Once your meringue reaches the proper consistency, you'll need to carefully pipe or spoon it into 3-inch circular nests on your parchment-lined baking sheets, making sure to create a depression in the center of each one.
Following the crucial baking process at 225°F for 1.5 hours, you'll let the meringues cool completely in the turned-off oven for an additional 2 hours before filling them with your prepared lemon curd.
Step 1. Mixing the Egg Whites
Begin with pristinely clean equipment by wiping down your mixing bowl and beaters with white vinegar, ensuring they're completely free of any grease or residue that could prevent proper meringue formation.
Separate your eggs carefully, making sure no yolk contaminates the whites, and let them come to room temperature for optimal volume.
Start beating the egg whites at medium speed until they become foamy, then gradually increase to high speed.
Add the sugar one tablespoon at a time while continuing to beat, waiting about 30 seconds between additions.
You'll know you've achieved the right consistency when the meringue holds stiff, glossy peaks and feels smooth, not grainy, when rubbed between your fingers.
Step 2. Adding Sugar While Beating
Once your egg whites have reached the foamy stage, the gradual incorporation of sugar becomes a methodical process that requires patience and attention.
You'll need to add the sugar one tablespoon at a time while continuing to beat at medium-high speed, ensuring each addition is fully incorporated before adding the next.
As you proceed, you'll notice the mixture becoming increasingly glossy and thick.
Keep beating until you've added all the sugar and the meringue forms stiff, shiny peaks that hold their shape when you lift the beater.
Test the mixture by rubbing a small amount between your fingers – it should feel smooth, not grainy, indicating that all the sugar has dissolved completely.
If you still feel sugar crystals, continue beating until the texture becomes perfectly smooth.
Step 3. Piping the Meringue Nests
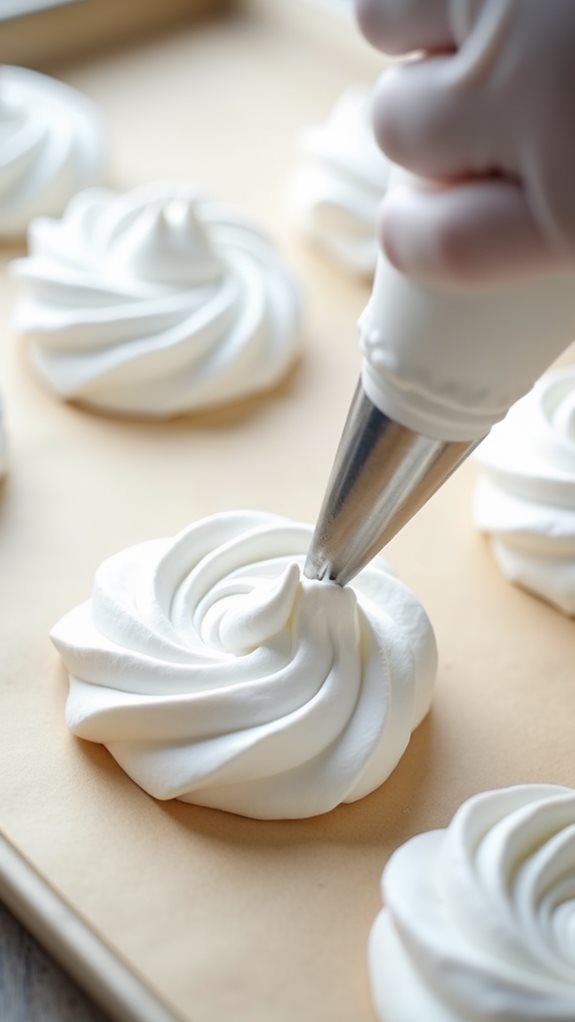
The critical moment of creating perfect meringue nests arrives with the proper piping technique, which requires both precision and a steady hand.
You'll want to fill your piping bag with the stiff meringue mixture, making sure there aren't any air pockets that could disrupt your flow.
Starting from the center of each marked circle on your parchment paper, pipe the meringue in a continuous spiral motion, working your way outward until you've created a 3-inch base.
Then, build up the sides by piping 2-3 concentric circles around the edge, forming walls about 1 inch high.
Using the back of a spoon, gently press down in the center to create a well that'll hold your lemon curd later.
Step 4. Baking Filled Nests Gradually
With your meringue nests perfectly piped and shaped, proper baking requires careful attention to temperature control and timing.
Place your baking sheets in the preheated 225°F oven, ensuring they're positioned in the center rack for even heat distribution.
You'll need to bake the nests for exactly 1.5 hours at this low temperature, which allows them to dry out gradually without browning.
Once the time's up, don't remove them immediately – instead, turn off the oven and let them cool inside for another 2 hours.
This slow cooling process prevents cracking and ensures your meringues develop that perfect crispy exterior while maintaining their delicate, marshmallowy interior.
When they're completely cool, you can fill them with your prepared lemon curd just before serving.
Step 5. Cooling Completely Before Serving
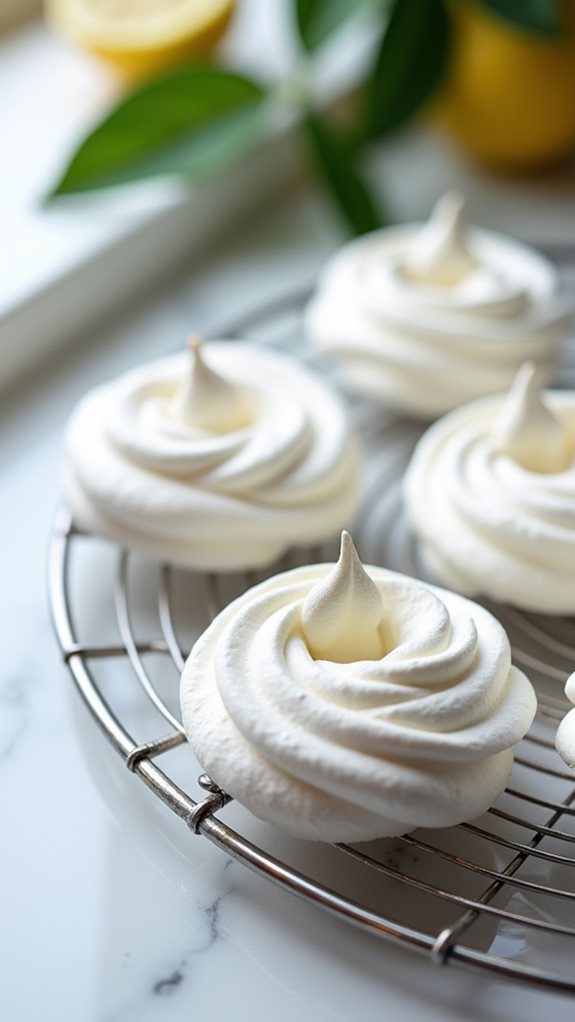
After your meringues have spent their full cooling period in the turned-off oven, proper cooling must continue until they reach room temperature.
Don't rush this crucial step, as residual heat can affect the texture of your lemon curd filling and compromise the delicate structure of your nests.
Once you've confirmed the meringues are completely cool, you'll want to transfer them to a wire rack using a thin spatula, being careful not to crack their fragile shells.
If you're planning to serve them later, store the unfilled nests in an airtight container, keeping them away from any moisture or humidity.
When you're ready to serve, fill the centers with your chilled lemon curd just before presenting them, which prevents the meringues from becoming soggy.
Final Thoughts
Creating lemon meringue nest cookies requires patience and attention to detail, but you'll find the end result well worth your effort. The combination of crispy meringue shells and tangy lemon curd creates an impressive dessert that's perfect for special occasions or when you want to showcase your baking skills.
Remember to keep your meringue ingredients at room temperature, work in a clean, dry environment, and avoid making these on humid days. You'll achieve the best results by following the precise measurements and temperatures provided.
While the process may seem challenging at first, you'll develop confidence with each batch you make. These delicate treats offer a wonderful opportunity to master both meringue-making and custard preparation, skills that will serve you well in many other baking endeavors.