
You've probably encountered chocolate lollipops before, but choc-egg lollies offer a unique twist that's captured attention since the late 1960s. These nostalgic treats combine the smooth richness of chocolate with the playful shape of eggs, all conveniently served on a stick. While major confectionery brands like Nestle and Mars first popularized them, you'll find that making your own version opens up endless possibilities for customization. Whether you're planning a special occasion or simply want to explore creative dessert-making, there's more to these glossy treats than meets the eye.
Key Takeaways
- Choc-Egg Lollies are chocolate treats on sticks that combine chocolate shells with caramel filling, popular during Easter season.
- Recipe requires melted chocolate, caramel filling, lollipop sticks, and silicone molds, with minimal baking skills needed.
- Proper tempering of chocolate below 31°C (88°F) ensures a glossy finish and satisfying snap in the final product.
- Complete setting requires 2 hours refrigeration at 35-40°F, with sticks positioned firmly in chocolate-coated eggs.
- They can be stored for up to two weeks in a cool, dry place and customized with different chocolates and decorations.
History
Three major confectionery companies began producing chocolate egg-shaped lollipops in the late 1960s, each racing to capture the growing children's candy market.
You'll find that Nestle led the charge with their "Choc-O-Pop," while Mars countered with the "Sweet Nest," and Cadbury introduced their "Egg-On-A-Stick" creation. These early versions weren't as refined as what you'd recognize today, but they laid the groundwork for modern chocolate egg lollies.
By the mid-1970s, you could spot these treats in most corner stores, and they'd become particularly popular during Easter season.
The manufacturing process evolved significantly when Palmer Candy Company introduced automated molding techniques in 1977, making it possible to produce thousands of units per hour.
You'll notice that today's versions feature smoother chocolate shells and more intricate designs than their predecessors.
If you're interested in sales figures, you'll find that the market for chocolate egg lollies has grown steadily, with annual global sales reaching $147 million by 2020.
The treat's enduring appeal stems from its combination of novelty shape, convenient stick handle, and chocolate's timeless popularity.
Recipe
Choc-Egg Lollies are a delightful twist on traditional Easter treats, combining the rich taste of chocolate with the whimsical presentation of a lollipop. These portable sweets are perfect for children's parties, holiday gatherings, or as special homemade gifts during the Easter season.
Making these eye-catching treats requires minimal baking skills and can be customized with different types of chocolate and decorative elements. The key to success lies in proper chocolate tempering and maintaining the right temperature throughout the process to achieve a glossy finish and satisfying snap when bitten into.
- 12 oz (340g) milk chocolate, chopped
- 4 oz (113g) white chocolate, chopped
- 1 tbsp (15ml) vegetable oil
- 12 lollipop sticks
- Easter egg-shaped silicone mold
- Food coloring (optional)
- Sprinkles or edible decorations (optional)
Begin by melting the milk chocolate in a double boiler, stirring until smooth. Add vegetable oil and mix well. Fill the egg-shaped molds about 3/4 full with the melted chocolate. Insert lollipop sticks, rotating them to ensure even coating. Place in refrigerator for 10 minutes.
Meanwhile, melt white chocolate and divide into portions if using food coloring. Remove molds from refrigerator, add decorative elements with white chocolate, and return to refrigerator until completely set, approximately 30 minutes. Carefully remove from molds.
For best results, ensure all equipment is completely dry, as water can cause chocolate to seize. Temperature control is crucial – milk chocolate should be melted to 88°F (31°C) and white chocolate to 84°F (29°C). If chocolate becomes too thick while working, gently rewarm it.
Store finished lollies in a cool, dry place, avoiding direct sunlight. They'll keep for up to two weeks when properly stored.
Cooking Steps
Begin your chocolate egg lollies by melting the dark chocolate coating in a double boiler while simultaneously preparing the caramel filling mixture in a separate bowl.
Once both components are ready, carefully pour the melted chocolate into your silicone egg molds, add the lolly sticks at the proper angle, and fill with the caramel mixture before sealing with another layer of chocolate.
You'll need to refrigerate your creations for at least two hours, or until they've completely hardened, ensuring they'll easily release from the molds.
Step 1. Melting Dark Chocolate Coating
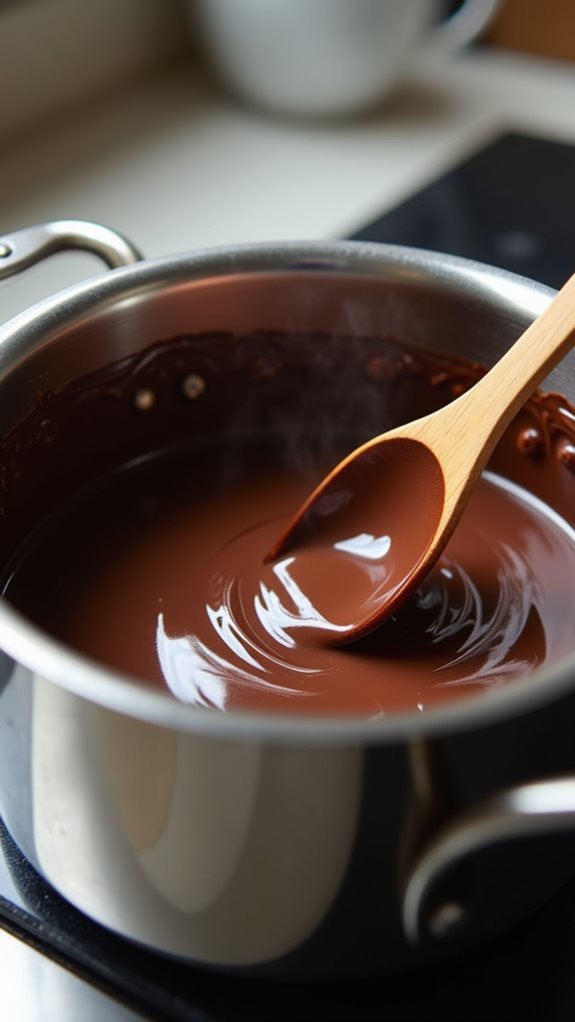
For the chocolate coating, you'll need to melt 200g of dark chocolate using a double boiler method. Fill a saucepan with about two inches of water and place a heat-safe bowl on top, ensuring it doesn't touch the water.
Break your chocolate into small, even pieces and add them to the bowl while bringing the water to a gentle simmer. As the chocolate begins to melt, you'll want to stir it occasionally with a rubber spatula, making sure to scrape the sides of the bowl to prevent any chocolate from hardening.
Don't let any water come into contact with your chocolate, as this will cause it to seize and become grainy. The temperature shouldn't exceed 31°C (88°F) for dark chocolate – you can check this with a candy thermometer if you have one.
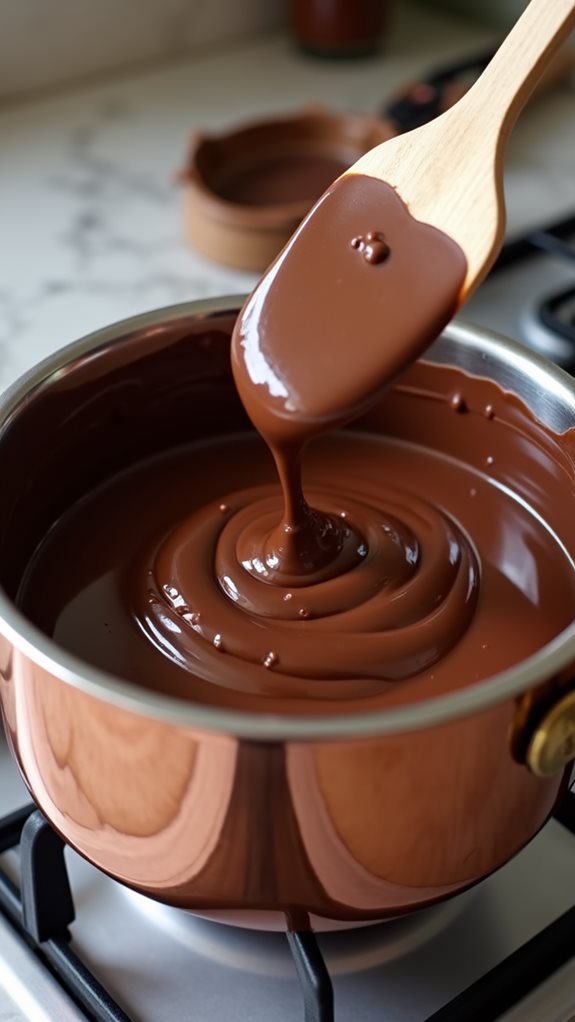
Once your chocolate is completely melted and smooth, remove it from the heat but keep the bowl over the warm water to maintain its temperature while you work. The chocolate should have a glossy appearance and flow smoothly when you lift your spatula, indicating it's ready for coating your egg lollies.
Step 2. Mixing Caramel Filling
While your chocolate coating cools slightly, you'll prepare the rich caramel filling that forms the heart of these egg lollies.
In a medium-sized, heavy-bottomed saucepan, combine 1 cup of granulated sugar with ¼ cup of water, stirring until the sugar dissolves completely. Once dissolved, stop stirring and let the mixture cook over medium-high heat until it turns a deep amber color, which typically takes 8-10 minutes.
You'll need to work quickly as the caramel reaches temperature. Remove the pan from heat and carefully whisk in ½ cup of warm heavy cream, followed by 2 tablespoons of butter and a pinch of salt.
The mixture will bubble vigorously, so keep your hands clear of the steam. Continue whisking until you've achieved a smooth, glossy consistency. If you notice any sugar crystals forming, strain the caramel through a fine-mesh sieve.
Let the mixture cool until it's warm but still pourable, about 10-15 minutes, stirring occasionally to prevent a skin from forming. The ideal temperature for filling your chocolate shells is around 90°F (32°C).
Step 3. Pouring Into Silicone Molds
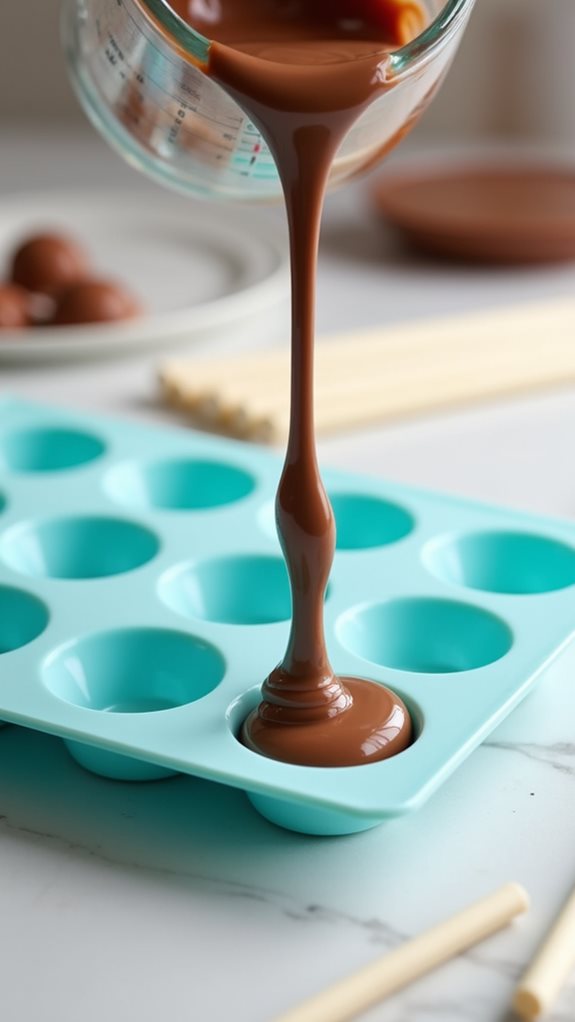
With your chocolate and caramel at the ready, it's time to pour the mixtures into egg-shaped silicone molds. Start by filling each cavity about one-third full with tempered chocolate, then use the back of a small spoon to coat the sides evenly, ensuring there aren't any thin spots that could lead to cracks later.
Once you've coated all mold cavities, place them in the refrigerator for 5-7 minutes until the chocolate sets but isn't completely hard. Remove the molds and carefully pipe your prepared caramel filling into each cavity, leaving about 1/4 inch of space at the top for the chocolate seal.
If you're adding lollipop sticks, insert them now, positioning them straight and centered. Pour the remaining tempered chocolate over the caramel to seal each egg completely, gently tapping the molds on your counter to release any air bubbles.
Use an offset spatula to scrape excess chocolate from the mold's surface, creating clean edges. Return the molds to the refrigerator for 15-20 minutes, or until the chocolate has fully set and slightly contracted from the sides of the molds.
Step 4. Adding Lolly Sticks
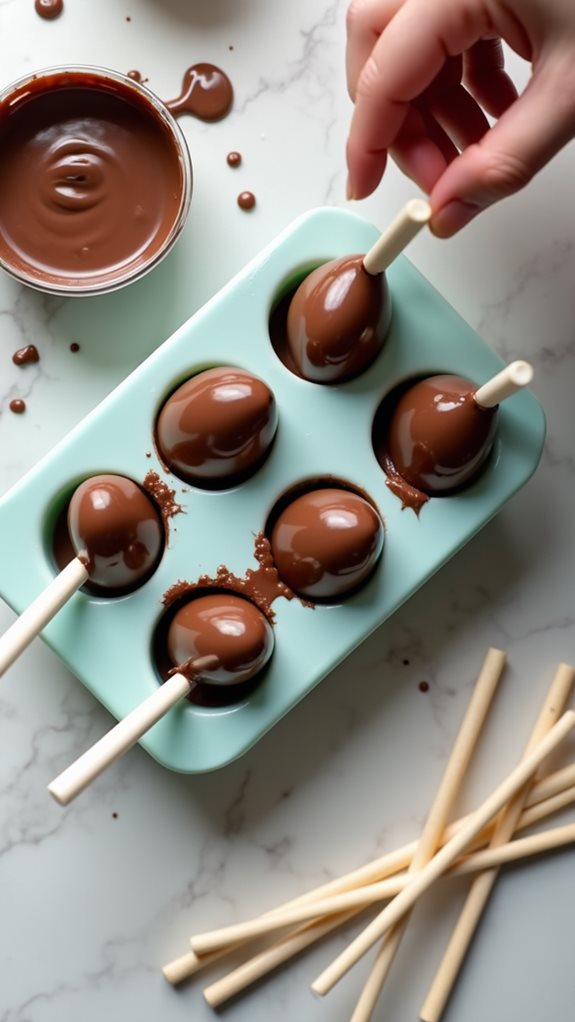
Selecting the right lolly sticks is crucial for creating professional-looking chocolate egg pops. You'll want food-grade wooden sticks that are approximately 4 inches long, as these provide adequate grip while maintaining the treat's aesthetic appeal.
Before inserting the sticks, ensure your chocolate-filled molds have cooled for about 3-5 minutes until they're beginning to set but aren't completely firm.
Carefully insert each stick into the center of your partially set chocolate eggs, pushing them about halfway through the mold's depth. You'll need to hold the stick at a 90-degree angle to ensure it remains straight and centered.
If you're working with double-sided egg molds, you can gently twist the stick to create a small pocket in the chocolate, which will help secure it in place. Once you've positioned all the sticks, return the molds to the refrigerator for an additional 10-15 minutes to allow complete setting.
You'll know they're ready when the chocolate has fully hardened and the sticks feel firmly anchored. Don't attempt to remove the lollies until they've reached this stage, as premature removal can result in broken treats.
Step 5. Refrigerate Until Fully Hardened
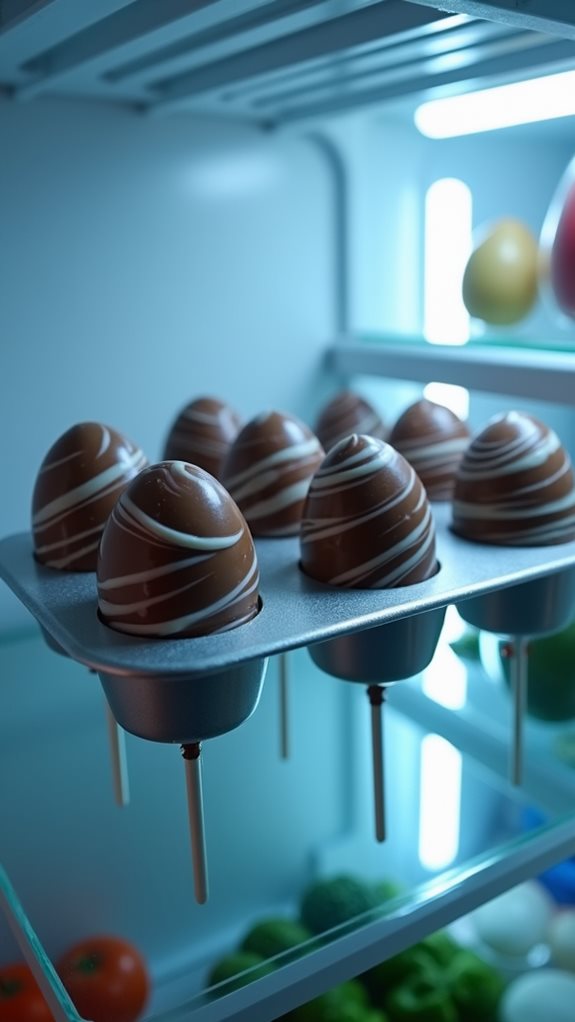
Once you've inserted all the lolly sticks, proper refrigeration becomes the next key step in creating perfect chocolate egg pops.
You'll need to place your chocolate-coated eggs carefully in the refrigerator, ensuring they're positioned upright to maintain their shape and prevent the sticks from shifting during the hardening process.
For optimal results, you'll want to refrigerate your chocolate egg pops for at least two hours, though leaving them overnight will guarantee they're completely set.
During this time, maintain a consistent temperature between 35-40°F (2-4°C), and don't disturb the treats while they're hardening. If you've used different types of chocolate or multiple layers, you might need to extend the refrigeration time to ensure all layers are properly set.
You'll know your egg pops are ready when the chocolate surface appears completely matte and feels firm to the touch.
Don't remove them from the refrigerator until you're confident they've hardened thoroughly, as premature handling can result in fingerprints on the surface or compromise the bond between the stick and the chocolate.
If you're planning to add decorative elements later, it's essential that the base layer is fully hardened first.
Final Thoughts
These delightful choc-egg lollies make a perfect homemade treat for Easter celebrations or any special occasion.
You'll find that making these chocolate treats isn't just rewarding, but it's also an opportunity to develop your candy-making skills and explore creative decorating techniques.
When you've mastered the basic recipe, don't hesitate to experiment with different chocolate varieties, such as dark, white, or ruby chocolate.
You can also try adding various flavorings, like peppermint extract or orange zest, to create your own unique combinations.
Remember that quality ingredients will always yield the best results, so invest in good chocolate and fresh cream for superior taste and texture.
If you're planning to make these lollies for a party or gathering, you can prepare them up to a week in advance and store them in an airtight container in the refrigerator.
Just be sure to bring them to room temperature about 15 minutes before serving for the best taste experience.
With practice, you'll develop an instinct for tempering chocolate and creating professional-looking finishes that'll impress your family and friends.