You've probably noticed heart-shaped sugar cookies displayed in bakery windows or arranged on platters at special events, their sweet simplicity drawing admiring glances. While they might seem like a modern creation perfect for Valentine's Day, these charming treats actually trace their roots back to 18th-century Pennsylvania, where German Protestant settlers first introduced them. What started as a humble cookie has evolved into a beloved symbol of affection, with countless variations in decoration and flavor profiles. Whether you're an experienced baker or just starting out, understanding the story behind these iconic treats will enhance your appreciation for their enduring appeal.
Key Takeaways
- Use chilled dough and heart-shaped cookie cutters to create perfectly shaped cookies after rolling the dough to 1/4 inch thickness.
- Combine 2 cups flour, 1 cup butter, 3/4 cup sugar, egg, and vanilla extract to make the basic sugar cookie dough.
- Bake at 350°F for 10-12 minutes until edges are light golden, leaving 2 inches between cookies on parchment-lined sheets.
- Cool cookies completely for 30 minutes before decorating, and store in airtight containers for up to one week.
- Heart-shaped sugar cookies originated from German settlers and became popular during Victorian times for Valentine's Day celebrations.
History
The tradition of sugar cookies dates back to the mid-1700s when German Protestant settlers in Pennsylvania first introduced them to America. These early versions, known as "Nazareth Cookies," were simple, round treats that would later evolve into the diverse shapes we know today, including the beloved heart design.
You'll find that heart-shaped cookies gained popularity during the Victorian era when Valentine's Day celebrations became more elaborate. During this period, bakers started using copper cookie cutters to create intricate designs, and heart shapes became synonymous with expressions of love and affection.
The tradition continued to grow throughout the 19th century as sugar became more readily available and affordable.
Today, you'll discover that heart-shaped sugar cookies aren't just for Valentine's Day anymore. They've become a staple at weddings, anniversaries, and other romantic celebrations.
The recipe has remained remarkably consistent over centuries, though modern variations might include different flavorings or decorative techniques. You can trace this enduring popularity to the cookies' versatility and the universal appeal of their symbolic shape, which continues to make them a cherished part of celebratory traditions worldwide.
Recipe
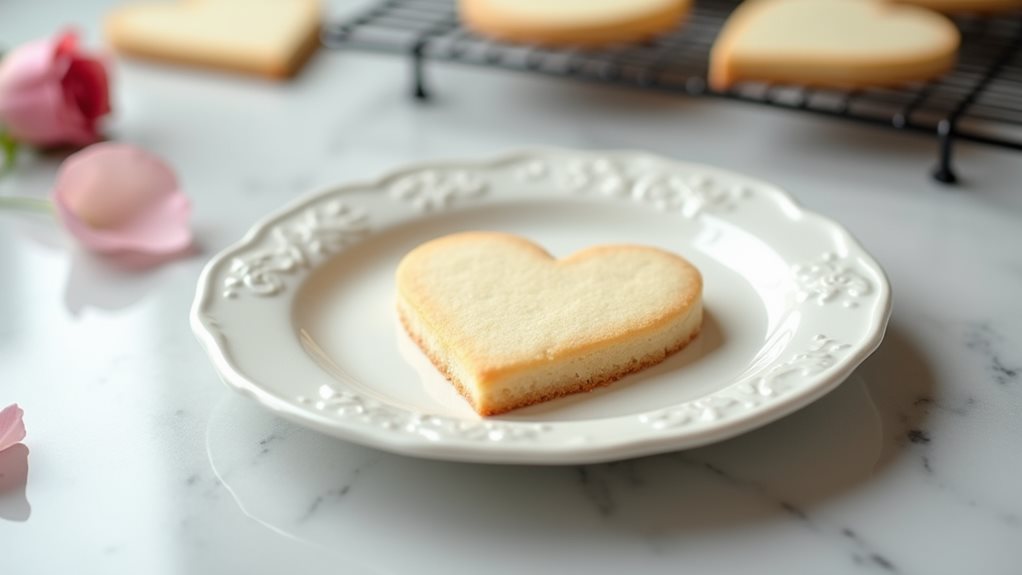
Heart-shaped sugar cookies are a classic treat that combines simplicity with elegance. These buttery, tender cookies have just the right amount of sweetness and a delicate crumb that makes them perfect for special occasions or everyday indulgence.
The beauty of these cookies lies in their versatility – they can be enjoyed plain, decorated with royal icing, or embellished with sprinkles. Their heart shape makes them especially appropriate for Valentine's Day, anniversaries, or any time you want to share a sweet expression of love.
Ingredients:
- 2 cups (250g) all-purpose flour
- 1 cup (230g) unsalted butter, softened
- 3/4 cup (150g) granulated sugar
- 1 large egg
- 1 teaspoon vanilla extract
In a large bowl, cream together softened butter and sugar until light and fluffy, about 3-4 minutes. Beat in the egg and vanilla extract until well combined. Gradually add flour, mixing until a soft dough forms. Wrap the dough in plastic wrap and chill for 1 hour.
Preheat oven to 350°F (175°C). Roll out dough on a floured surface to 1/4-inch thickness, cut with heart-shaped cookie cutters, and place on parchment-lined baking sheets. Bake for 10-12 minutes until edges are lightly golden. Cool completely on wire racks.
For optimal results, ensure all ingredients are at room temperature before starting. If the dough becomes too soft while working with it, return it to the refrigerator for 10-15 minutes. Avoid overworking the dough as this can lead to tough cookies.
The cookies can be stored in an airtight container for up to one week, and unused dough can be frozen for up to three months. Always let cookies cool completely before decorating with icing or other toppings.
Cooking Steps
Let's break down the cooking steps for your heart-shaped sugar cookies, starting with whisking the dry ingredients and mixing the wet components separately.
You'll then combine both mixtures until they form a smooth dough, which needs to chill before you can roll it out and cut your heart shapes.
After arranging your shaped cookies on parchment-lined baking sheets, you'll bake them until golden and let them cool completely before decorating.
Step 1. Whisk Dry Ingredients Together
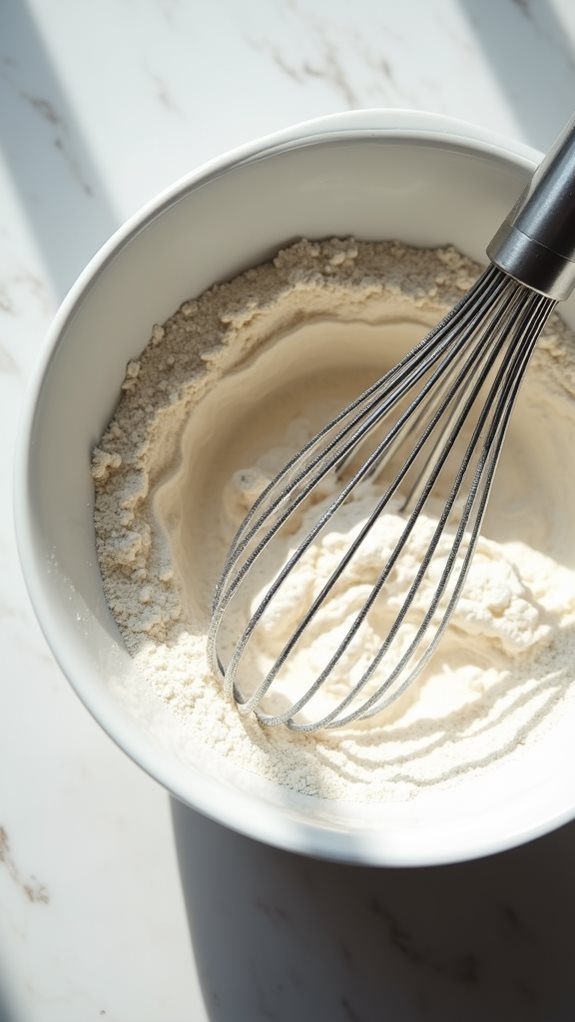
Preparing the dry ingredients marks an essential first step in creating these buttery cookies. You'll want to measure out your all-purpose flour precisely, as accurate measurements ensure your cookies maintain their shape during baking.
Take a medium-sized mixing bowl and add the 2 cups of flour, making sure to level it off with a straight edge for accuracy.
While this recipe doesn't call for additional dry ingredients like baking powder or salt, you'll still need to whisk the flour thoroughly. Using a wire whisk or fork, gently stir the flour in a circular motion to break up any clumps and incorporate air into the mixture.
This process, known as aerating, helps create a lighter texture in your finished cookies. You should continue whisking until the flour appears light and uniform in consistency, which typically takes about 30 seconds.
Once you've properly whisked the flour, set it aside within easy reach of your workspace. You'll be gradually incorporating this into your wet ingredients later, so having it readily available will help streamline the mixing process and prevent overmixing when combining all ingredients.
Step 2. Mix Wet Ingredients Together
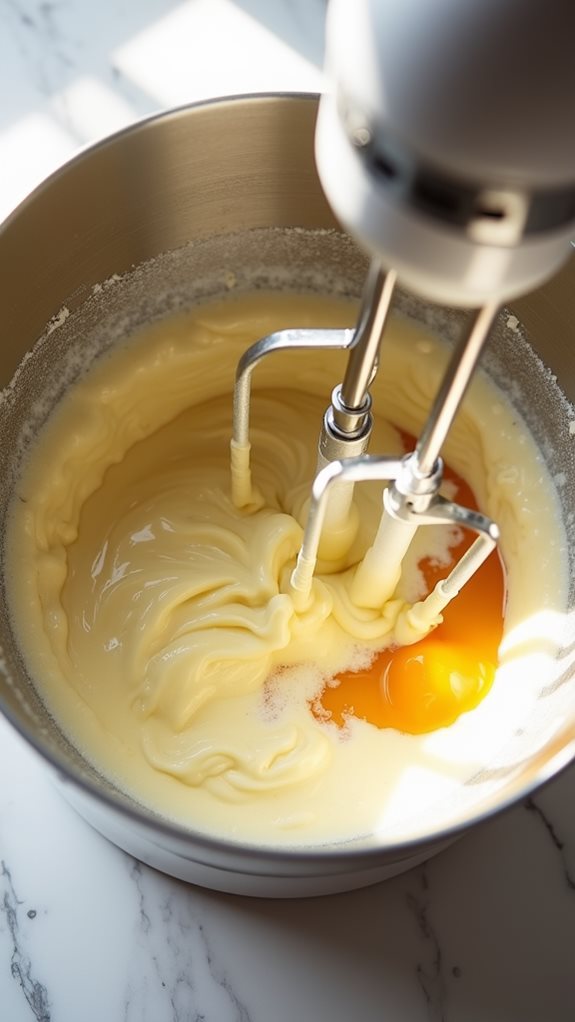
After whisking the dry ingredients, you'll move on to combining the wet ingredients. In a large mixing bowl, start by placing your softened butter and granulated sugar.
Using an electric mixer set to medium speed, cream these ingredients together until they become light and fluffy, which typically takes about 3-4 minutes. You'll notice the mixture becoming notably paler in color as air incorporates into it.
Next, crack your egg into a small separate bowl first (to ensure no shell pieces get into your mixture), then add it to your butter-sugar combination along with the vanilla extract.
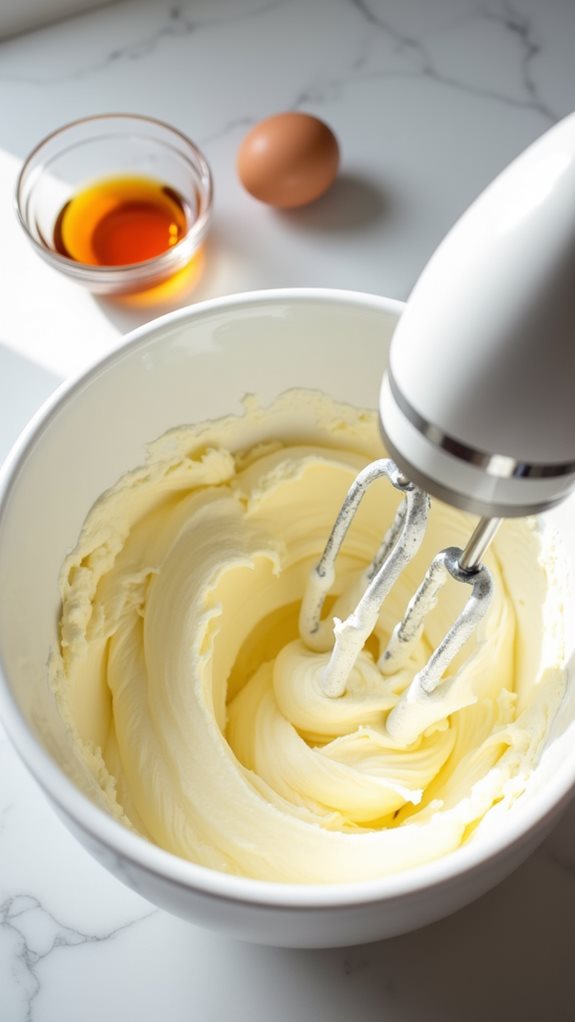
Beat these wet ingredients together until they're thoroughly combined and smooth, usually about 1-2 minutes. Make sure to scrape down the sides of the bowl with a rubber spatula periodically to ensure even mixing throughout.
You'll know your wet ingredients are properly mixed when the mixture appears uniform in color and texture, with no streaks of egg visible. The consistency should be smooth and creamy, not curdled or separated.
If your mixture looks curdled, it's likely because your ingredients weren't at room temperature before starting.
Step 3. Combine Wet and Dry Ingredients
Now that your wet ingredients form a smooth, creamy mixture, you'll begin incorporating the dry ingredients into your bowl. Gradually add the flour in three separate portions, mixing at a low speed between each addition. This methodical approach prevents flour from flying everywhere and ensures even distribution throughout your dough.
As you combine the ingredients, you'll notice the mixture becoming thicker and more dough-like. Don't overmix at this stage – stop as soon as the flour is fully incorporated. You're looking for a soft, pliable consistency that holds together when pressed but isn't sticky.
If the dough feels too wet, add flour one tablespoon at a time until it reaches the right texture. Conversely, if it's too dry, add a teaspoon of milk.
Once you've achieved the proper consistency, use your hands to gently form the dough into a ball. At this point, you'll need to wrap it in plastic wrap and refrigerate for one hour. This chilling time is crucial – it allows the butter to firm up and makes the dough easier to roll out later.
Step 4. Chill and Shape Dough
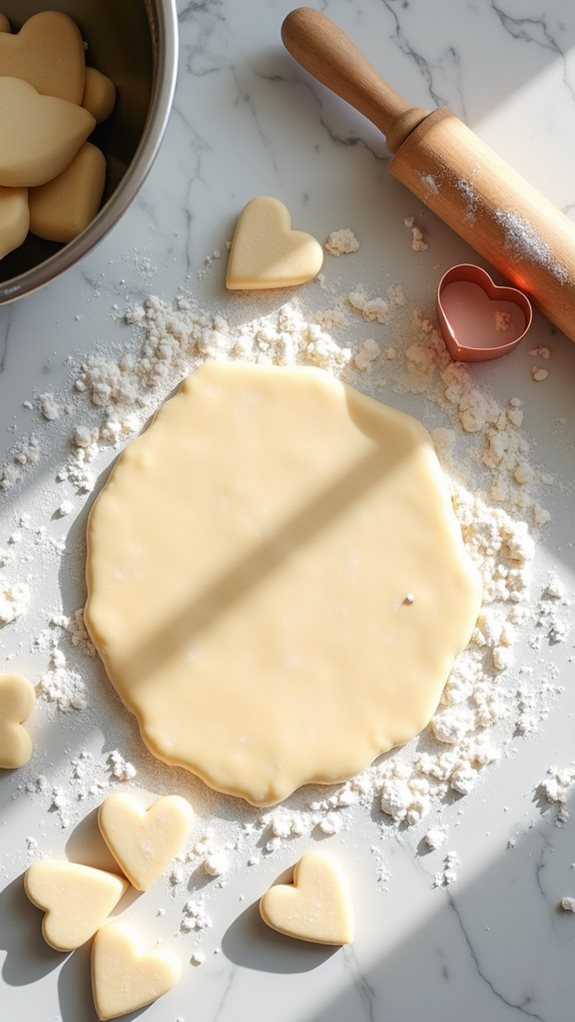
The chilled dough's next transformation turns it into perfect heart shapes ready for baking. After your dough has rested in the refrigerator for an hour, you'll need to work quickly but precisely to maintain its ideal temperature and consistency.
Start by dusting your work surface with flour, then roll the dough to a uniform 1/4-inch thickness. If you're finding the dough too sticky, don't hesitate to sprinkle additional flour as needed. You'll want to dip your heart-shaped cookie cutter in flour between cuts to prevent sticking, and press firmly straight down to create clean edges.
When you've cut as many hearts as possible from your first rolling, gather the scraps and re-roll them to maximize your yield. As you cut each cookie, transfer it carefully to your parchment-lined baking sheets, leaving about 2 inches of space between each heart.
If at any point the dough becomes too soft to work with, return it to the refrigerator for 10-15 minutes. This chilling process is crucial for maintaining sharp edges and preventing spread during baking.
Step 5. Bake and Cool Cookies
Successfully baking heart-shaped sugar cookies requires precise timing and careful attention to temperature.
You'll want to preheat your oven to 350°F (175°C) and position your racks in the middle position for even heat distribution.
Once you've arranged your heart-shaped cookies on parchment-lined baking sheets, leaving about 2 inches of space between each one, you're ready to begin baking.
Place your cookies in the preheated oven and set your timer for 10 minutes.
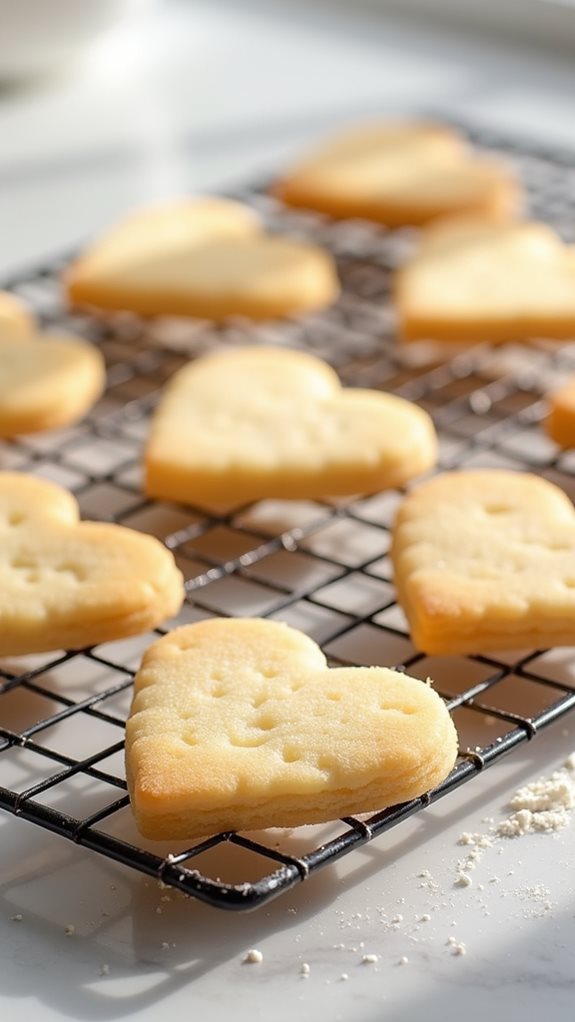
You'll know they're done when the edges turn a light golden color, while the centers remain slightly soft.
Don't overbake them, as they'll continue to set while cooling.
Remove the baking sheets from the oven and let the cookies rest for 5 minutes before transferring them to wire cooling racks.
If you try to move them too soon, they might break or lose their shape.
Allow them to cool completely, which typically takes about 30 minutes.
During this time, the cookies will firm up to achieve their perfect texture.
Once they're completely cool, you can store them in an airtight container or proceed with decorating.
Final Thoughts
Making heart-shaped sugar cookies brings joy to both bakers and those lucky enough to receive them. These timeless treats aren't just delicious; they're also an excellent way to show someone you care, whether it's for Valentine's Day, an anniversary, or just because.
You'll find that mastering this simple recipe opens up endless possibilities for creativity in decorating and gifting.
Remember that practice makes perfect when it comes to rolling and cutting the dough. Don't get discouraged if your first batch isn't picture-perfect – even slightly imperfect cookies will taste wonderful.
You can enhance your cookies by experimenting with different extracts, such as almond or lemon, or by adding food coloring to create vibrant designs.
If you're planning to make these cookies regularly, invest in quality cookie cutters and baking sheets, as they'll make a noticeable difference in your results.
Store your finished cookies properly in an airtight container, and they'll maintain their freshness for up to a week.
With this versatile recipe in your baking arsenal, you'll be ready to create sweet memories for any special occasion.