Like tiny jewel boxes filled with summer's sweetness, jam tarts have graced British tea tables for centuries. You'll find these charming pastries aren't just simple treats; they're windows into a rich culinary heritage that began in medieval kitchens. While you might think they're merely pastry shells with jam, there's an artistry to creating the perfect tart – from achieving that delicate, buttery crust to selecting preserves that strike just the right balance between tart and sweet. If you're ready to explore this beloved tradition, you'll discover there's more to these diminutive desserts than meets the eye.
Key Takeaways
- Jam tarts are traditional British pastries made with buttery shortcrust pastry shells filled with sweet fruit preserves.
- Basic ingredients include flour, cold butter, water, salt, and fruit jam, with strawberry being the most traditional filling choice.
- Bake at 375°F for 15-20 minutes until the pastry turns golden brown and the jam bubbles.
- The pastry dough must be chilled properly and filled to two-thirds capacity to prevent overflow during baking.
- Popular as teatime treats, these versatile pastries can feature different jam flavors and work well for various occasions.
History
The humble jam tart traces its origins to medieval England, where preserving fruit in sugar created the first jams and fruit preserves.
You'll find that these early preserves became a practical way to enjoy fruit flavors throughout the year, and creative bakers soon discovered they could enhance pastries with these sweet fillings.
During the Tudor period, you'd have seen jam tarts gaining popularity among both nobility and common folk.
They're mentioned in historical cookbooks dating back to the 16th century, where they're often described as "sweet meat tarts" filled with preserved fruits.
While wealthy households enjoyed elaborate versions decorated with intricate pastry work, simpler variations became a staple in working-class homes.
Recipe
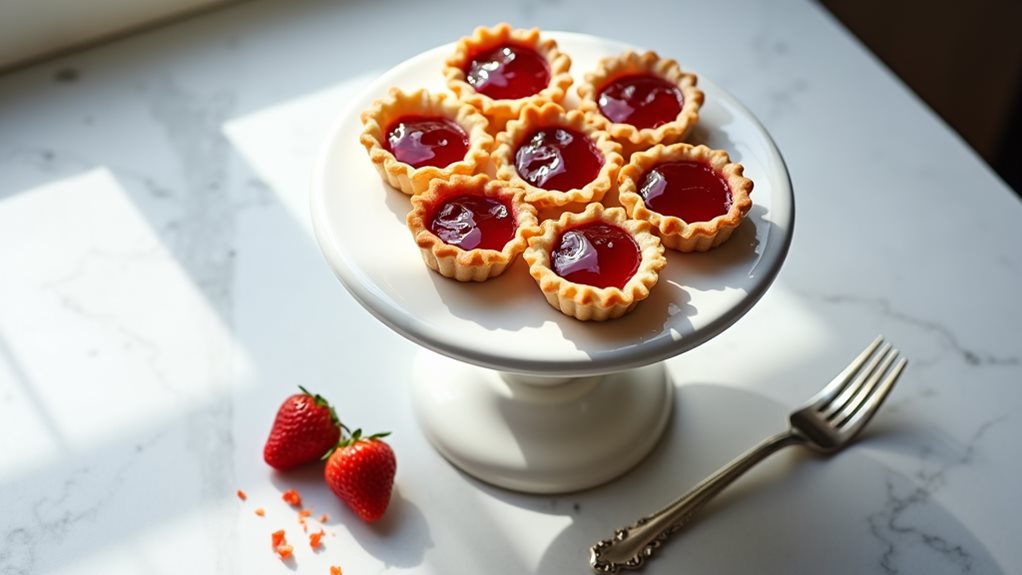
Jam Tarts: A Classic British Treat
These delightful jam tarts combine buttery pastry with sweet, fruity filling to create a perfect teatime treat. The crisp shell paired with warm, bubbling jam creates an irresistible combination that has been enjoyed for generations across British households.
The beauty of this recipe lies in its simplicity and versatility. While strawberry jam is traditional, any preferred fruit preserve can be used to create these charming little tarts, making them endlessly customizable to suit different tastes and occasions.
Ingredients:
- 2 cups (250g) all-purpose flour
- 1 cup (227g) cold butter, cubed
- 1/4 cup (60ml) cold water
- 1/4 teaspoon salt
- 1 cup (320g) fruit jam of choice
Mix flour and salt in a large bowl, then work the cold butter into the mixture using your fingertips until it resembles breadcrumbs. Gradually add cold water while stirring with a knife until the dough comes together. Wrap in plastic wrap and refrigerate for 30 minutes.
Roll out the dough and cut circles to fit a 12-hole tart tin. Press the dough circles gently into the tins, fill each with a spoonful of jam, and bake at 375°F (190°C) for 15-20 minutes until the pastry is golden brown and the jam is bubbling.
Keep the pastry as cold as possible throughout preparation for the best results, and work quickly to prevent the butter from softening. Avoid overfilling the tarts, as the jam will bubble and expand during baking – a teaspoon of jam per tart is usually sufficient.
If the jam is too thick to spread easily, warm it slightly before filling the tarts. Cool the tarts in the tin for 5 minutes before transferring to a wire rack, and allow them to cool completely before storing in an airtight container.
Cooking Steps
You'll want to start by chilling your pastry ingredients overnight to ensure the best texture, followed by mixing your dry ingredients together until well combined.
Once your pastry dough is ready, cut it into rounds that fit your tart tins, carefully fill each one with your chosen jam without overfilling, and then bake them until they're golden brown and bubbling.
Your tarts should emerge from the oven with crisp, flaky shells and perfectly set jam centers that aren't too runny or overcooked.
Step 1. Chill Pastry Ingredients Overnight
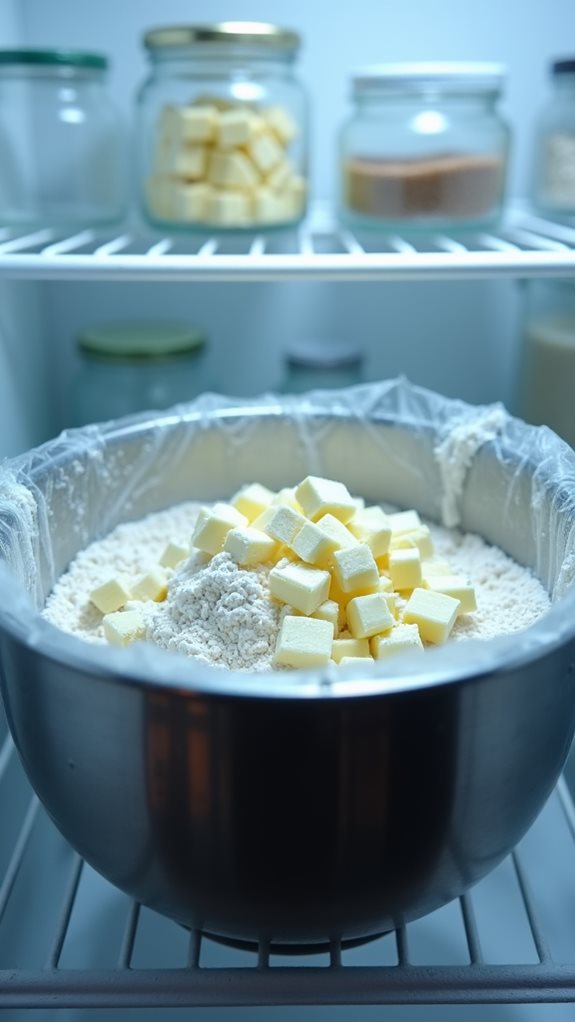
For optimal flakiness, chilling your pastry ingredients overnight in the refrigerator will ensure the butter stays cold and firm.
You'll want to cube your butter first, then place it in an airtight container alongside your measured flour and salt. The cold temperature helps prevent the butter from melting too quickly when you're working with the dough, which is crucial for achieving those desired flaky layers.
When you're ready to make your jam tarts the next day, you'll find that working with the chilled ingredients creates a more manageable dough that's less likely to stick to your work surface.
You'll need to measure out your cold water just before mixing, as it shouldn't be pre-chilled overnight.
Keep your workspace cool by avoiding areas near the oven or direct sunlight, and don't forget to handle the dough minimally to prevent the warmth of your hands from softening the butter.
If at any point during preparation your dough begins to feel too warm, you can return it to the refrigerator for 15-20 minutes before continuing with your tart-making process.
Step 2. Mix Dry Ingredients Together
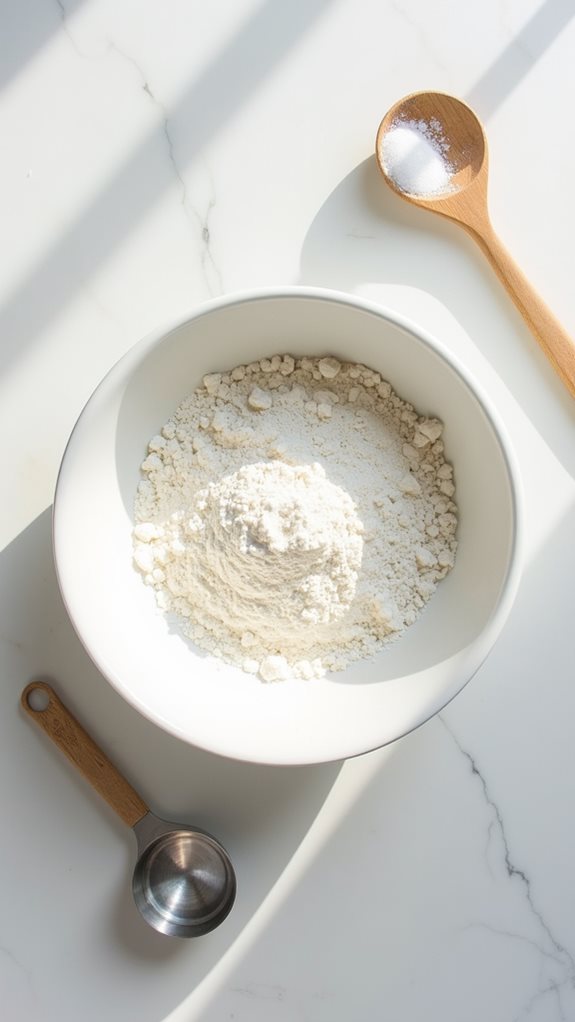
The flour-salt fusion marks the crucial first step in creating your jam tart base.
You'll need to measure out exactly 2 cups of all-purpose flour and transfer it to a large mixing bowl, ensuring there aren't any lumps or foreign particles. Add 1/4 teaspoon of salt to the flour, distributing it evenly throughout the mixture.
Using a whisk or fork, thoroughly combine these dry ingredients with gentle, deliberate strokes. You'll want to ensure the salt is evenly distributed throughout the flour, as this will affect the overall taste of your pastry.
While this step might seem simple, it's essential for creating a well-balanced dough that will produce perfectly crisp tart shells. Don't rush this process – proper incorporation of the salt helps develop the gluten structure you'll need for a tender yet stable pastry.
Once you've achieved a uniform mixture, you can move forward with adding your cold butter.
Remember that keeping your workspace clean and organized during this initial phase will make the subsequent steps much more manageable, especially when you're handling the wet ingredients.
Step 3. Cut Pastry Into Rounds

After your dry ingredients are properly mixed, roll out your chilled pastry dough on a lightly floured surface until it reaches about 1/8 inch thickness.
Using a round cookie cutter or the rim of a drinking glass that's slightly larger than your tart tin holes, carefully cut circles from the dough. You'll want these circles to be approximately 3-4 inches in diameter to ensure they'll fit properly in your tin.
Continue cutting rounds until you've used most of the dough, then gather the scraps and re-roll them to cut additional circles.
Don't re-roll the dough more than twice, as this can make your pastry tough. When cutting, press straight down with your cutter rather than twisting it, as twisting can seal the pastry's edges and prevent proper rising.
If you're working in a warm kitchen, you might need to return the dough to the refrigerator briefly between batches to keep it firm.
Once you've cut all your rounds, they're ready to be gently pressed into your prepared tart tin, creating neat, even shells for your jam filling.
Step 4. Fill Tarts With Jam
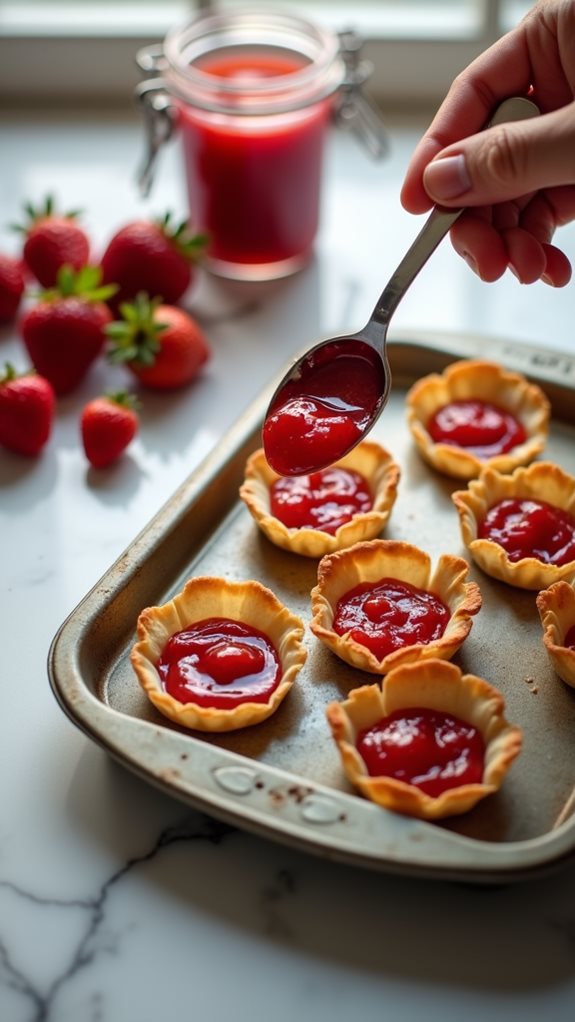
Carefully spooning jam into each pastry shell marks a crucial step in creating perfect jam tarts. You'll want to fill each shell about two-thirds full, as the jam will bubble and expand during baking.
If you're working with thick jam, warm it slightly in the microwave for 10-15 seconds to make it more spreadable.
When filling your tarts, you'll need to maintain a delicate balance. Too little jam will result in dry, disappointing tarts, while too much will cause the filling to overflow and stick to the tin.
Use a small spoon to add approximately one teaspoon of jam per tart, ensuring you don't get any on the pastry edges. If you do spill jam on the edges, clean it off with a paper towel, as this will prevent the tarts from sticking to the tin after baking.
For variety, you can use different jam flavors in the same batch – just be sure to work with one flavor at a time to avoid mixing them.
Remember that smoother jams tend to work better than chunky preserves, as they'll spread more evenly and create a more uniform filling.
Step 5. Bake Until Golden Brown
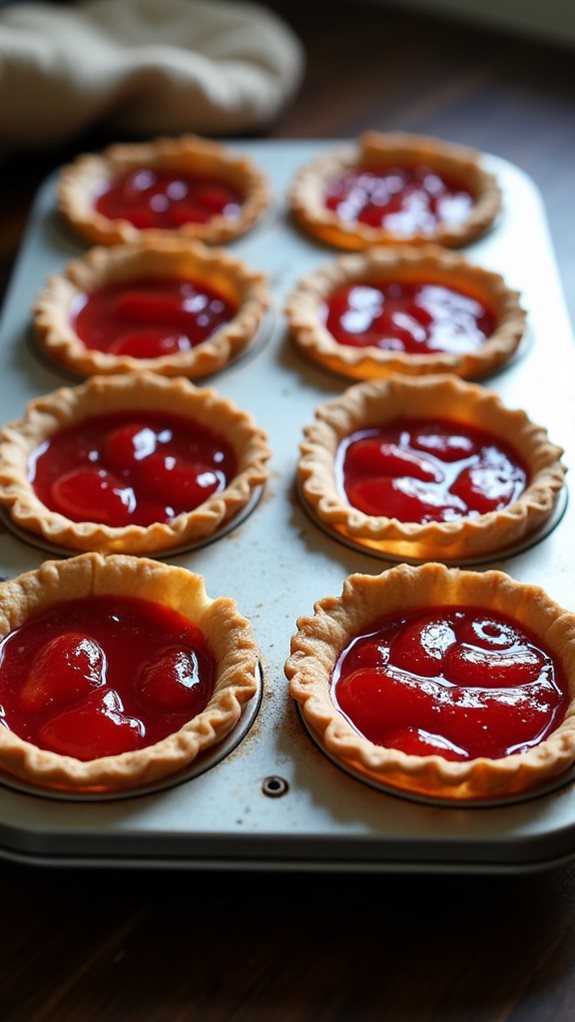
Once your tarts are filled with jam, it's time to start baking. Preheat your oven to 375°F (190°C) and position the rack in the center for even heat distribution.
Before placing your tarts in the oven, check that none of the jam fillings are overflowing, as this can cause sticking and burning during the baking process.
Place your filled tart tin on a larger baking sheet to catch any potential spillovers and make handling easier. You'll want to bake the tarts for 15-20 minutes, keeping a close eye on their progress after the first 12 minutes. The pastry should turn a lovely golden brown color, and you'll notice the jam beginning to bubble gently.
Don't be tempted to remove them too early – undercooked pastry will be doughy rather than crisp.
Once they're done, let the tarts cool in the tin for 5 minutes before carefully transferring them to a wire rack. The jam will be extremely hot, so don't rush this cooling period.
You'll know they're perfectly baked when the pastry edges are crisp and golden, while the base remains firm but not darkened.
Final Thoughts
Making jam tarts offers a delightful way to create cherished memories in the kitchen while producing a classic treat that never goes out of style. You'll find that these simple pastries can become your go-to dessert for family gatherings, afternoon tea, or whenever you're craving something sweet and homemade.
As you perfect your jam tart technique, don't be afraid to experiment with different jam flavors and combinations. You can even try making your own homemade jam for an extra special touch. Remember that practice makes perfect, and even if your first batch isn't picture-perfect, they'll still taste wonderful. Keep your pastry cold, don't overfill the shells, and you'll soon master this traditional treat.
While store-bought versions are available, nothing compares to the satisfaction of pulling your own freshly baked jam tarts from the oven. The buttery aroma, the glistening jam, and the proud feeling of having created something from scratch make the effort worthwhile.
Whether you're an experienced baker or just starting out, these classic tarts deserve a place in your baking repertoire.