You've probably noticed Lemon Kiss Cookies at your local bake sales or family gatherings, with their distinctive crackled tops and bright citrus aroma. While they might seem like a modern creation, these tender treats actually trace back to the 1950s when home bakers discovered the convenience of cake mix hacks. Today's version maintains that same simplicity while delivering a perfect balance of sweet and tart flavors that'll make your taste buds dance. If you're wondering how such an effortless recipe can produce such impressive results, there's more to these cookies than meets the eye.
Key Takeaways
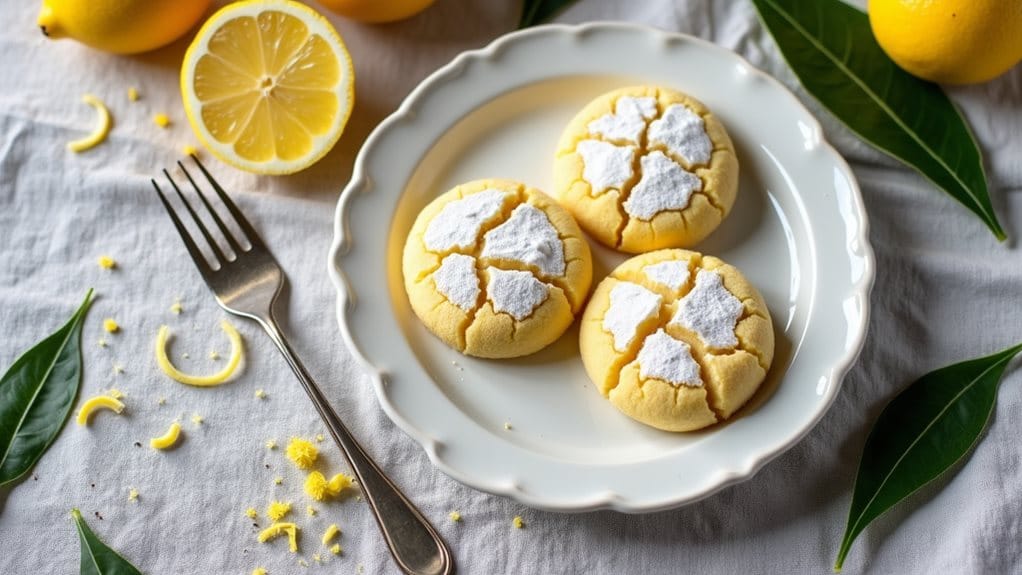
- Lemon Kiss Cookies combine cake mix with fresh lemon juice for a quick, homemade-tasting cookie with a crackled, sugar-dusted exterior.
- The recipe requires only five ingredients: lemon cake mix, eggs, vegetable oil, fresh lemon juice, and powdered sugar.
- Bake at 350°F (175°C) for 9-11 minutes until edges are golden, watching closely during final minutes.
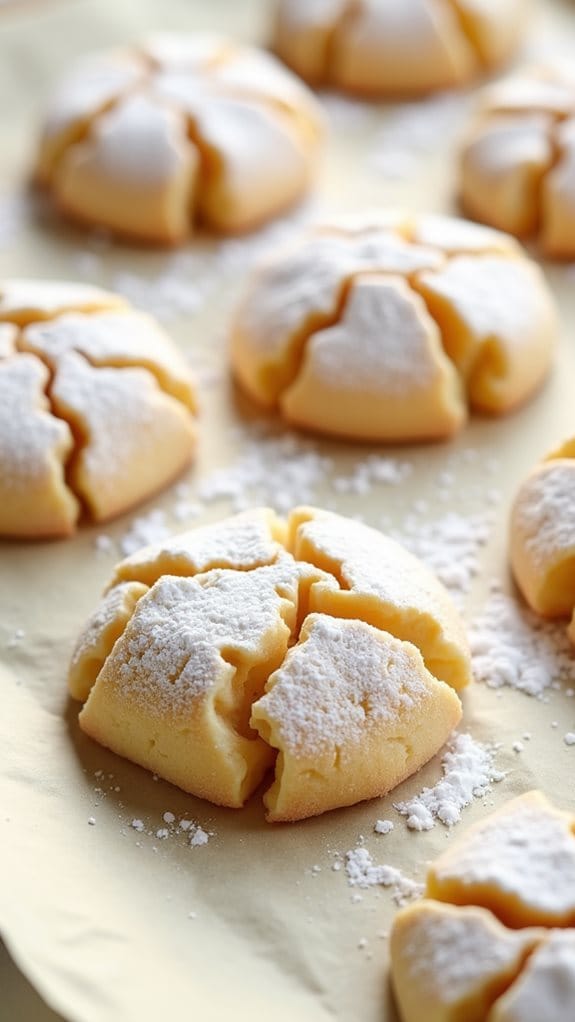
- Cookies feature a sweet powdered sugar coating with cracks that form during baking, creating a tender, buttery interior.
- Store in an airtight container for up to 5 days, with best results when consumed within 48 hours.
History
Lemon Kiss Cookies emerged out of the mid-20th century's cake mix revolution, when home bakers began experimenting with boxed mixes as shortcuts for traditional recipes. You'll find their origins closely tied to the convenience cooking movement that swept through American kitchens during the 1950s, as manufacturers introduced time-saving products for busy households.
During the 1960s, you'd see these cookies gaining popularity at community gatherings and bake sales, where their distinctive crackled appearance and bright citrus flavor made them stand out among traditional offerings.
They're part of a broader category known as "cake mix cookies," which you'll recognize as treats that transform boxed cake mix into chewy, tender cookies through the addition of eggs and oil. The "kiss" in their name refers to the light dusting of powdered sugar that gives them their signature sweet finish.
You can trace similar recipes in vintage community cookbooks and women's magazines from the era, though today's version has been refined to include fresh lemon juice for enhanced flavor.
Modern bakers continue to embrace these cookies for their reliability and consistent results.
Recipe
These bright and refreshing Lemon Kiss Cookies combine the tartness of fresh lemon with the sweetness of traditional sugar cookies, creating a delightful treat perfect for any occasion.
The cookies feature a distinctive crackled surface and a tender, buttery interior that melts in your mouth. Quick to prepare and requiring just a few simple ingredients, these cookies bring a burst of citrus flavor to afternoon tea, spring gatherings, or whenever you're craving something sweet with a lemony twist.
Their simplicity makes them accessible to bakers of all skill levels, while still delivering impressive results.
Ingredients:
- 1 box lemon cake mix (15.25 oz / 432g)
- 2 large eggs
- 1/2 cup vegetable oil (120ml)
- 2 tablespoons fresh lemon juice (30ml)
- 1/2 cup powdered sugar (60g)
In a large bowl, combine the lemon cake mix, eggs, vegetable oil, and fresh lemon juice, mixing until well incorporated. Chill the dough for 30 minutes. Preheat oven to 350°F (175°C).
Roll chilled dough into 1-inch balls, coat thoroughly in powdered sugar, and place 2 inches apart on parchment-lined baking sheets. Bake for 9-11 minutes until edges are lightly golden and tops have developed characteristic cracks.
For best results, avoid overmixing the dough to prevent tough cookies. The dough will be quite sticky, so chilling is crucial for easier handling.
If the powdered sugar becomes damp while rolling cookies, use a separate bowl with fresh sugar to continue coating. Store finished cookies in an airtight container for up to 5 days, though they're best enjoyed within 48 hours when freshness and texture are at their peak.
Cooking Steps
You'll start by combining the wet ingredients in a large bowl before gradually incorporating the dry lemon cake mix until well blended.
After chilling your dough for thirty minutes, you're ready to shape it into one-inch balls and roll them in powdered sugar.
Place your sugar-coated dough balls two inches apart on a parchment-lined baking sheet and bake at 350°F until the edges turn golden and the tops develop their signature crackled appearance, typically 9-11 minutes.
Step 1. Mix Wet Ingredients Together
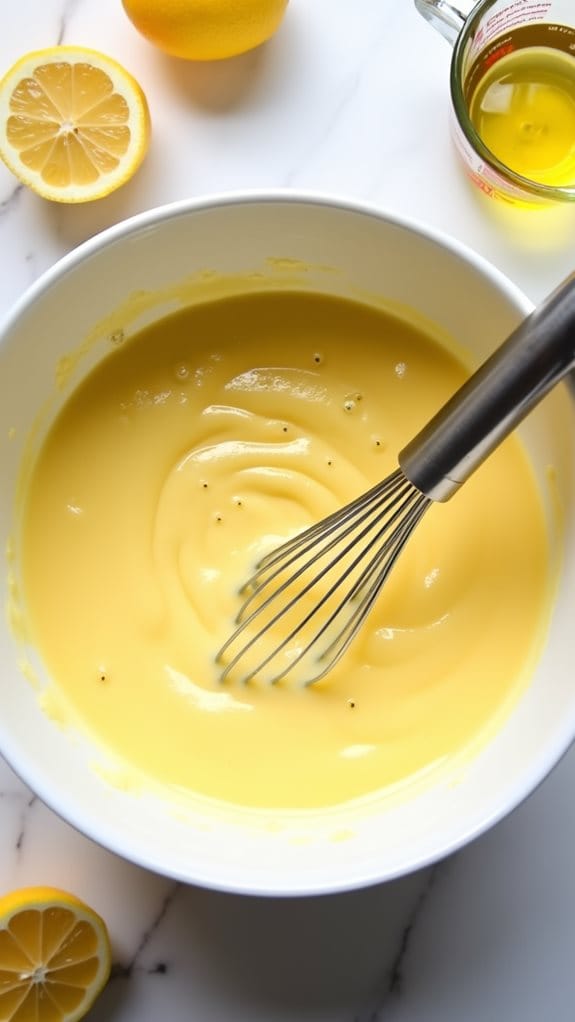
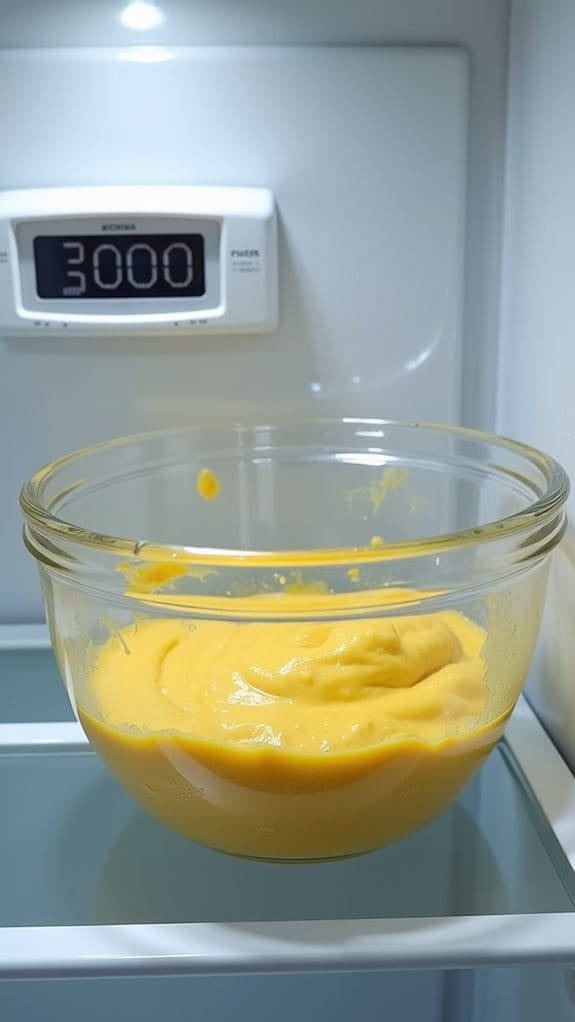
In a large mixing bowl, combine the fresh lemon juice, vegetable oil, and eggs with the lemon cake mix. You'll want to mix these ingredients until they're thoroughly incorporated, but be careful not to overmix, as this can lead to tough cookies. The mixture should form a sticky, cohesive dough that's bright yellow in color.
As you're mixing, you might notice the dough becoming quite thick and slightly resistant. That's exactly what you want – it should be substantial enough to roll into balls later. If you find that the dough is sticking excessively to your mixing utensil, you can lightly coat it with vegetable oil to make the process easier.
The final consistency should be similar to a soft cookie dough, neither too wet nor too dry.
Once you've achieved the right consistency, you'll need to cover the bowl with plastic wrap and refrigerate the dough for 30 minutes. This crucial chilling time allows the ingredients to meld together and makes the dough easier to handle when you're ready to form your cookies.
During this waiting period, you can prepare your baking sheets and preheat your oven.
Step 2. Add Dry Cake Mix

Starting with the dry cake mix, carefully pour the entire box (15.25 oz) into your mixing bowl before adding any wet ingredients.
You'll want to make sure there aren't any hard lumps in the mix, so break up any visible clumps with your fingers or a whisk before proceeding. If you notice any moisture in the mix, discard it and start with a fresh box, as dampness can affect the final texture of your cookies.
Now that you've added the cake mix, you'll create a small well in the center of the dry ingredients to help incorporate the wet mixture you've prepared. This technique ensures even distribution and prevents pockets of unmixed ingredients from forming in your dough.
As you combine the wet and dry components, use a sturdy spatula or wooden spoon to fold everything together, working from the bottom up. Don't worry if the mixture seems slightly thick at first – it'll gradually come together into a sticky, cohesive dough.
Remember not to overmix; stop as soon as you no longer see dry streaks in the batter to maintain the cookies' tender texture.
Step 3. Chill Dough Thirty Minutes
After mixing the dough together thoroughly, transfer it into a clean container and place it directly in the refrigerator for 30 minutes.
During this crucial chilling period, the ingredients will firm up properly, making the dough much easier to handle when you're ready to form your cookies. You'll notice that the chilled dough becomes less sticky and more manageable, which is essential for creating perfectly shaped balls later.
While you're waiting for the dough to chill, you can use this time to prepare your baking sheets by lining them with parchment paper and gathering your powdered sugar for rolling.
Don't try to rush the chilling process by placing the dough in the freezer, as this can affect the texture of your finished cookies. If you need to chill the dough longer than 30 minutes, that's perfectly fine – you can leave it refrigerated for up to 24 hours.
When the dough has finished chilling, you'll know it's ready when it feels cool to the touch and maintains its shape when you scoop it. The consistency should be firm but still pliable enough to roll into balls.
Step 4. Roll Dough in Sugar
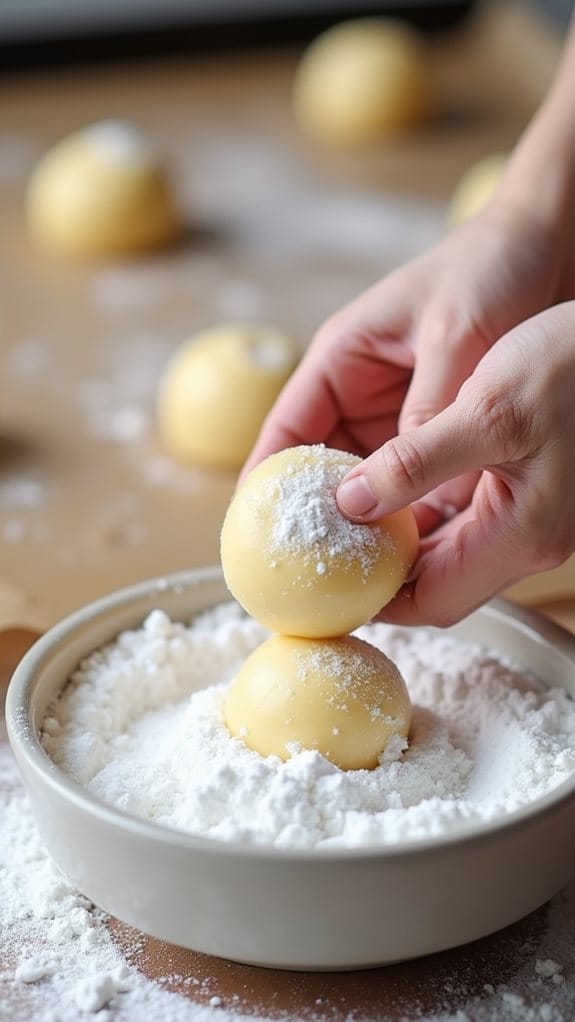
Once your dough has reached the proper chilled consistency, you'll begin the rolling process. Pour the powdered sugar into a shallow bowl, ensuring you have enough depth to coat the cookie dough balls completely.
Working quickly to keep the dough cool, scoop out portions and roll them between your palms to form 1-inch balls.
Drop each ball into the powdered sugar and roll it around until it's thoroughly coated with a thick, white layer. You'll want to work in small batches, preparing 4-5 balls at a time to maintain optimal dough temperature.
If you notice the powdered sugar becoming clumpy or wet from handling the dough, transfer fresh sugar to a clean bowl and continue the coating process.
Place your sugar-coated dough balls on the prepared baking sheet, spacing them about 2 inches apart to allow for spreading during baking.
Don't press down on the balls – they'll naturally flatten and develop their characteristic crackled appearance in the oven. The contrast between the powdered sugar coating and the cracks that form during baking creates the cookie's distinctive, appealing appearance.
Step 5. Bake Until Edges Golden
The properly preheated 350°F (175°C) oven will transform your sugar-coated dough balls into perfectly crackled lemon cookies in just 9-11 minutes.
As you place your baking sheet in the oven's center rack, you'll want to keep a close eye on the cookies' appearance, particularly during the final few minutes of baking.
You'll notice the cookies gradually spreading and developing their characteristic crackled surface while the powdered sugar creates a delicate, sweet exterior.
Watch for the edges to turn a light golden color, which indicates they're nearly done. Don't wait for the entire cookie to become golden, as this will result in over-baking.
The centers should appear set but still slightly soft, as they'll continue to firm up while cooling on the baking sheet.
If you're baking multiple batches, rotate your baking sheets halfway through the cooking time to ensure even browning.
Once you've achieved that perfect golden edge, remove the cookies from the oven and let them rest on the baking sheet for 5 minutes before transferring them to a wire rack to cool completely.
Final Thoughts
Whipping up these irresistible Lemon Kiss Cookies from start to finish takes under an hour, making them a perfect choice for last-minute entertaining or spontaneous baking sessions.
You'll find that the combination of cake mix convenience and fresh lemon juice creates cookies that taste completely homemade, while the crackled, sugar-dusted exterior adds an elegant touch to your presentation.
When you're storing these citrus delights, remember that they'll maintain their best texture and flavor within the first two days, though they'll stay fresh for up to five days in an airtight container.
If you're planning to serve them at an event, you can bake them the day before without compromising their quality.
Don't hesitate to experiment with the recipe by adjusting the amount of fresh lemon juice to match your taste preferences, though the recommended two tablespoons creates an ideal balance of sweet and tart flavors.
These cookies aren't just delicious – they're also remarkably foolproof, which means you'll achieve consistent results every time you make them, even if you're new to baking.
[DIRECTIONS]: