Just as you're searching for a sophisticated dessert solution, these Three-Ingredient Chocolate Pots have entered your culinary radar at the perfect moment. You'll find that this French-inspired creation transforms basic pantry staples into a luxurious treat that rivals restaurant offerings. While the recipe's simplicity might make you skeptical, the magic lies in the technique of combining dark chocolate, heavy cream, and egg yolks to achieve a silky-smooth consistency that melts effortlessly on your tongue. Before you dismiss this as just another chocolate dessert, you'll want to discover the surprising details that make this recipe a reliable crowd-pleaser.
Key Takeaways
- Dark chocolate, heavy cream, and egg yolks are the only essential ingredients needed to make classic chocolate pots.
- Heat heavy cream until simmering, then combine with chopped dark chocolate (70% cocoa solids) for proper melting and texture.
- Temper egg yolks carefully with the warm chocolate mixture to create a smooth, custard-like consistency.
- Chill the mixture for at least 4 hours or overnight in the refrigerator until set.
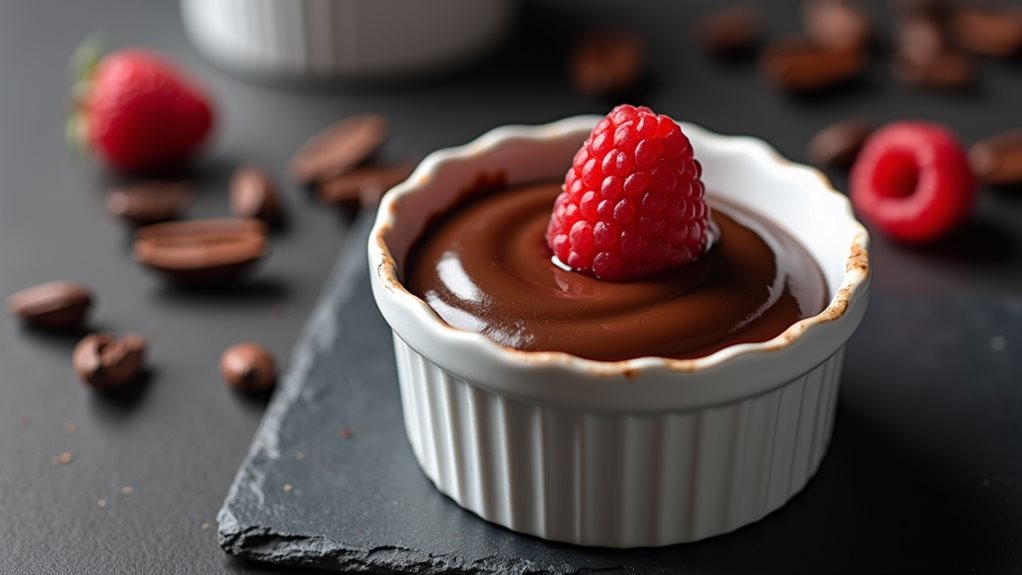
- Serve at room temperature and optionally garnish with sea salt, whipped cream, or fresh berries.
History
Chocolate pots trace their roots back to 17th century French cuisine, where they emerged as a refined variation of traditional chocolate puddings. You'll find their earliest mentions in aristocratic recipe books, where they were served as a luxurious dessert at elegant soirées and royal gatherings. The French nobility's passion for chocolate helped establish these silky desserts as a symbol of sophistication.
The evolution of chocolate pots has been influenced by culinary innovations across Europe. You're following a tradition that's been simplified from the original recipes, which often included complex spice combinations and elaborate preparation methods.
In the 18th and 19th centuries, as chocolate became more accessible, home cooks began adapting these once-exclusive desserts for their own tables. The modern three-ingredient version you'll make today is a streamlined adaptation that maintains the essence of those historical recipes while eliminating unnecessary complexity.
What's remarkable is how this dessert has retained its fundamental character – the smooth, rich texture and intense chocolate flavor that made it popular centuries ago remains unchanged, proving that sometimes the simplest preparations are the most enduring.
Recipe
Three-Ingredient Chocolate Pots are the epitome of elegant simplicity in dessert making. These rich, silky smooth chocolate custards require minimal effort but deliver maximum impact, making them perfect for both casual family gatherings and sophisticated dinner parties.
This classic French-inspired dessert transforms high-quality dark chocolate, heavy cream, and egg yolks into a luxuriously smooth and creamy treat. The key to success lies in the gentle heating process and proper tempering of ingredients, resulting in a perfectly set dessert with an intense chocolate flavor.
- 8 oz (225g) dark chocolate (70% cocoa solids), chopped
- 1 cup (240ml) heavy cream
- 2 large egg yolks
- ¼ teaspoon vanilla extract (optional)
- Pinch of sea salt (optional)
Heat the heavy cream in a saucepan until just simmering, then remove from heat. Add the chopped chocolate and let stand for 2 minutes before stirring until completely smooth.
In a separate bowl, whisk the egg yolks, then slowly stream the warm chocolate mixture into the eggs while whisking continuously. Add vanilla and salt if using. Pour the mixture into four 4-ounce ramekins or serving cups and refrigerate for at least 4 hours or overnight until set.
For the best texture and flavor, use high-quality dark chocolate with at least 70% cocoa solids. If the mixture appears slightly grainy, pass it through a fine-mesh sieve before pouring into ramekins.
The desserts can be made up to three days in advance and stored covered in the refrigerator. Allow them to sit at room temperature for 15-20 minutes before serving to achieve the perfect creamy consistency.
To prevent a skin from forming during refrigeration, press plastic wrap directly onto the surface of each pot.
Cooking Steps
Start your chocolate pots by gathering high-quality dark chocolate and heating heavy cream in a saucepan until it's just simmering.
You'll need to carefully combine the warm chocolate mixture with beaten egg yolks, whisking continuously to create a smooth, glossy consistency.
Once you've achieved the perfect texture, pour the mixture into individual ramekins and let them chill in the refrigerator for at least 4 hours until they're perfectly set.
Step 1. Gather Quality Dark Chocolate
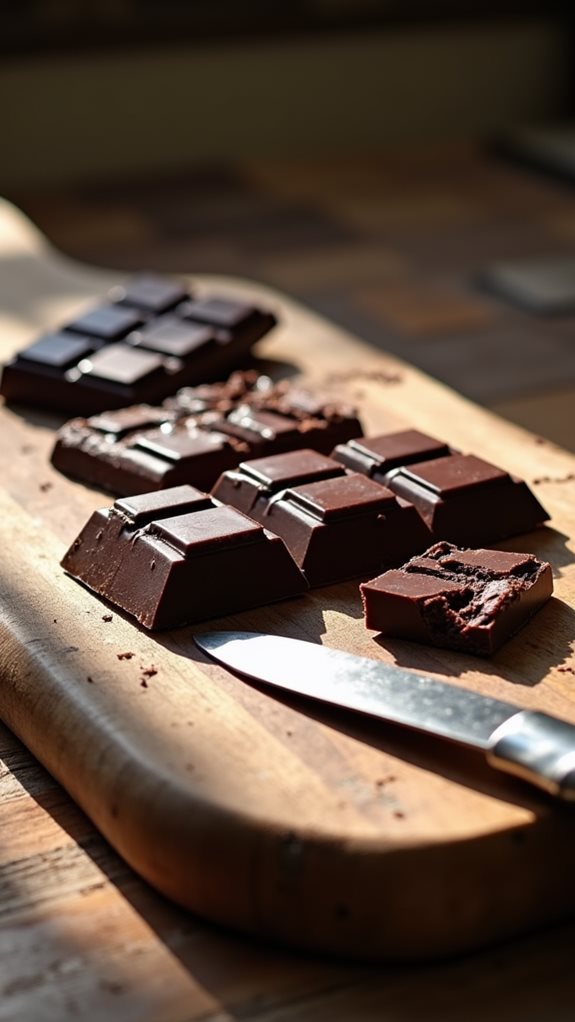
For the best results, you'll need 8 ounces of high-quality dark chocolate containing at least 70% cocoa solids. Look for brands that specialize in baking chocolate or premium eating chocolate, as these will melt more smoothly and provide a richer, more complex flavor profile.
When selecting your chocolate, avoid using chocolate chips, as they often contain additives that can affect the final texture of your dessert.
Before you begin cooking, chop your chocolate into small, uniform pieces about the size of chocolate chips. This ensures even melting and prevents scorching when combined with the hot cream.
If you're working in a warm kitchen, keep your chopped chocolate in the refrigerator until you're ready to use it. When measuring, use a kitchen scale for precision, as volume measurements can be inconsistent with chopped chocolate.
If you don't have a scale, 8 ounces equals roughly 1½ cups when chopped. Remember that the quality of your chocolate will directly impact the final taste of your dessert, so don't hesitate to invest in a premium brand for this recipe.
Step 2. Heat Cream Until Simmering

The gentle heating of heavy cream marks the crucial first step in creating these decadent chocolate pots.
You'll want to pour your measured cream into a clean, heavy-bottomed saucepan, ensuring there's enough space for the liquid to expand slightly as it warms. Place the pan over medium-low heat, watching carefully as small bubbles begin forming around the edges.
As you heat the cream, you'll notice it starting to steam and develop tiny bubbles along the sides of the pan – this is exactly what you're looking for.
Don't let the cream reach a rolling boil, as this can affect the final texture of your dessert. Instead, look for that perfect moment when the cream is just beginning to simmer, with small bubbles consistently breaking the surface.
You'll know you've reached the right temperature when you can see steam rising and the cream has heated through but isn't vigorously bubbling.
Once you've achieved this gentle simmer, immediately remove the pan from the heat – the cream is now ready for the next step of melting your chocolate.
Step 3. Combine Eggs With Chocolate Mixture
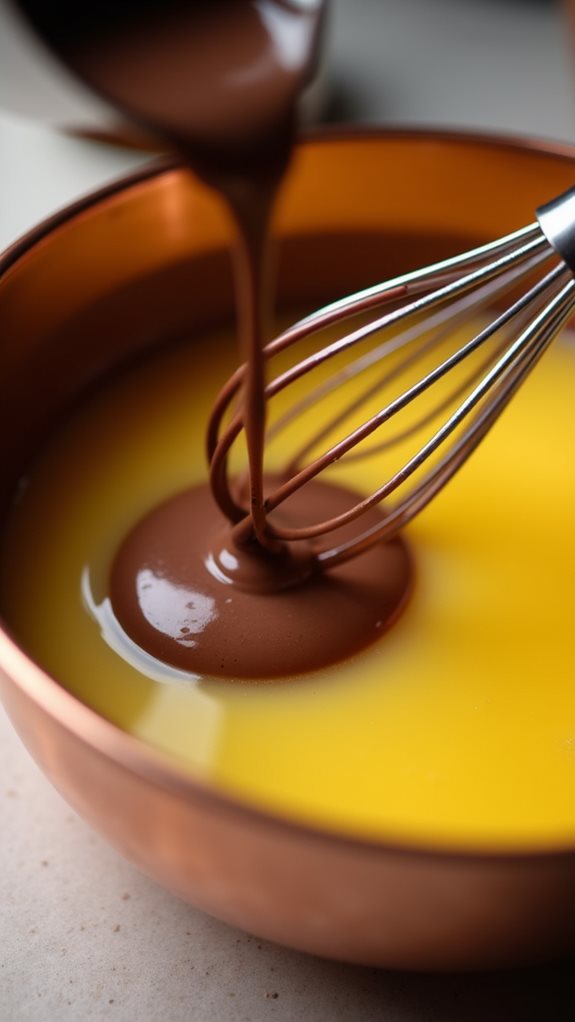
Combining the eggs with your chocolate mixture requires careful attention to prevent scrambling the yolks. You'll need to temper the eggs properly, which means slowly introducing the warm chocolate mixture while constantly whisking to gradually raise their temperature. This technique ensures you'll achieve a silky-smooth texture in your final dessert.
Begin by placing your egg yolks in a medium bowl and whisking them until they're just combined. Next, you'll want to slowly stream about one-third of the warm chocolate mixture into the yolks, whisking continuously as you pour. This initial step brings the eggs up to temperature without cooking them.
Once you've incorporated this portion, continue adding the remaining chocolate mixture in a steady stream while maintaining your whisking motion. If you notice any lumps forming, you can strain the mixture through a fine-mesh sieve before proceeding. The finished mixture should be completely smooth and glossy, with no streaks or pieces of egg visible.
At this point, you can add the optional vanilla extract and salt, whisking just until they're incorporated throughout the mixture.
Step 4. Pour Into Serving Dishes
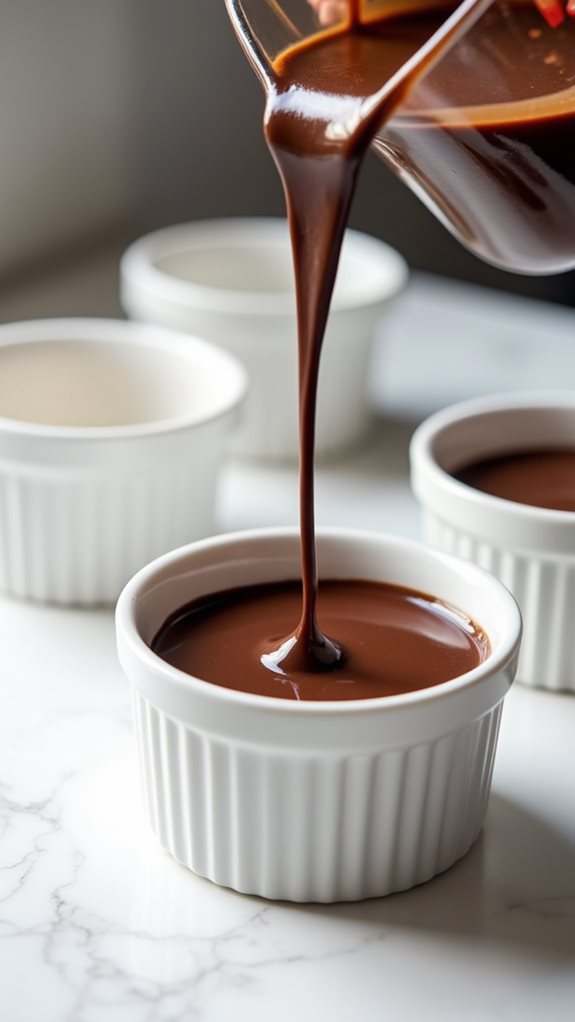
Once your chocolate mixture is properly tempered and smooth, you'll need to carefully divide it among your serving vessels. For the most elegant presentation, choose small ramekins, espresso cups, or dessert glasses that hold approximately 4 ounces each.
You'll want to pour slowly and deliberately to avoid creating air bubbles or splashing the sides of the containers. Before pouring, place your serving vessels on a stable, level surface, preferably on a baking sheet for easier transport to the refrigerator.
If you're using a pitcher or spouted measuring cup, you can achieve more precise pours, but a careful hand with a regular bowl works just as well. Fill each container about three-quarters full, leaving some space at the top for optional garnishes later.
If you notice any air bubbles on the surface, gently tap the bottom of each vessel against the counter to release them. Once filled, carefully transfer your chocolate pots to the refrigerator, keeping them level to ensure they set evenly.
It's helpful to clear a flat shelf beforehand where they won't be disturbed during the setting process.
Step 5. Chill Until Firm
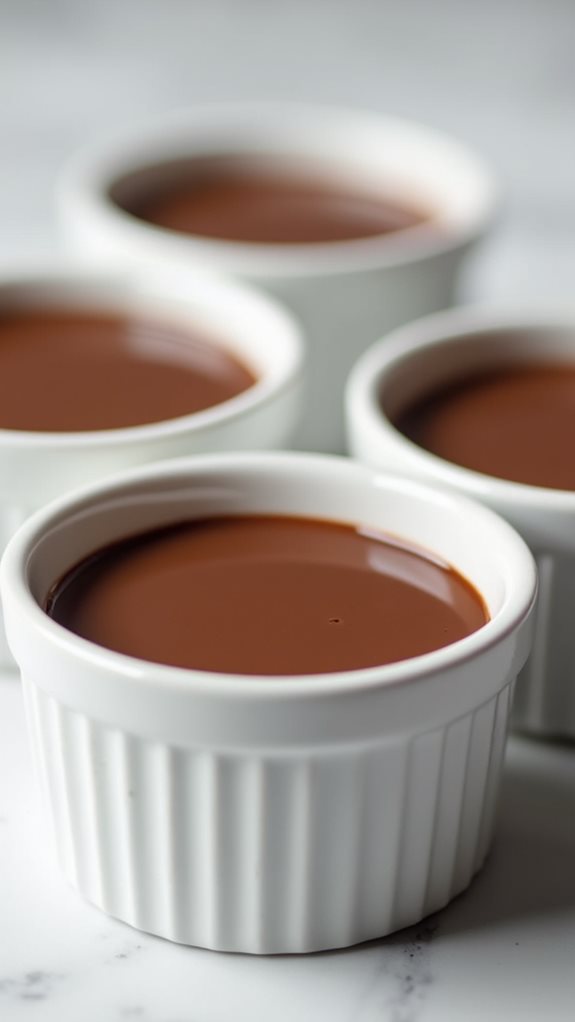
After carefully pouring your chocolate mixture into serving vessels, proper chilling is crucial for achieving the perfect silky texture. Place your ramekins in the refrigerator, making sure they're positioned on a flat surface where they won't be disturbed.
You'll need to allow at least 4 hours of chilling time, though overnight refrigeration will give you the most reliable results.
During the chilling process, you'll notice the mixture gradually firming up as it sets. Don't be tempted to check them too frequently, as maintaining a consistent temperature is key to proper setting.
If you're planning to serve them the same day, aim to start the chilling process at least 6 hours before your intended serving time. For the best texture, you'll want to remove the pots from the refrigerator about 15-20 minutes before serving – this allows them to soften slightly while maintaining their structure.
Cover each pot with plastic wrap if you're chilling them for longer than 4 hours to prevent them from absorbing any refrigerator odors or forming a skin on top.
Your patience will be rewarded with perfectly set, silky-smooth chocolate pots.
Final Thoughts
Whether you're an experienced cook or just starting out, these Three-Ingredient Chocolate Pots prove that elegant desserts don't require complex techniques or lengthy ingredient lists. The simplicity of dark chocolate, heavy cream, and egg yolks creates a luxurious dessert that's sure to impress your guests while keeping your preparation stress-free and straightforward.
You'll find that these chocolate pots are incredibly versatile, allowing you to experiment with different garnishes or flavor variations once you've mastered the basic recipe. While they're delicious on their own, you can enhance them with a sprinkle of sea salt, a dollop of whipped cream, or fresh berries.
Remember that success lies in using high-quality chocolate and maintaining gentle heat throughout the preparation process. Don't rush the chilling time, as proper setting is crucial for achieving that perfect silky texture.
With the ability to make these pots up to three days in advance, you'll have a reliable dessert option for both planned dinner parties and unexpected guests. The result is always a sophisticated treat that belies its simple preparation.