Did you know that gingerbread cookies have been around for over a thousand years? These spicy-sweet treats have stood the test of time, evolving from medicinal remedies to beloved holiday staples. You've probably encountered them at festive gatherings or bakery displays, but there's more to these cookies than meets the eye. From their rich history to the art of decorating with royal icing, gingerbread cookies offer a world of culinary exploration. Whether you're a seasoned baker or a curious novice, understanding the secrets behind these iconic treats can elevate your holiday baking game to new heights.
Key Takeaways
- Gingerbread cookies are a traditional holiday treat with medieval European origins, popularized by Queen Elizabeth I.
- The classic recipe requires only five key ingredients, making it accessible for bakers of all skill levels.
- Royal icing is used for decorating cooled cookies, allowing for creative designs and festive embellishments.
- Proper cooling of cookies is essential before applying royal icing to ensure successful decoration.
- Decorated gingerbread cookies can be stored in an airtight container for up to a week, making them ideal for gifts or gatherings.
History
Gingerbread cookies have a rich history dating back centuries. You'll find their origins in medieval Europe, where ginger was prized for its medicinal properties and ability to preserve food. The first gingerbread recipes appeared in the 11th century, brought to Europe by returning Crusaders. Initially, these treats were reserved for royalty and special occasions due to the high cost of spices.
As trade routes expanded and spices became more accessible, gingerbread's popularity grew. In 16th century England, Queen Elizabeth I is credited with creating the tradition of decorating gingerbread cookies, often fashioning them into the likenesses of her guests.
German bakers took gingerbread to new heights, creating intricate designs and shapes that became staples at Christmas markets. The tradition of gingerbread houses emerged in the early 19th century, inspired by the Brothers Grimm fairy tale "Hansel and Gretel."
Today, you'll find gingerbread cookies enjoyed worldwide, with each culture adding its own unique twist to the recipe. From the spicy Lebkuchen of Germany to the softer, cake-like variety in the United States, gingerbread continues to evolve while maintaining its cherished place in holiday traditions.
Recipe
Gingerbread cookies are a beloved holiday tradition that brings warmth and cheer to any festive gathering. Their spicy aroma and crisp texture make them a perfect canvas for decorating, turning simple cookies into edible works of art.
These cookies aren't only delicious but also fun to make, allowing bakers of all skill levels to participate in the joyful ritual of holiday baking. This simplified recipe uses only five key ingredients to create classic gingerbread cookies with royal icing.
By focusing on essential flavors and textures, this streamlined version makes it easy for anyone to enjoy the timeless tradition of gingerbread cookie making without the need for an extensive list of ingredients or complicated techniques.
- 2 1/2 cups (310g) all-purpose flour
- 1/2 cup (100g) brown sugar
- 1/4 cup (60ml) molasses
- 1/2 cup (115g) unsalted butter, softened
- 2 cups (240g) powdered sugar
To make the gingerbread cookies, preheat the oven to 350°F (175°C). In a large bowl, mix the flour and brown sugar. In a separate bowl, cream together the molasses and softened butter.
Gradually add the dry ingredients to the wet mixture, stirring until a dough forms. Roll out the dough on a floured surface and cut into desired shapes. Bake for 8-10 minutes until the edges are lightly browned.
For the royal icing, slowly mix water into the powdered sugar until it reaches a smooth, pipeable consistency. Once the cookies are cooled, decorate with the royal icing as desired.
For best results, chill the dough for at least 30 minutes before rolling and cutting. This will help the cookies maintain their shape during baking.
When making the royal icing, add water very gradually to avoid making it too thin. If the icing becomes too runny, simply add more powdered sugar to thicken it.
Store decorated cookies in an airtight container at room temperature for up to a week, or freeze for longer storage. Remember that the key to beautifully decorated cookies is patience – take your time with the icing and allow each layer to dry before adding more details.
Cooking Steps
To make your gingerbread cookies, you'll start by mixing the dry ingredients in one bowl and creaming the butter and molasses in another.
Once you've combined the wet and dry mixtures to form a dough, you'll roll it out and cut it into your desired shapes.
After baking and cooling your cookies, they'll be ready for decorating with royal icing.
Step 1. Mix Dry Ingredients Together
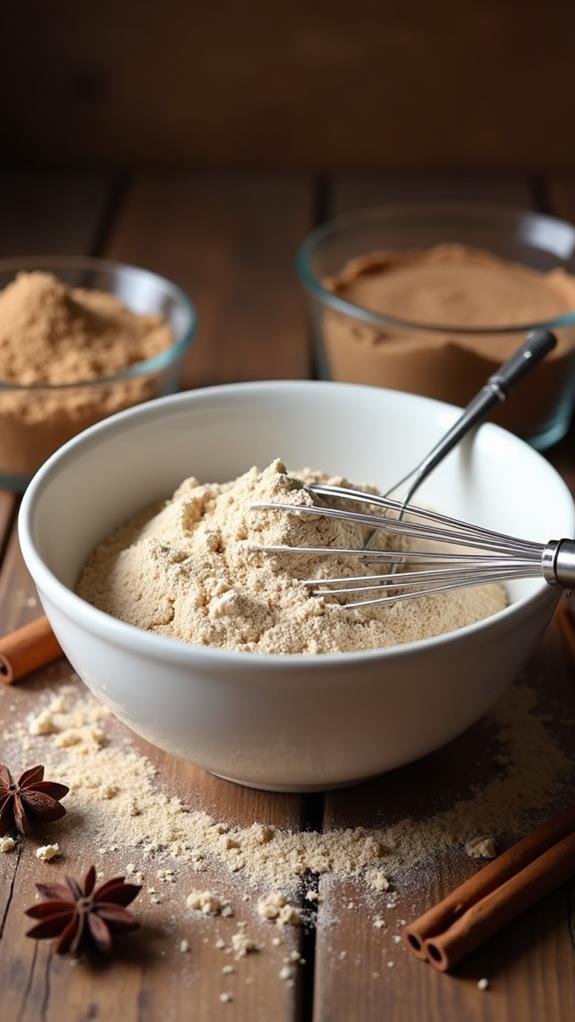
The first step in creating these delicious gingerbread cookies is to combine the dry ingredients. You'll need to gather your all-purpose flour and brown sugar, which form the base of your cookie dough.
In a large mixing bowl, measure out 2 1/2 cups of flour, ensuring you level it off for accuracy. Next, add 1/2 cup of brown sugar to the bowl. The brown sugar will contribute to the cookies' rich flavor and chewy texture.
Using a whisk or fork, thoroughly mix these two ingredients together. This process helps distribute the sugar evenly throughout the flour, preventing any clumps that could affect the texture of your cookies.
As you mix, you'll notice the color of the flour changing slightly due to the brown sugar. Continue stirring until the mixture appears uniform in color and texture.
This step is crucial for ensuring that your cookies will have a consistent flavor and appearance once baked. By taking the time to mix your dry ingredients well, you're setting a solid foundation for the rest of your gingerbread cookie recipe.
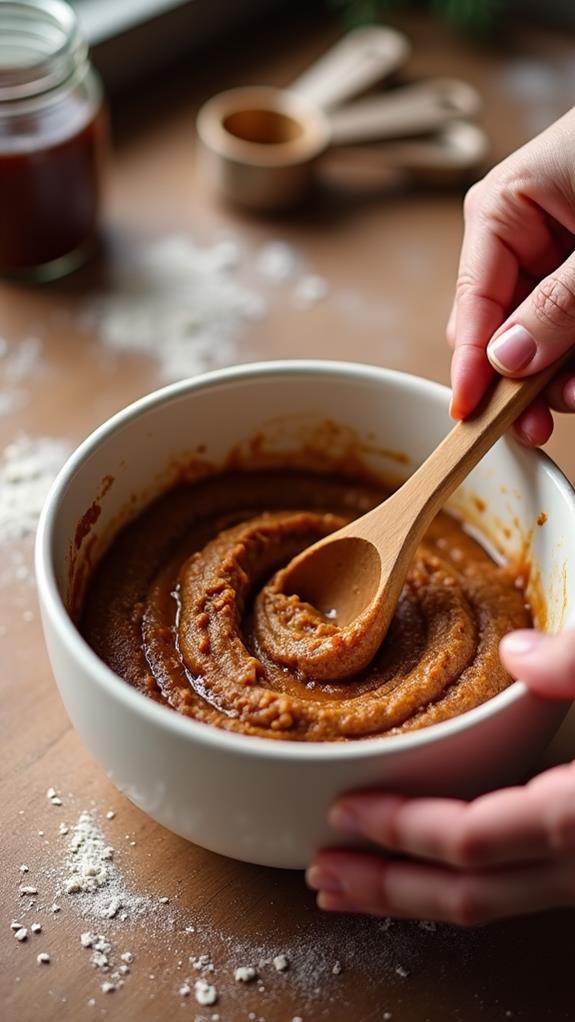
Step 2. Cream Butter and Molasses
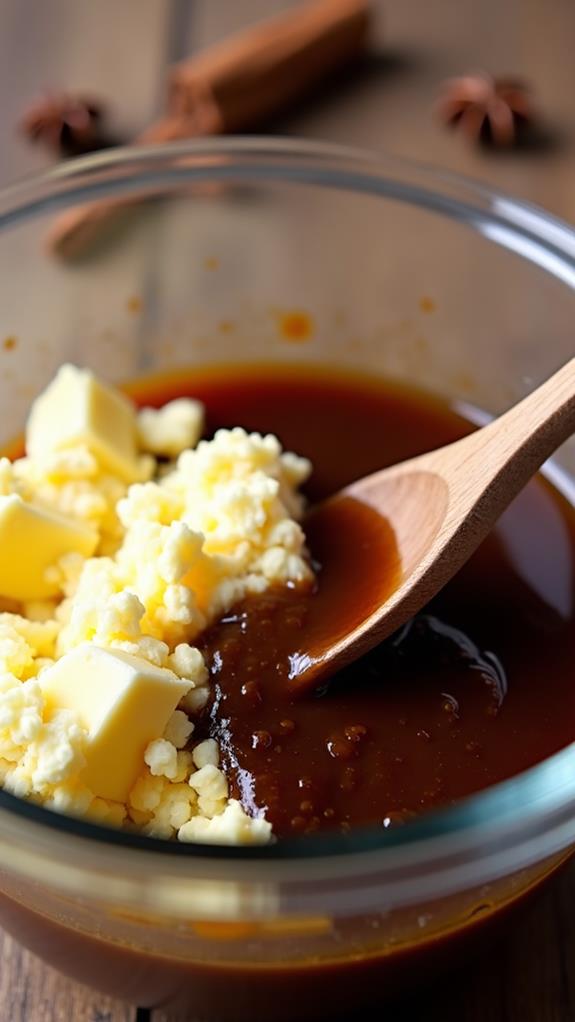
Moving on to the next crucial step, you'll need to cream together the butter and molasses. In a separate bowl from your dry ingredients, place the softened unsalted butter and molasses. Using an electric mixer or a wooden spoon, beat the two ingredients together until they're well combined and smooth.
This process, known as creaming, helps incorporate air into the mixture, resulting in a lighter texture for your cookies. As you cream the butter and molasses, you'll notice the mixture becoming lighter in color and fluffier in consistency. This is exactly what you want to achieve.
Be sure to scrape down the sides of the bowl occasionally to ensure all the ingredients are evenly incorporated. If you're using an electric mixer, start on a low speed and gradually increase it to medium. The creaming process usually takes about 2-3 minutes.
Once your butter and molasses mixture is creamy and well-combined, it's ready to be incorporated with the dry ingredients. This step is crucial for achieving the right texture and flavor in your gingerbread cookies, so take your time and ensure thorough mixing.
Step 3. Combine Wet and Dry Mixtures
Harmony between wet and dry ingredients forms the foundation of perfect gingerbread cookies.
You'll now bring together the creamed butter and molasses mixture with the flour and brown sugar blend. Gradually add the dry ingredients to your wet mixture, stirring gently but thoroughly. As you combine them, you'll notice the dough starting to take shape. Don't rush this process; patience is key to achieving the right consistency.
Use a wooden spoon or your hands to mix the ingredients, ensuring that no pockets of dry flour remain. The dough should come together into a cohesive mass that's slightly sticky but manageable. If it feels too dry, add a tablespoon of water; if it's too wet, sprinkle in a bit more flour.
Once you've achieved the right texture, gather the dough into a ball. At this point, you can either roll it out immediately or chill it for easier handling.
Step 4. Roll and Cut Dough
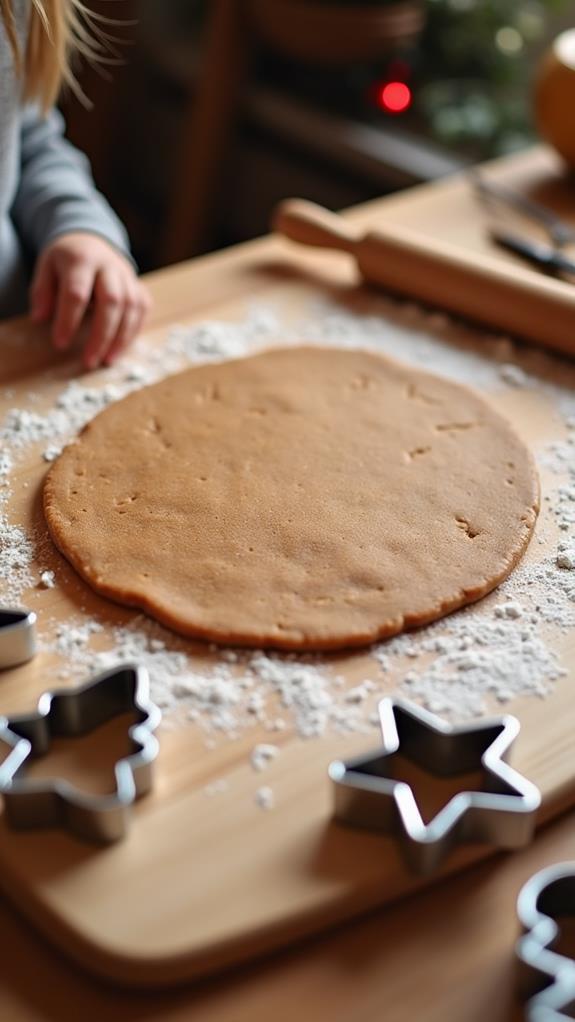
With your dough prepared, it's time to roll and cut your gingerbread cookies. First, lightly dust your work surface with flour to prevent sticking.
Take about half of your dough and place it on the floured surface. Using a rolling pin, roll the dough out to about 1/4 inch thickness, working from the center outwards. If the dough starts to stick, sprinkle a bit more flour on the surface and rolling pin.
Once you've achieved the desired thickness, it's time to cut your shapes. Choose your favorite cookie cutters and press them firmly into the dough, making sure to maximize space.
Gently remove the excess dough from around the shapes, then carefully transfer the cut cookies to a parchment-lined baking sheet. Leave about an inch of space between each cookie to allow for spreading during baking.
Gather the scraps of dough, re-roll, and continue cutting until you've used all the dough. Remember, you can re-roll the dough several times, but each time it may become slightly tougher, so try to be efficient with your cutting.
Step 5. Bake and Cool Cookies
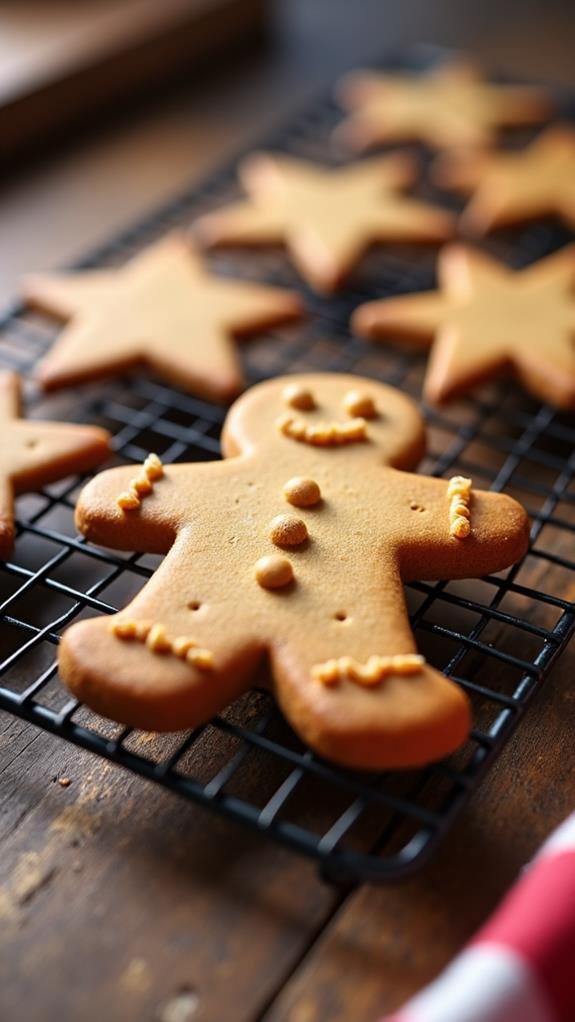
Once your cookies are cut and placed on the baking sheet, it's time to bake them to perfection. Preheat your oven to 350°F (175°C) and position the rack in the center. Carefully slide the baking sheet into the oven, making sure the cookies aren't touching each other.
Set a timer for 8 minutes, but keep an eye on them as baking times may vary depending on your oven and the thickness of your cookies. You'll know they're done when the edges start to turn a light golden brown.
Don't overbake, as they'll continue to firm up as they cool. Once baked, remove the sheet from the oven and let the cookies rest for about 5 minutes. This allows them to set slightly, making them easier to transfer.
Using a spatula, gently move the cookies to a wire rack to cool completely. This step is crucial for achieving the perfect texture – crisp on the outside and slightly chewy on the inside.
Allow at least 30 minutes for cooling before you start decorating with royal icing. Remember, patience is key to creating beautiful, delicious gingerbread cookies.
Final Thoughts
Whether you're an experienced baker or a novice in the kitchen, this simplified gingerbread cookie recipe offers a delightful way to embrace the holiday spirit.
With just five ingredients, you can create a batch of classic cookies that will fill your home with the warm, spicy aroma of the season.
As you decorate these treats with royal icing, you'll find yourself immersed in a cherished tradition that brings joy to both creators and recipients alike.
[DIRECTIONS]: