To create mouthwatering, feather-light cakes, you'll need to master the science of fluffiness. Start with high-quality cake flour and fresh leavening agents for optimal texture. Perfect the creaming method by beating room-temperature butter and sugar until pale and fluffy. Incorporate egg whites for extra airiness, and use gentle folding techniques to maintain the batter's structure. Bake at the right temperature, typically between 325°F and 350°F, and allow your cake to cool properly before frosting. Pay attention to ingredient ratios, mixing techniques, and baking times for the best results. Uncover more secrets to achieving heavenly cake perfection as you explore further.
The Science of Cake Fluffiness
Frequently, bakers strive to achieve the perfect fluffy cake, but the science behind it isn't always well understood. The key to unlocking this culinary mystery lies in the intricate balance of ingredients and techniques.
When crafting your cake recipe, start with the crucial creaming process. By thoroughly beating butter and sugar together, you're incorporating air, which creates a stable structure for rising. This step is fundamental to achieving that coveted fluffiness.
Next, consider your flour choice. All-purpose flour with 10-12% protein content strikes the ideal balance between structure and tenderness. Measure it carefully using the spoon-and-level method to avoid excess flour, which can lead to a dense cake.
Don't forget the leavening agents! Baking powder or baking soda produce carbon dioxide bubbles that expand during baking, contributing to a light, airy crumb.
Essential Ingredients for Airy Textures
When crafting a cake with an airy texture, your choice of flour and leavening agents plays a crucial role.
You'll want to select a high-quality cake flour, which has a lower protein content than all-purpose flour, resulting in less gluten formation and a lighter crumb.
Proper leavening agents, such as baking powder or baking soda, are essential for creating the lift and rise that contribute to your cake's fluffy structure, so be sure to use fresh, active ingredients for the best results.
Quality Flour Selection
Selecting the right flour is paramount for achieving that coveted light and airy texture in your cakes. When it comes to quality flour selection, cake flour reigns supreme. With its lower protein content of 7-9%, it produces feather-light results that'll elevate your baking game.
If you're out of cake flour, don't fret! You can create a close substitute by mixing all-purpose flour with cornstarch.
To ensure you're using flour effectively:
- Sift before measuring to incorporate air
- Measure properly by spooning into the cup and leveling off
- Use fresh flour to maintain leavening ability
- Consider gluten-free alternatives for dietary restrictions
Innovation in baking often starts with the basics, and flour is no exception. Experiment with different flour types and combinations to find your perfect blend.
Remember, the age of your flour matters; older flour may have absorbed moisture, leading to denser cakes. By paying attention to these details, you'll be well on your way to creating heavenly, melt-in-your-mouth cakes that'll impress even the most discerning palates.
Embrace the science of flour selection, and watch your cakes rise to new heights of deliciousness.
Proper Leavening Agents
Now that we've covered the foundation of great cakes with quality flour, let's focus on the ingredients that give your creations their heavenly lift. Proper leavening agents are the secret to achieving that cloud-like texture you're after. Baking powder and baking soda are your go-to allies in this quest for airy perfection.
Baking powder is a versatile leavening agent that contains both acid and base components. When moistened, it releases carbon dioxide bubbles, causing your cake to rise and expand.
On the other hand, baking soda needs an acidic dance partner to work its magic. Pair it with buttermilk or vinegar, and watch as it transforms your batter into a light, fluffy masterpiece.
The key to success lies in precise measurements and freshness. Too much leavening can lead to a rapid rise and subsequent collapse, while too little results in a dense disappointment.
Always measure carefully and check expiration dates to ensure optimal performance. By mastering the art of leavening, you'll elevate your cakes from ordinary to extraordinary, delighting taste buds and impressing even the most discerning cake connoisseurs.
Mastering the Creaming Method
To master the creaming method, you'll need to start with room temperature ingredients, particularly butter, which allows for better air incorporation and a lighter cake texture.
As you begin, focus on proper mixing technique: cream the softened butter and sugar together until the mixture is pale and fluffy, typically taking 3-5 minutes.
Remember to add eggs one at a time, beating well after each addition, to maintain the emulsion and ensure even distribution throughout your cake batter.
Room Temperature Ingredients
The secret to achieving a light and fluffy cake texture lies in mastering the creaming method, which starts with room temperature ingredients. Using butter and eggs at about 68-70°F ensures optimal aeration during mixing, creating the perfect structure for your cake.
To innovate your baking process, follow these key steps:
- Bring butter to room temperature naturally for best results
- Quickly warm eggs in a bowl of warm water for 10-15 minutes
- Use room temperature heavy cream for smoother incorporation
- Maintain consistent ingredient temperatures for proper emulsification
When you use room temperature ingredients, you're setting the stage for a tender, moist cake with an irresistible crumb. The butter will trap air more effectively, while room temperature eggs emulsify better with other ingredients.
This attention to detail results in a smoother batter and, ultimately, a superior cake texture. Remember, consistency is key. By ensuring all your ingredients are at the same temperature, you're maintaining the proper moisture balance throughout the mixing process.
This seemingly small step can make a significant difference in the final product, elevating your cakes from good to extraordinary.
Proper Mixing Technique
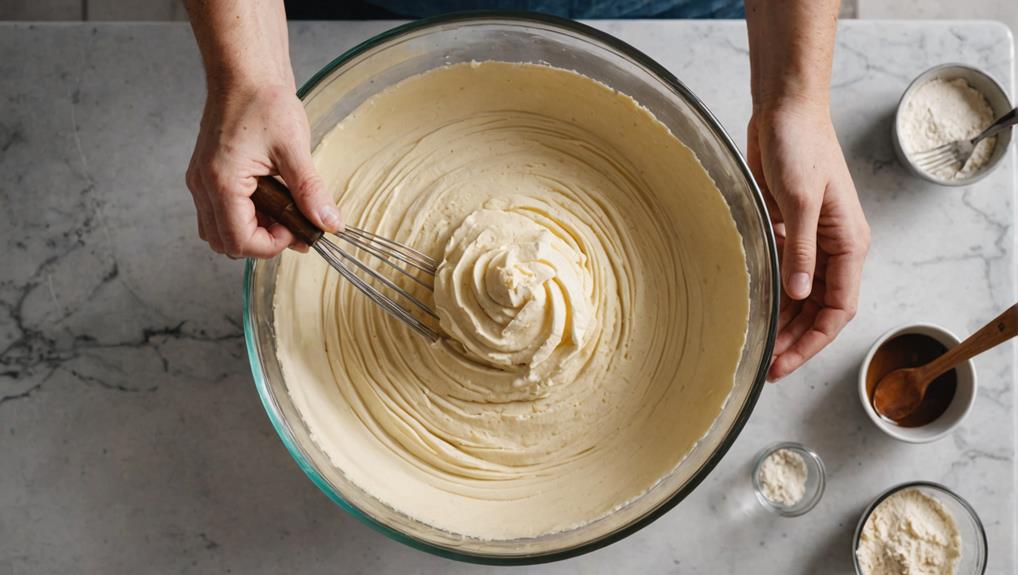
Once you've gathered your room temperature ingredients, it's time to master the creaming method for proper mixing technique. This innovative approach begins with beating butter and sugar together until light and fluffy, incorporating air into the mixture for a tender cake texture. As you embark on this process, ensure your butter is at room temperature to achieve optimal emulsification and aeration.
Throughout the creaming method, scrape down the sides of the bowl periodically to maintain a uniform batter and prevent lumps. After achieving the desired consistency, gradually add eggs one at a time, allowing each to fully incorporate before adding the next. This step is crucial for maintaining the emulsion and preventing curdling.
When it's time to add dry ingredients, exercise caution to avoid overmixing. Combine just until the ingredients are incorporated, as this will preserve the light and airy texture you've worked so hard to create.
Egg Whites: The Fluff Factor
Four key components make egg whites the secret weapon for creating fluffy, cloud-like cakes. These protein-packed wonders transform into a light, airy foam when whipped, trapping air and giving your cakes that coveted feather-light texture.
To harness the full potential of egg whites, follow these innovative tips:
- Bring eggs to room temperature for optimal volume
- Use a clean, dry bowl free from any traces of fat
- Add a touch of acid, like cream of tartar, for stability
- Whip gradually, increasing speed to achieve stiff peaks
The science behind egg whites' fluff factor lies in their unique protein structure. As you whip, these proteins unfold and create a stable network that holds air bubbles, resulting in a fluffy texture that's essential for cakes like angel food and chiffon.
To maximize your egg whites' performance, start with room temperature eggs and a spotless bowl. Gradually increase your mixing speed, and don't forget to add a pinch of cream of tartar or a splash of lemon juice. This acid acts as a stabilizer, ensuring your whipped whites maintain their structure throughout the baking process.
Gentle Mixing Techniques
Now that you've mastered the art of whipping egg whites, it's time to focus on the next step: incorporating them into your batter. Gentle mixing techniques are crucial for maintaining the airiness you've worked so hard to achieve, similar to how Butternut Squash Mac and Cheese uses gentle flavors to create a comforting dish.
You'll want to use a folding motion rather than beating, as this preserves the delicate structure of your whipped egg whites.
Grab a rubber spatula and gently incorporate your dry ingredients into the wet mixture. This method helps you avoid overmixing, which can develop gluten and lead to a dense, heavy cake. Remember, you're aiming for a light, fluffy texture that'll have your guests swooning.
When adding liquids, pour them in a steady stream while folding gently. This ensures a uniform mixture without deflating your carefully crafted batter. Your goal is to mix just until the ingredients are combined – no more, no less.
By mastering these gentle mixing techniques, you'll elevate your cake game to new heights, creating desserts that are truly innovative and irresistible.
And don't forget, for perfect assembly, refrigerate or freeze your cake layers before cutting to maintain their integrity.
Perfect Baking Temperature and Timing
After mastering gentle mixing techniques, it's time to turn your attention to the crucial elements of baking temperature and timing. To achieve the perfect cake layers, you'll need to harness the power of precise oven settings and baking times.
The ideal temperature range for most cakes falls between 325°F and 350°F, ensuring even cooking and a light texture. However, don't rely solely on your oven's display; invest in an oven thermometer to guarantee accuracy, as many home ovens can be off by up to 25°F.
When it comes to baking time, remember that size and shape matter. While a standard 9-inch round cake typically bakes for 25 to 30 minutes, larger cakes may require up to an hour or more.
To elevate your cake-baking game, follow these innovative tips:
- Use an oven thermometer for precise temperature control
- Resist opening the oven door during the first half of baking
- Adjust baking times based on cake size and shape
- Cool cakes in pans for 10-15 minutes before transferring to a wire rack
Cooling for Optimal Texture

Have you ever wondered why some cakes turn out dry and crumbly while others remain moist and tender? The secret lies in the cooling process, a crucial step that's often overlooked. To achieve optimal texture, you'll want to master the art of cooling your cakes properly.
Start by letting your cakes cool in the pan for 10-15 minutes. This initial rest period helps retain moisture and prevents crumbling when you transfer them to a wire rack.
Once on the rack, allow your cakes to cool completely at room temperature before frosting. Covering the top of the cake with a cloth during this time can enhance texture by preventing rapid drying.
For easier handling and clean cuts, consider refrigerating or freezing your cake layers for about 30 minutes before slicing. This innovative approach ensures precision and minimizes mess.
To further streamline the process, use parchment paper at the bottom of your cake pans. This simple trick aids in easy removal and reduces the chances of sticking, ensuring a smooth transition from pan to cooling rack.
Frosting and Finishing Touches
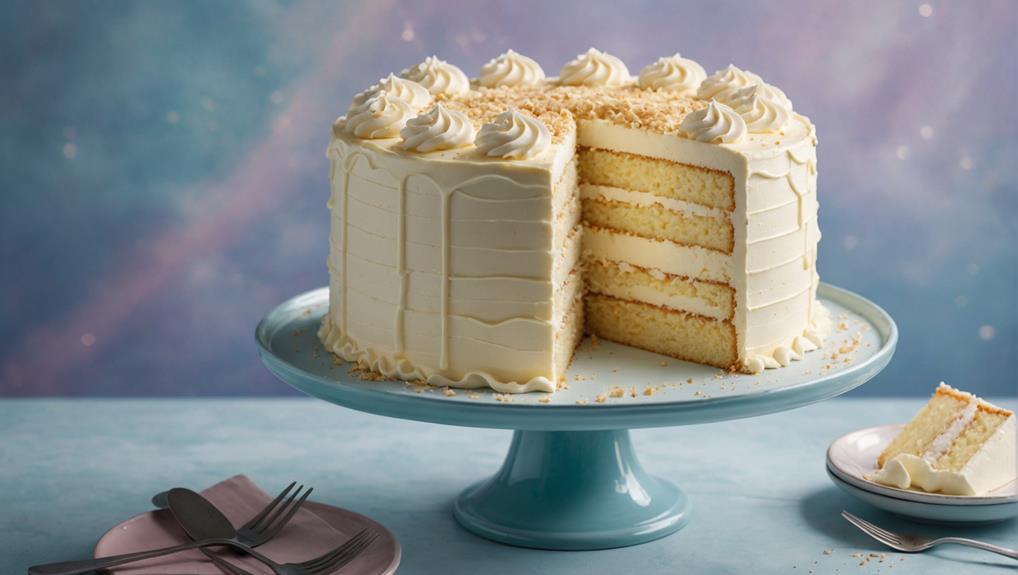
The final step in creating a mouthwatering cake is the frosting and finishing touches. Your choice of frosting can elevate your Layer Cake from good to extraordinary.
For a rich, smooth finish, opt for ganache, or choose a lighter option like seven-minute frosting for a fluffy, airy feel. When making whipped frostings, use heavy cream to ensure stability and prevent collapse, especially important for multi-layered creations.
To achieve a professional look:
- Apply a crumb coat before the final layer of frosting
- Allow the frosted cake to rest in the refrigerator for a few hours
- Use chocolate shavings or curls as decorative elements
- Experiment with different textures and flavors in your frosting
Frequently Asked Questions
What Did the Little Woman Feel About the Cakes When She Ate Them Herself?
You're transported by cake memories as you savor each bite. The sensory experience delights your taste buds, evoking nostalgia and joy. You're captivated by the cake's texture and flavor, creating new moments of pure bliss.
What Is a Heavenly Delight Cake?
You've stumbled upon a culinary marvel! A Heavenly Delight Cake is your ticket to bliss, crafted with premium cake ingredients and innovative baking techniques. It's a customizable masterpiece that'll revolutionize your celebrations with its fluffy layers and unique flavors.
Final Thoughts
You've now mastered the magic of making marvelously light and luscious cakes. By carefully combining quality ingredients, perfecting your mixing technique, and precisely controlling temperature and timing, you'll create confections that are consistently cloud-like and irresistible. Remember, patience is paramount in producing the perfect crumb. With these tips and tricks tucked away in your baking toolkit, you're ready to whip up heavenly delights that'll have friends and family floating on cloud nine.